Menu Builder
Create navigation menus visually and generate reusable Astro components.
Menu Builder
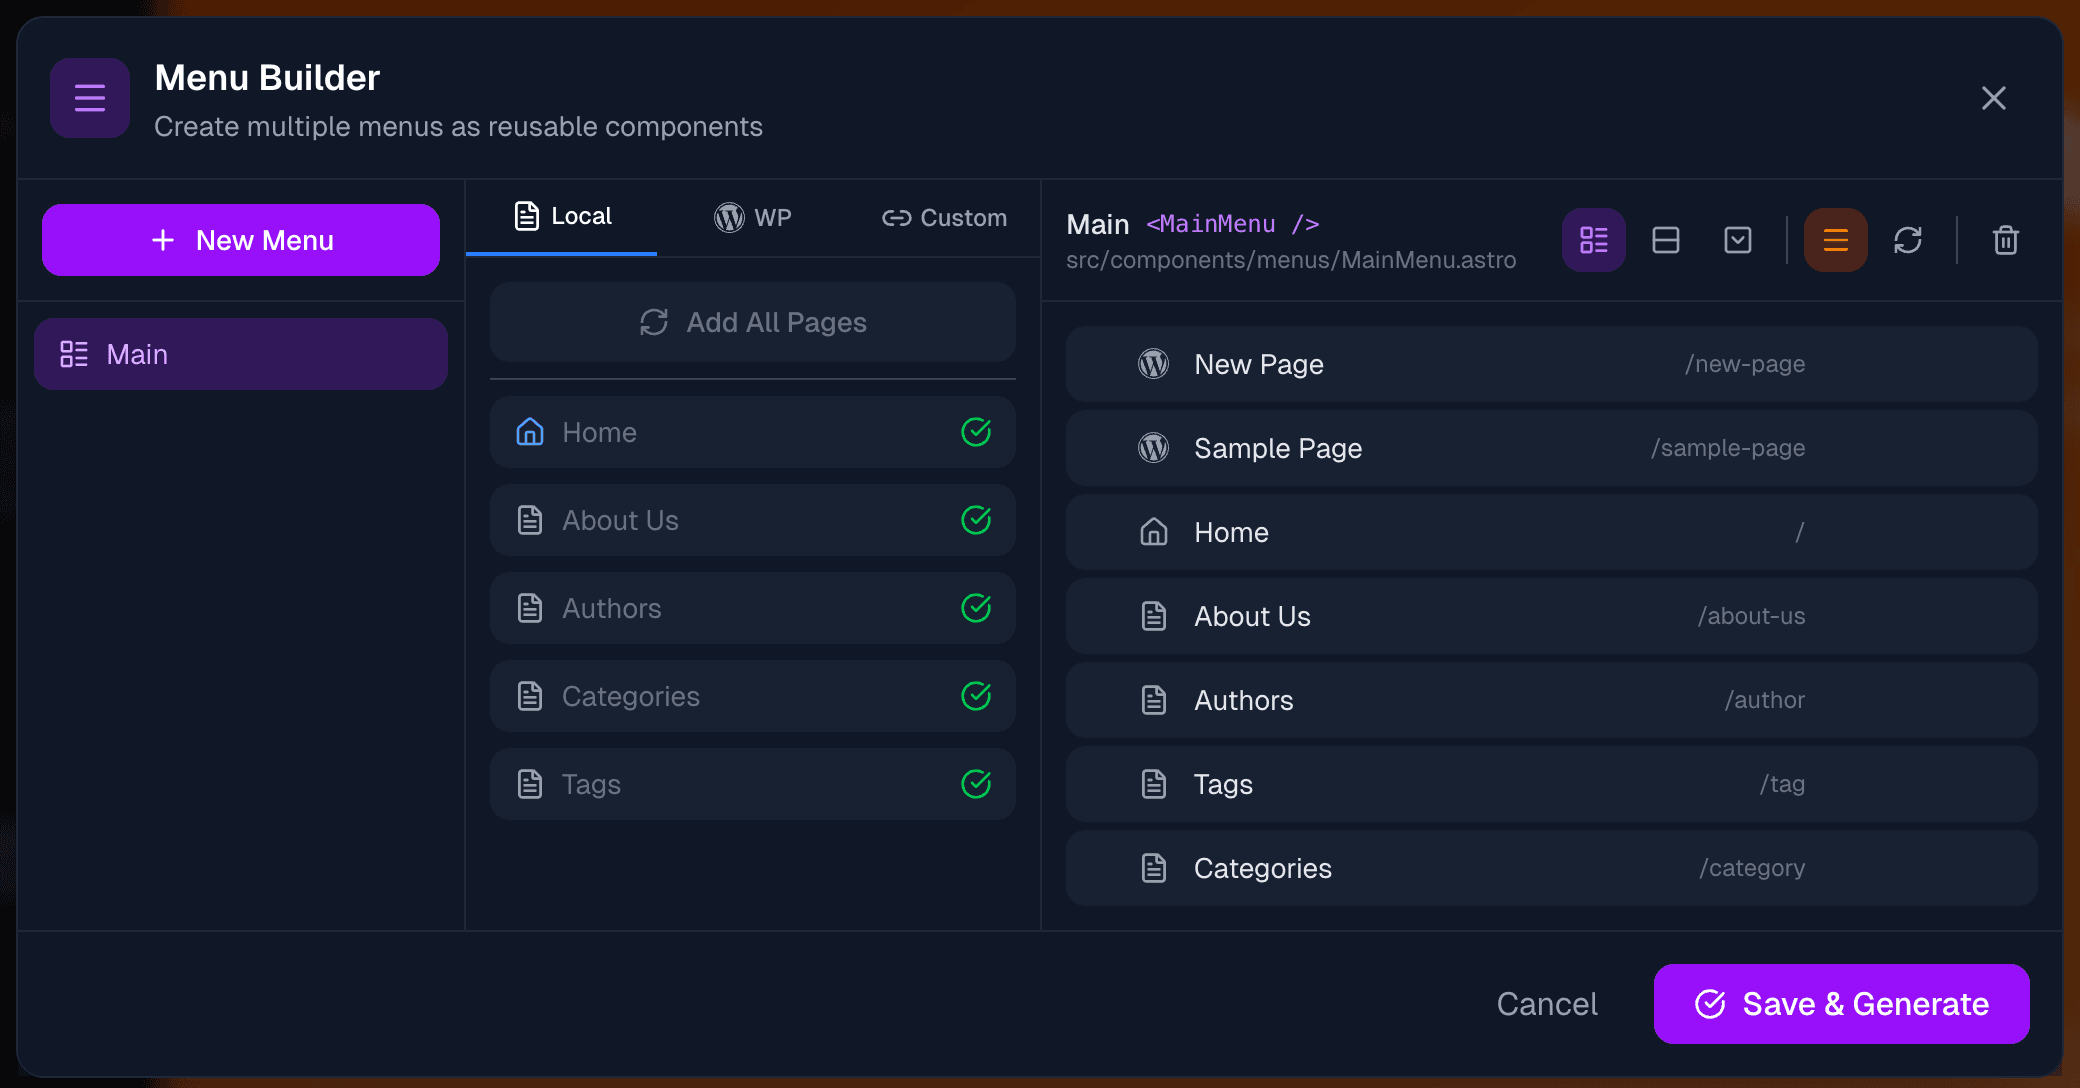
The Menu Builder creates navigation menus as reusable Astro components. Build multiple menus (header, footer, sidebar) and the builder generates the component files for you.
Opening the Menu Builder
Click the Menu icon in the toolbar (or find it in the help guide). The builder opens as a modal with three panels.
Layout Overview
The Menu Builder has three panels:
| Panel | Purpose |
|---|---|
| Left | List of your menus + WordPress import |
| Middle | Sources to add items from (Local, WP, Custom) |
| Right | Menu structure and settings |
Creating a Menu
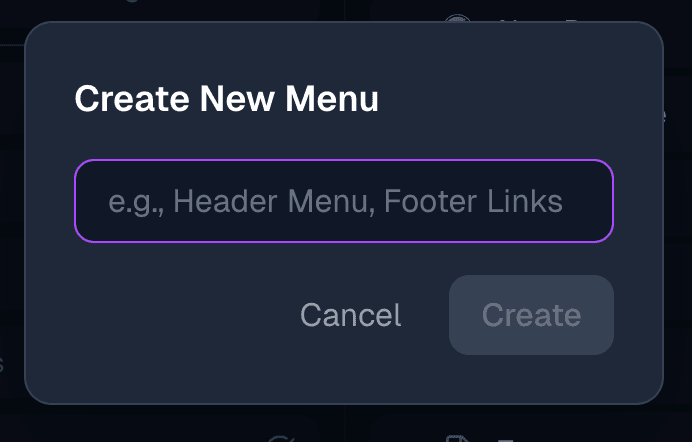
- Click New Menu in the left panel
- Enter a name (e.g., "Main", "Footer", "Sidebar")
- The builder creates a menu and generates a component name
For example, a menu named "Main" creates:
- Component:
<MainMenu /> - File:
src/components/menus/MainMenu.astro
Two Modes: Auto-sync vs Manual
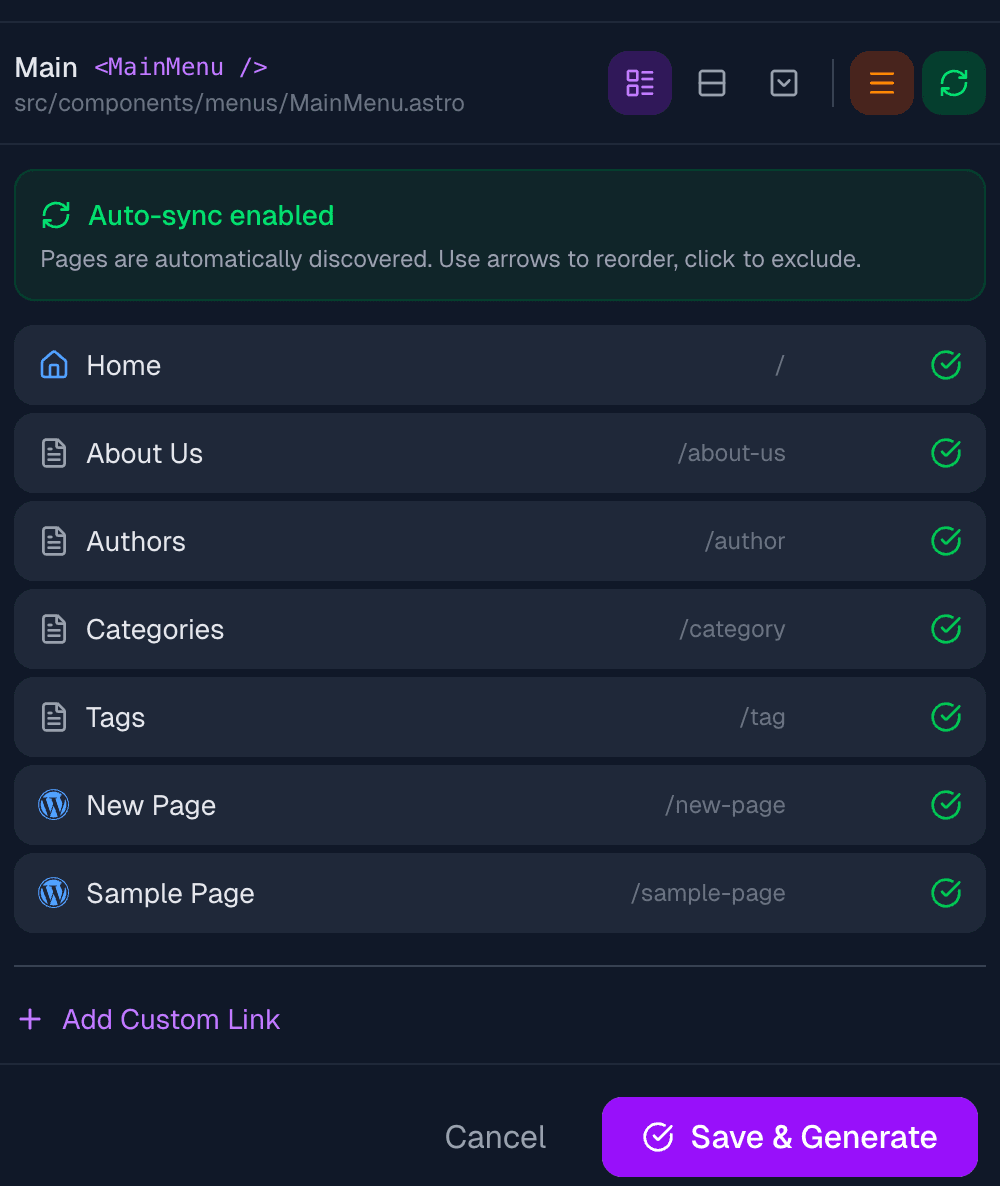
Each menu can operate in one of two modes, toggled with the refresh icon in the right panel toolbar.
Auto-sync Mode (Recommended)
When enabled (green refresh icon):
- Automatically discovers all pages from
src/pages/ - Updates when you add or remove pages
- You can exclude specific pages
- Drag to reorder pages
This is the easiest option - your menu stays in sync with your pages automatically.
Manual Mode
When disabled (gray refresh icon):
- You manually add each menu item
- Full control over what appears
- Items don't update automatically
Use manual mode when you need precise control or want to mix different sources.
Adding Menu Items
In manual mode, use the middle panel to add items from three sources:
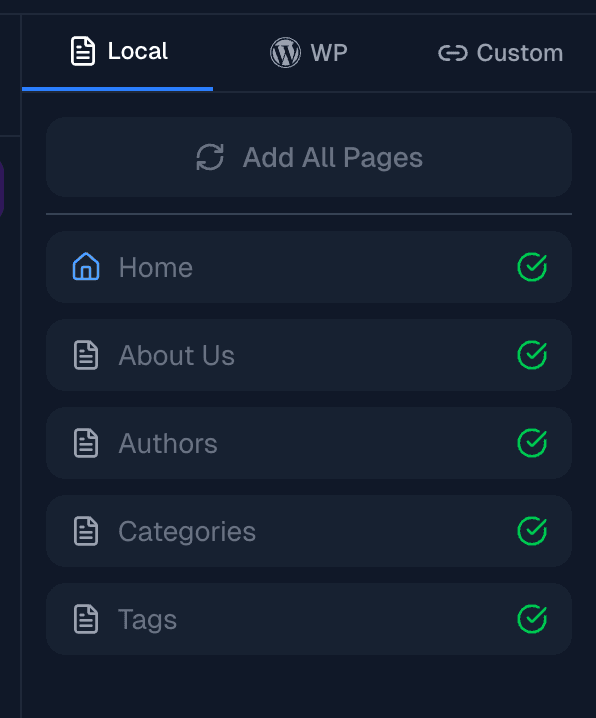
Local Pages
Shows all pages from your src/pages/ folder:
- Click Add All Pages to add everything at once
- Or click individual pages to add them
- Pages already in the menu show a checkmark
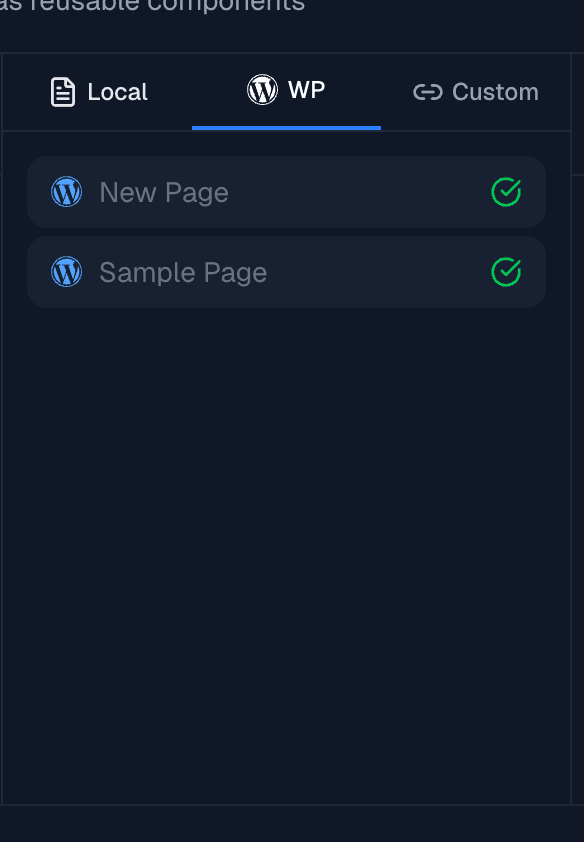
WordPress Pages
If you've connected WordPress:
- Shows all published WordPress pages
- Click to add them to your menu
- Links point to the corresponding Astro routes
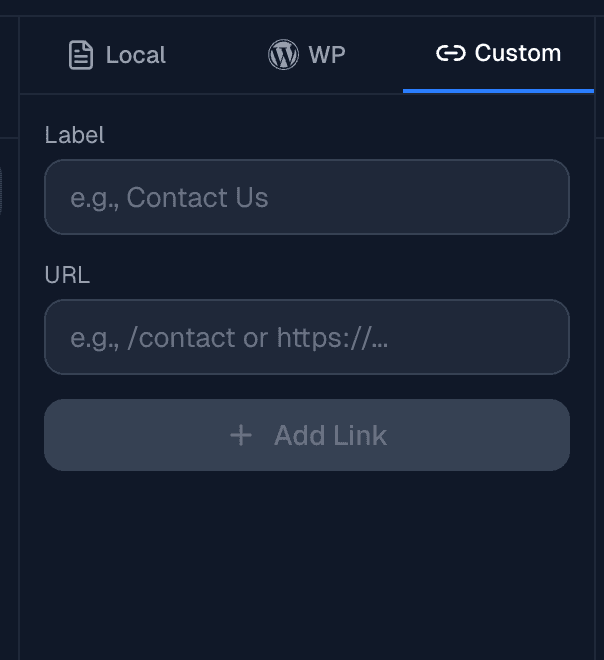
Custom Links
Add any URL with a custom label:
- Enter a Label (e.g., "Contact Us")
- Enter a URL (e.g.,
/contactorhttps://example.com) - Click Add Link
Use this for external links or pages that aren't auto-detected.
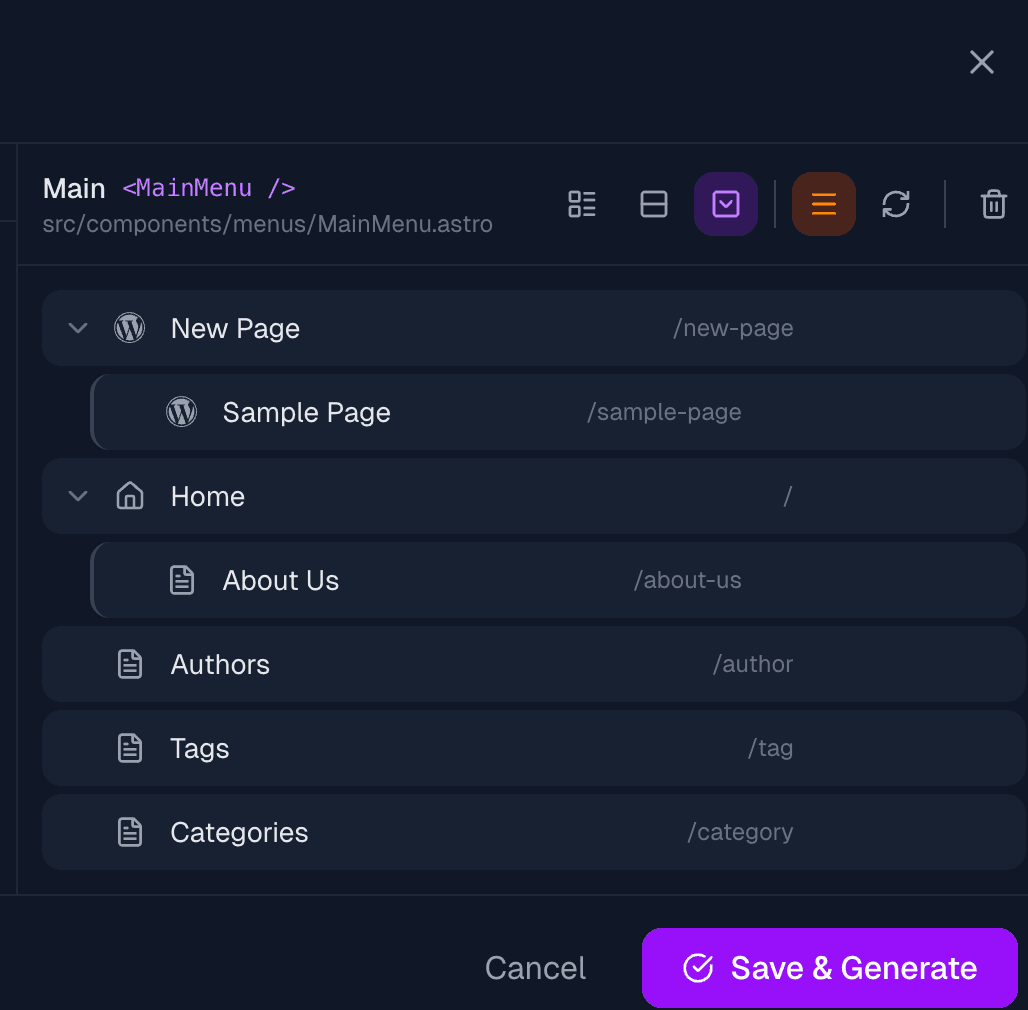
Menu Structure (Right Panel)
The right panel shows your menu's structure and settings.
Toolbar Options
| Icon | Function |
|---|---|
| Horizontal/Vertical/Dropdown | Menu layout style |
| Hamburger (orange) | Enable mobile hamburger menu |
| Refresh (green) | Toggle auto-sync mode |
| Trash | Clear all items |
Reordering Items
In manual mode:
- Use arrow buttons to move items up/down
- Use indent/outdent buttons to create nested items (dropdowns)
In auto-sync mode:
- Drag items to reorder
- Excluded pages appear grayed out
Creating Dropdowns
To create a dropdown (in manual mode):
- Add the parent item first
- Add child items below it
- Click the indent button (arrow pointing right) on child items
- Children become nested under the parent
Menu Styles
Choose how the menu renders:
| Style | Description |
|---|---|
| Horizontal | Items in a row (typical header nav) |
| Vertical | Items stacked vertically (sidebar nav) |
| Dropdown | Horizontal with dropdown submenus |
All styles include mobile-responsive behavior when the hamburger option is enabled.
Importing WordPress Menus
If WordPress is connected and has menus defined:
- Look at the bottom of the left panel
- Click on a WordPress menu name under "Import from WordPress"
- The menu structure imports with all items
This copies the WordPress menu structure into a new Astro menu.
Saving and Using Menus
Saving
Click Save to:
- Generate/update the Astro component file
- Save menu configuration to
src/config/menus.json
Using in Your Site
After saving, use the menu component in your layouts:
---
import MainMenu from '../components/menus/MainMenu.astro';
---

<header>
  <MainMenu />
</header>
The generated component includes:
- Desktop navigation
- Mobile hamburger menu (if enabled)
- Dropdown functionality (if using nested items)
- Proper accessibility attributes
Managing Multiple Menus
Create different menus for different purposes:
- Main - Primary header navigation
- Footer - Footer links
- Sidebar - Documentation or blog sidebar
- Mobile - Simplified mobile navigation
Click on any menu in the left panel to edit it.
Best Practices
Use Auto-sync for Main Navigation
Auto-sync keeps your menu current as you add pages. Exclude pages like /author or /tag that shouldn't appear in navigation.
Keep Menus Simple
- 5-7 top-level items maximum
- One level of dropdowns at most
- Clear, concise labels
Test on Mobile
The hamburger menu is enabled by default. Test your site on mobile to ensure navigation works well.
Troubleshooting
Menu Not Showing
- Make sure you saved the menu
- Check that you imported the component in your layout
- Verify the component path is correct
Pages Missing from Local List
The builder only shows pages that:
- Are in
src/pages/ - Have
.astro,.md, or.mdxextension - Are not dynamic routes (no
[brackets]) - Are not 404 or special pages
Changes Not Appearing
- Save the menu in the builder
- The preview should auto-refresh
- If not, manually refresh the preview
Next Steps
- Component Library - Add more sections to your pages
- Visual Editor - Edit your layout visually
- WordPress Integration - Connect WordPress for content