Deploying to Vercel
Deploy your Astro site to Vercel with automatic builds.
Deploying to Vercel
Vercel is the recommended hosting platform for PhantomWP sites. It offers free hosting, automatic HTTPS, global CDN, and seamless GitHub integration.
Why Vercel?
- Free tier - Perfect for personal and small business sites
- Automatic deploys - Every push to GitHub triggers a new build
- Global CDN - Your site loads fast worldwide
- Preview deployments - Every branch gets its own preview URL
- Custom domains - Use your own domain for free
- Analytics - Built-in web analytics (paid feature)
Connecting Vercel
Step 1: Get a Vercel Token
- Go to vercel.com and sign in (or create an account)
- Click your profile picture → Settings
- Go to Tokens in the sidebar
- Click Create Token
- Name it "PhantomWP" and select an expiration
- Copy the token (you won't see it again!)
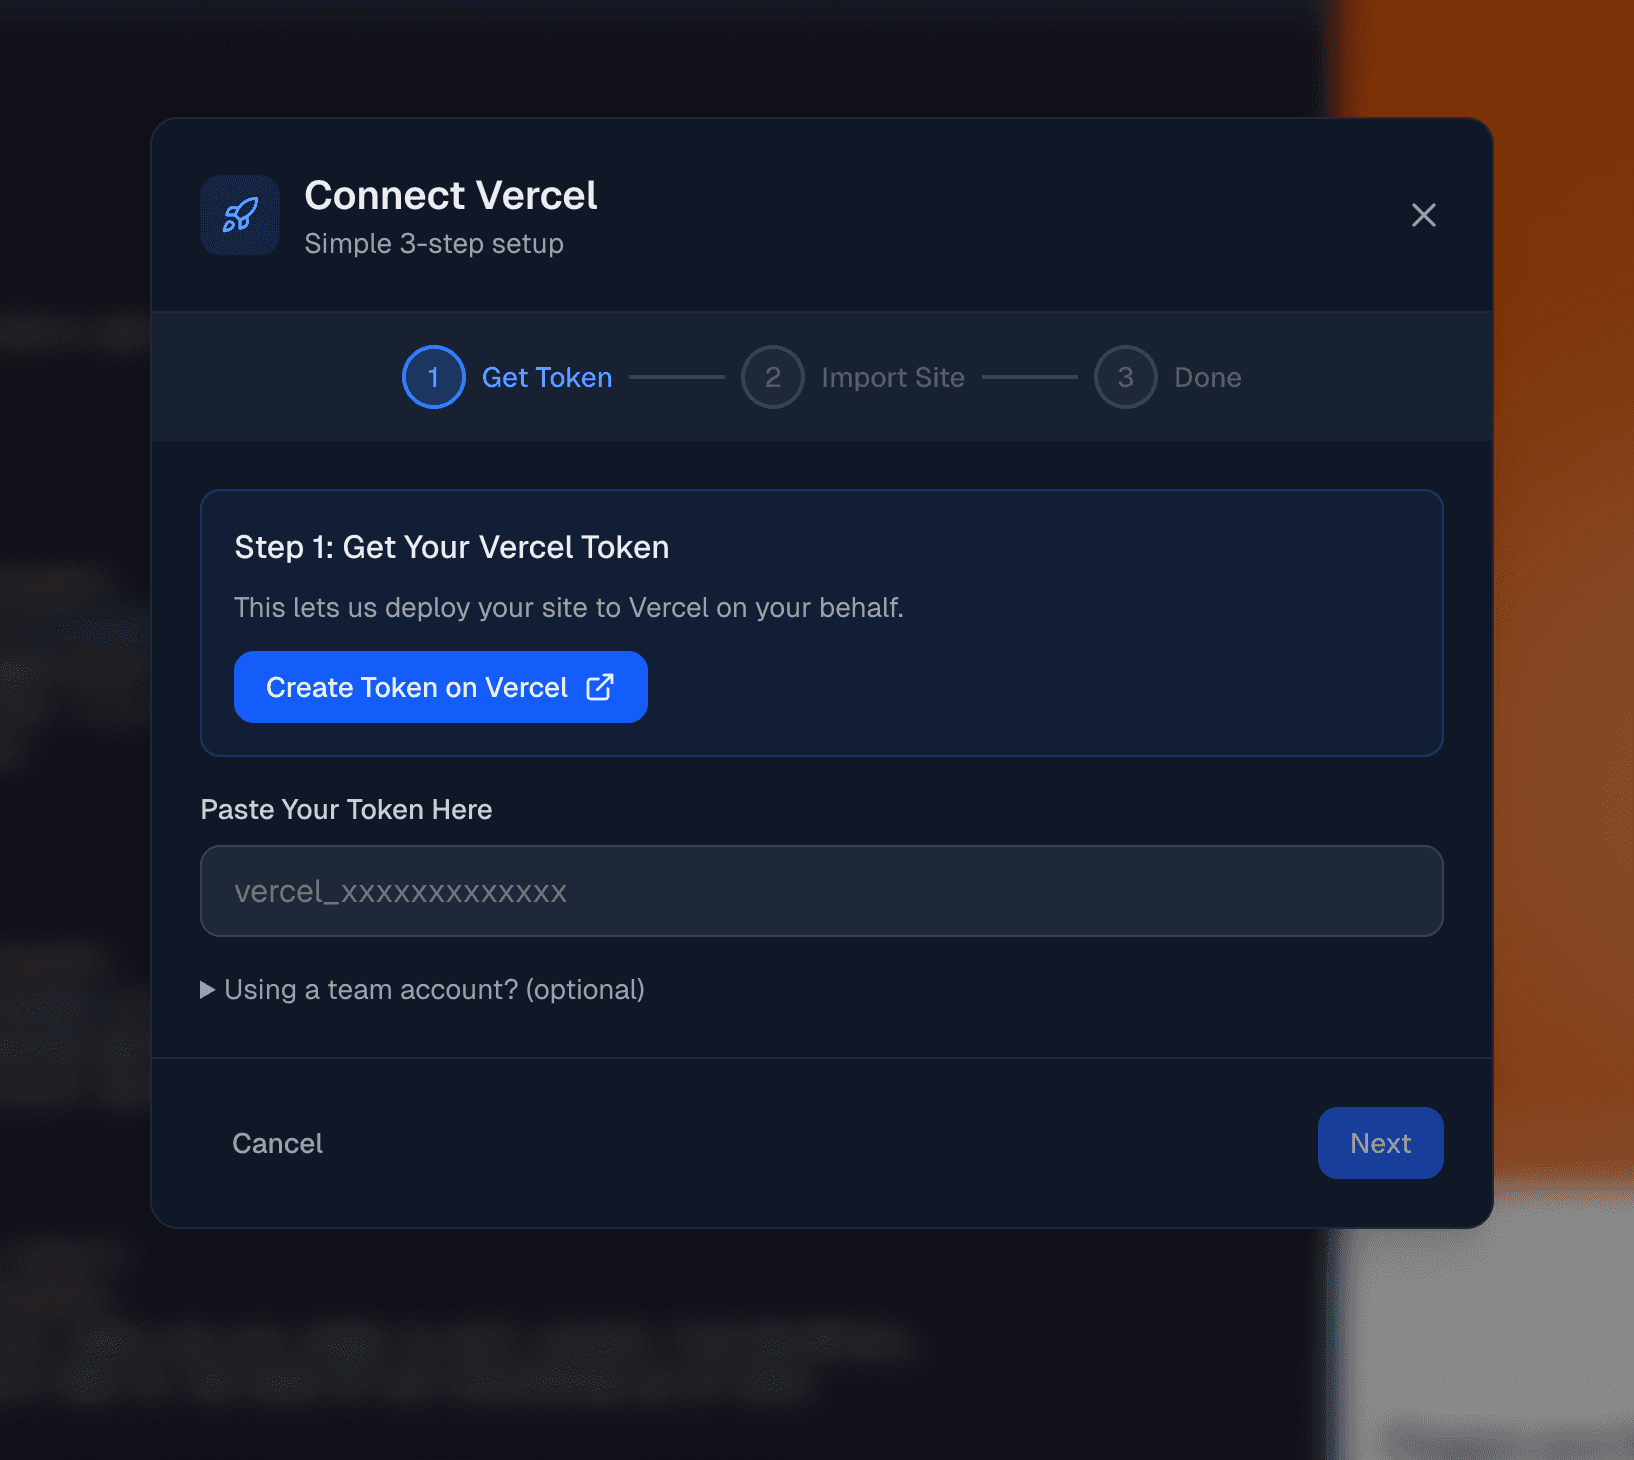
Step 2: Connect in PhantomWP
- Go to your PhantomWP Dashboard
- Find your project
- Click Setup Deployment (or the Vercel icon if already connected)
- Paste your Vercel token
- Click Connect
Step 3: Import Your Repository
After connecting, PhantomWP guides you through importing:
- Select the GitHub repository
- Choose your Vercel team (or personal account)
- Configure project settings (usually defaults work fine)
- Click Deploy
Your first deployment starts immediately!
Deployment Settings
Project Name
By default, uses your repository name. You can change this in Vercel settings later.
Framework Preset
PhantomWP automatically selects "Astro" as the framework. This ensures proper build settings.
Build Settings
Default settings for Astro projects:
- Build Command:
npm run build - Output Directory:
dist - Install Command:
npm install
Usually you don't need to change these.
Environment Variables
If your site needs environment variables:
- Go to your project in Vercel
- Click Settings → Environment Variables
- Add your variables
- Redeploy for changes to take effect
Automatic Deployments
Once connected, every push to GitHub triggers a deployment. Your changes only go live after you commit and push them.
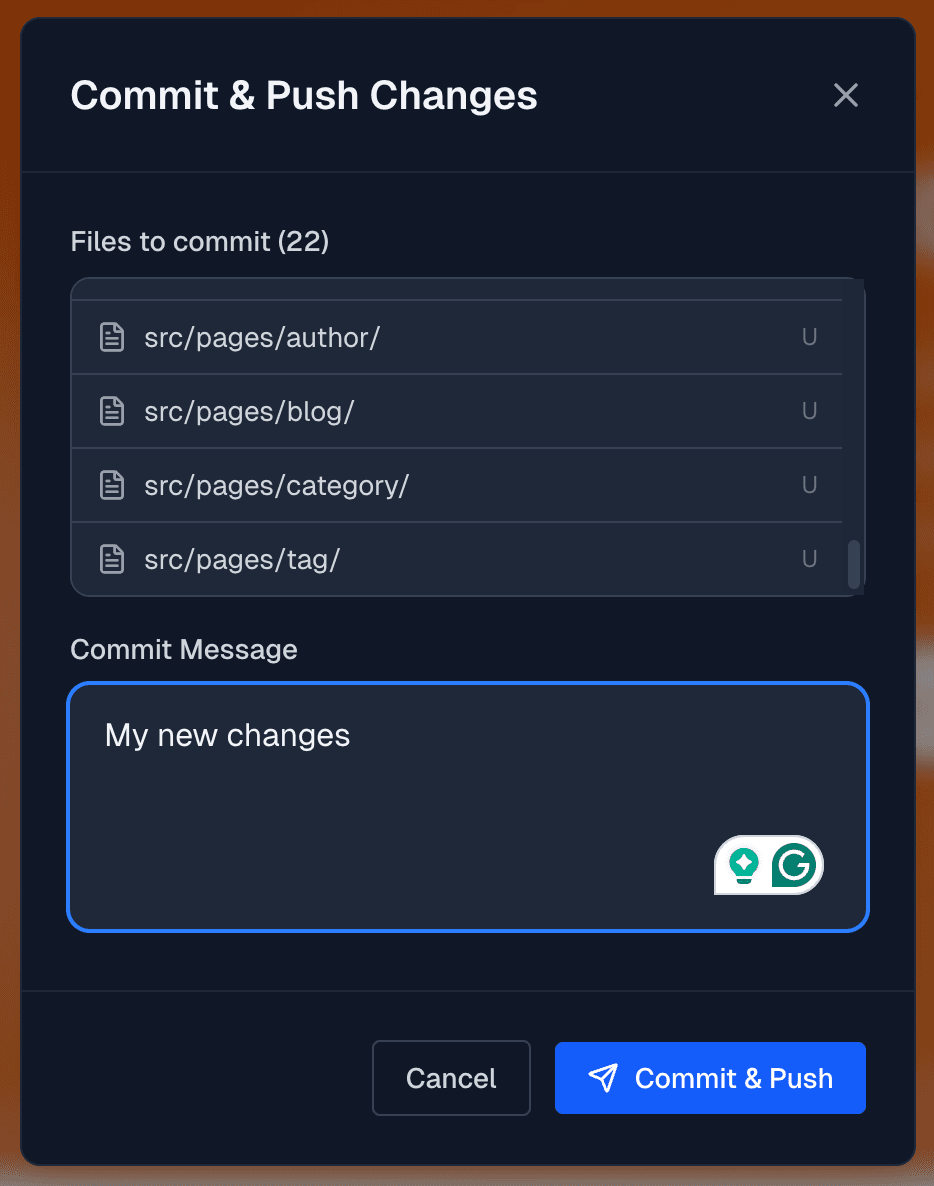
Committing Your Changes
To deploy your changes:
- Make changes in the PhantomWP IDE
- Click the Git icon in the header bar
- Review your changed files
- Write a commit message describing your changes
- Click Commit & Push
Changes are not deployed automatically as you edit. You must commit and push to trigger a deployment. This gives you control over when your site updates.
After pushing, Vercel automatically builds and deploys your site. Updates typically go live in 1-2 minutes.
Deployment Status
Check deployment status in:
- PhantomWP Dashboard - Shows status badge on project card
- Vercel Dashboard - Full deployment logs and history
- GitHub - Deployment status on commits
Custom Domains
Adding a Custom Domain
- Go to your project in Vercel
- Click Settings → Domains
- Enter your domain (e.g.,
mysite.com) - Follow DNS configuration instructions
DNS Configuration
Option A: Vercel Nameservers (Recommended) Point your domain's nameservers to Vercel:
ns1.vercel-dns.comns2.vercel-dns.com
Option B: A/CNAME Records Add these records at your DNS provider:
- A Record:
76.76.21.21 - CNAME:
cname.vercel-dns.com
SSL/HTTPS
Vercel automatically provisions and renews SSL certificates. Your site is HTTPS-only with no configuration needed.
Deployment Logs
If a deployment fails, check the logs:
- Go to Vercel Dashboard
- Click on the failed deployment
- View Build Logs for details
Common issues:
- Missing dependencies - Check
package.json - Build errors - Check your Astro code for errors
- Out of memory - Simplify build or upgrade Vercel plan
Rollbacks
If a deployment breaks your site:
- Go to Vercel Dashboard → Deployments
- Find the last working deployment
- Click ... → Promote to Production
Your site instantly reverts to the previous version.
Disconnecting Vercel
To disconnect Vercel from PhantomWP:
- Go to PhantomWP Dashboard
- Find the Vercel section in the sidebar
- Click Disconnect
This removes the connection but doesn't delete your Vercel project.
Vercel Limits (Free Tier)
The free tier includes:
- 100 GB bandwidth/month
- Unlimited static deployments
- 1 concurrent build
- Serverless functions (100 GB-hours/month)
Plenty for most personal and small business sites!
Alternative Hosts
PhantomWP sites work on any static host:
- Netlify - Similar features to Vercel
- Cloudflare Workers - Great performance, free tier
- GitHub Pages - Free, good for simple sites
- AWS S3 + CloudFront - Maximum control
For these platforms, build locally or use their GitHub integrations directly.
Troubleshooting
"You need to add a Login Connection to your GitHub account"
This error means your Vercel account is not connected to GitHub. Vercel needs GitHub access to pull your repository and set up automatic deployments.
To fix this:
- Go to Vercel Authentication Settings
- Connect your GitHub account under the authentication options
- Return to PhantomWP and try deploying again
This is required even if you already have a Vercel API token. The token lets PhantomWP talk to Vercel, but Vercel itself still needs a GitHub connection to access your repository.
"Build Failed"
- Check build logs for specific errors
- Test locally: run
npm run buildin your codespace - Fix any TypeScript or Astro errors
"Domain Not Working"
- Verify DNS records are correct
- Wait up to 48 hours for DNS propagation
- Check for conflicting records
"Site Shows Old Content"
- Clear your browser cache
- Wait for CDN cache to expire (~1 minute)
- Trigger a new deployment
"404 on Pages"
- Check that pages exist in
src/pages/ - Verify dynamic routes are configured correctly
- Check
astro.config.mjsfor routing settings
Next Steps
- WordPress Security - Secure your WordPress installation
- IDE Overview - Learn more IDE features
- Docker Local Development - Run your project on your own machine