Quick Start
Create your first PhantomWP project in under 5 minutes.
Quick Start Guide
This guide walks you through creating your first Astro site with PhantomWP. By the end, you'll have a working website ready to customize.
Prerequisites
Before you begin, make sure you have:
- A GitHub account (free tier works fine)
- An email address for your PhantomWP account
- About 5 minutes of time
That's it - no software to install, no command line required.
Step 1: Create Your Account
- Go to PhantomWP and click Get Started
- Sign up with your email address
- Verify your email by clicking the link we send you
Step 2: Connect GitHub
After signing in, connect your GitHub account:
- On the dashboard, click Connect GitHub Account
- Authorize PhantomWP to access your GitHub
- You'll be redirected back to the dashboard
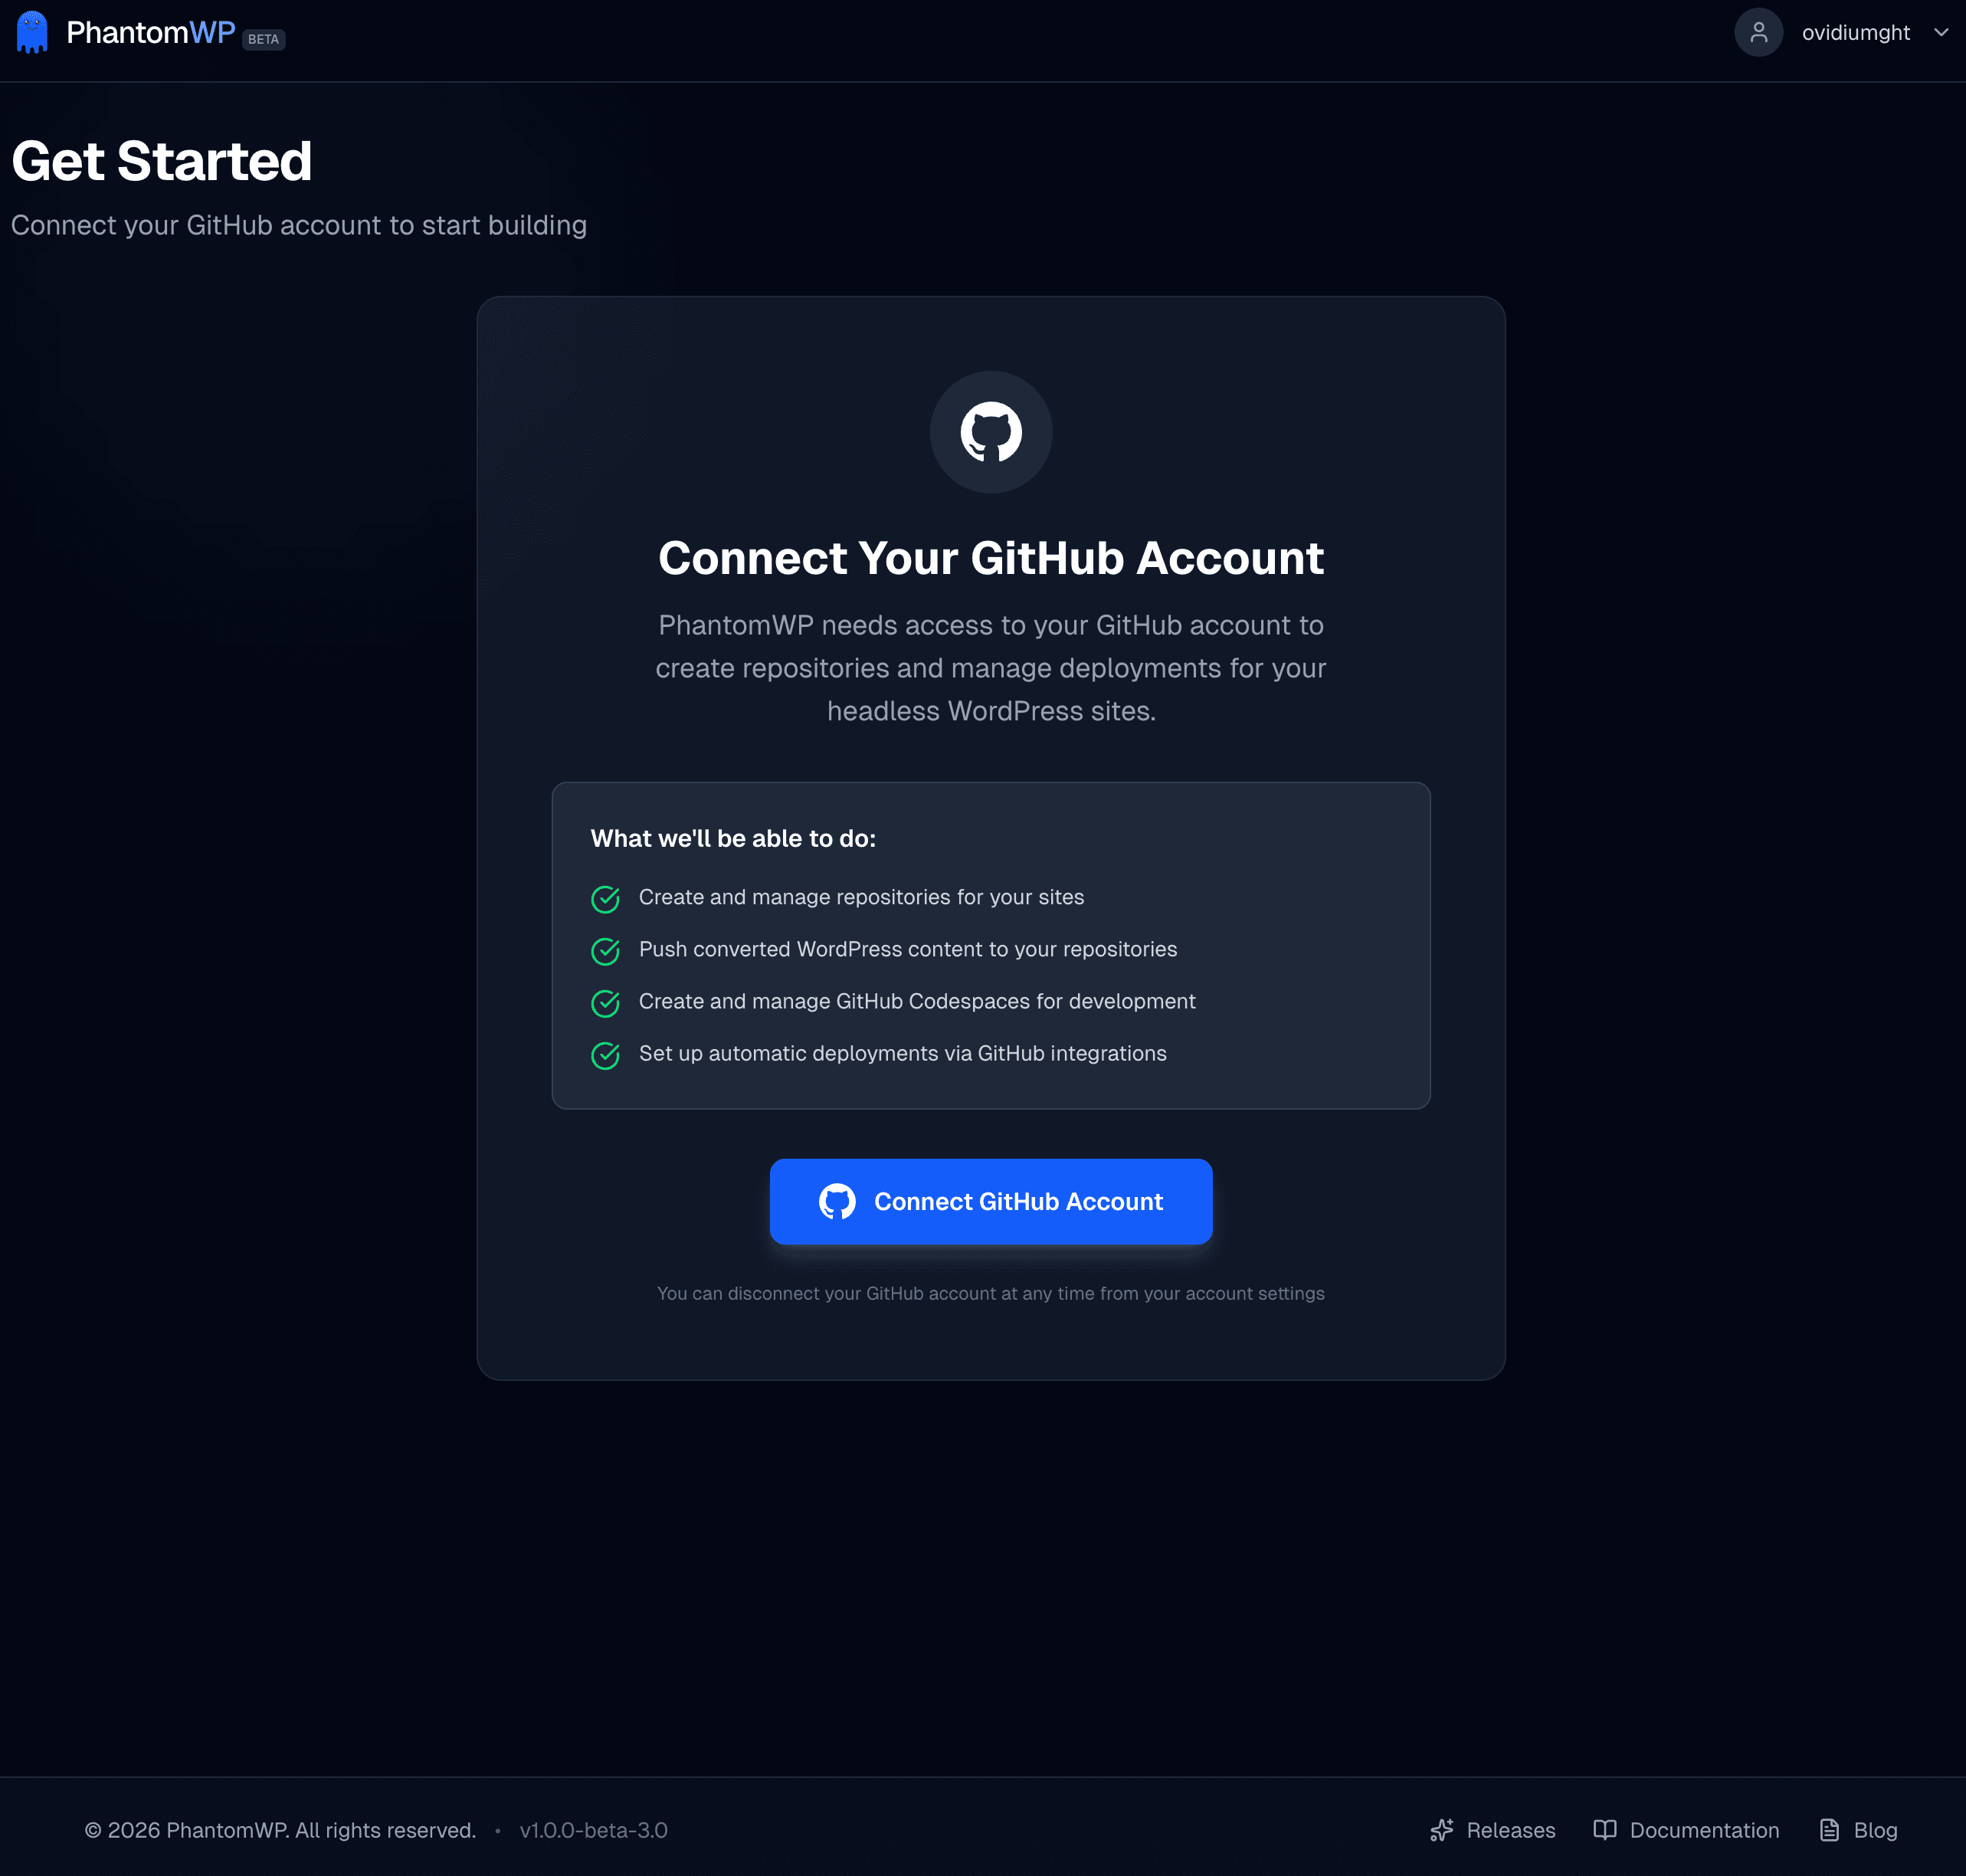
PhantomWP needs GitHub access to create repositories and manage Codespaces on your behalf. We only request the minimum permissions needed.
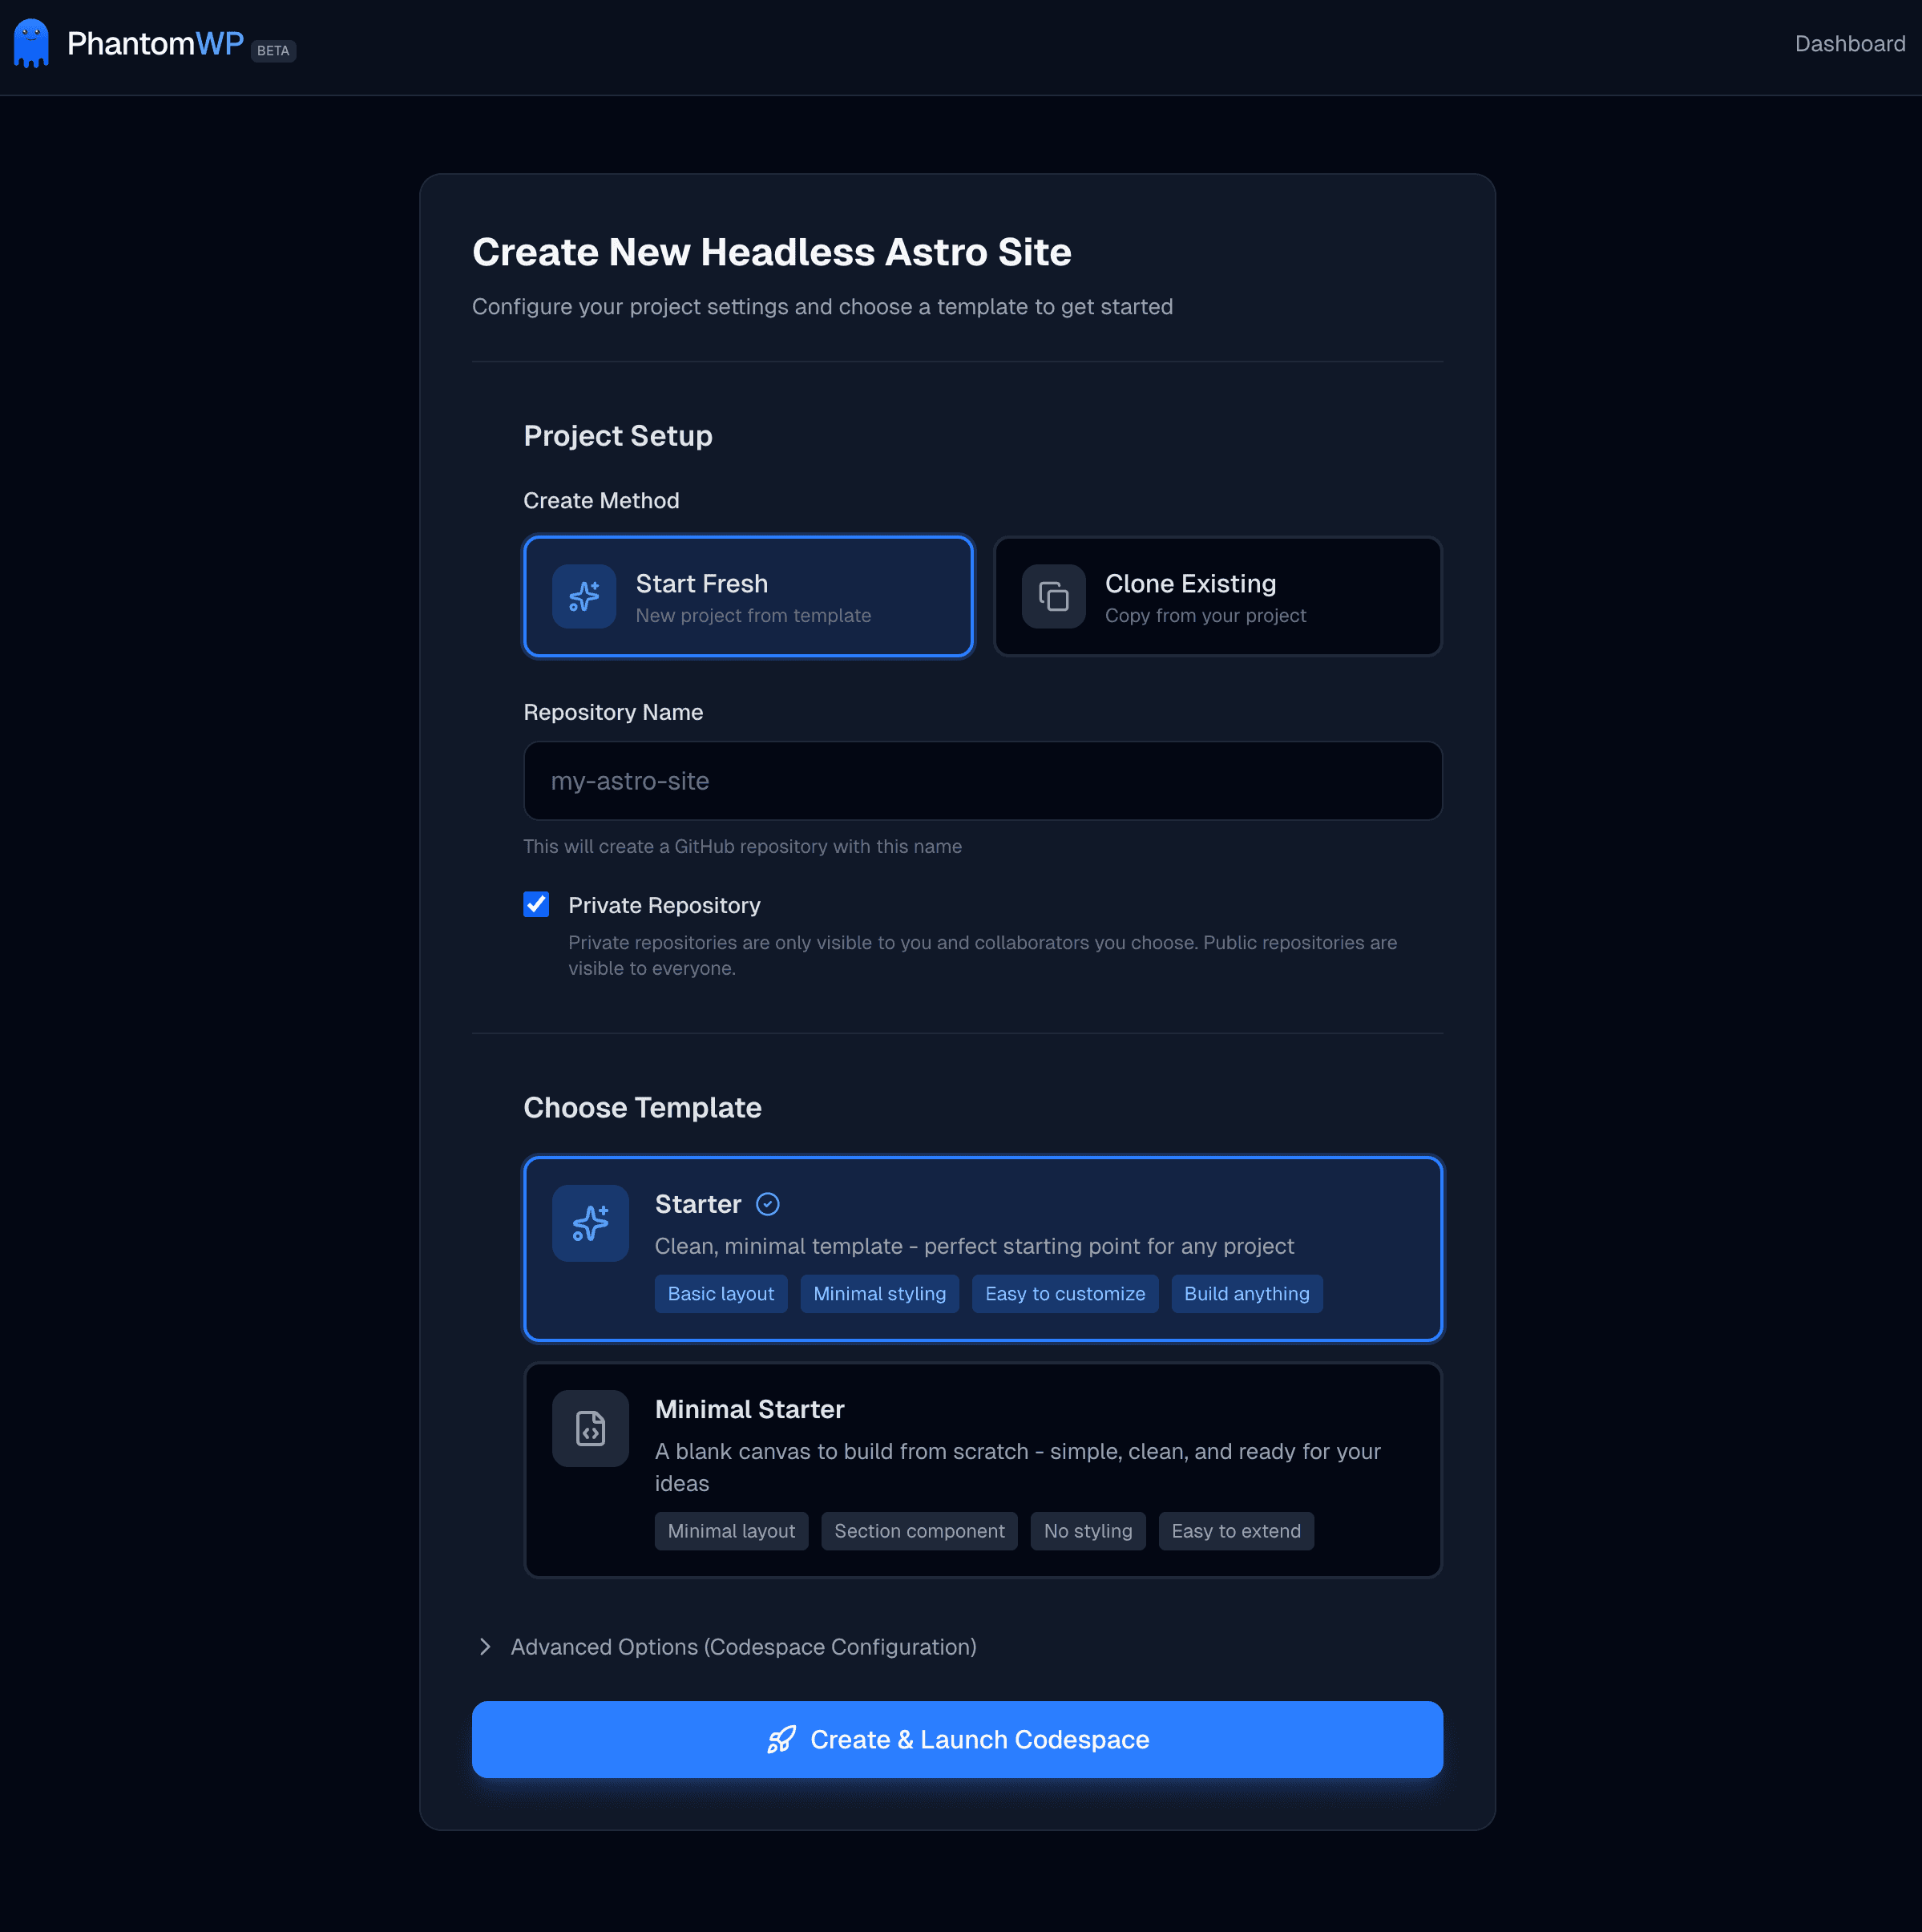
Step 3: Create Your First Project
- Click Create New Project on the dashboard
- Enter a name for your repository (e.g.,
my-astro-site) - Choose whether the repository should be public or private
- Pick where the project runs: a GitHub Codespace (cloud), Docker (your own machine — see Docker Local Development), or Fly.io (remote container)
- Click Create & Launch Codespace (or Create & Run Locally / Create & Launch on Fly.io)
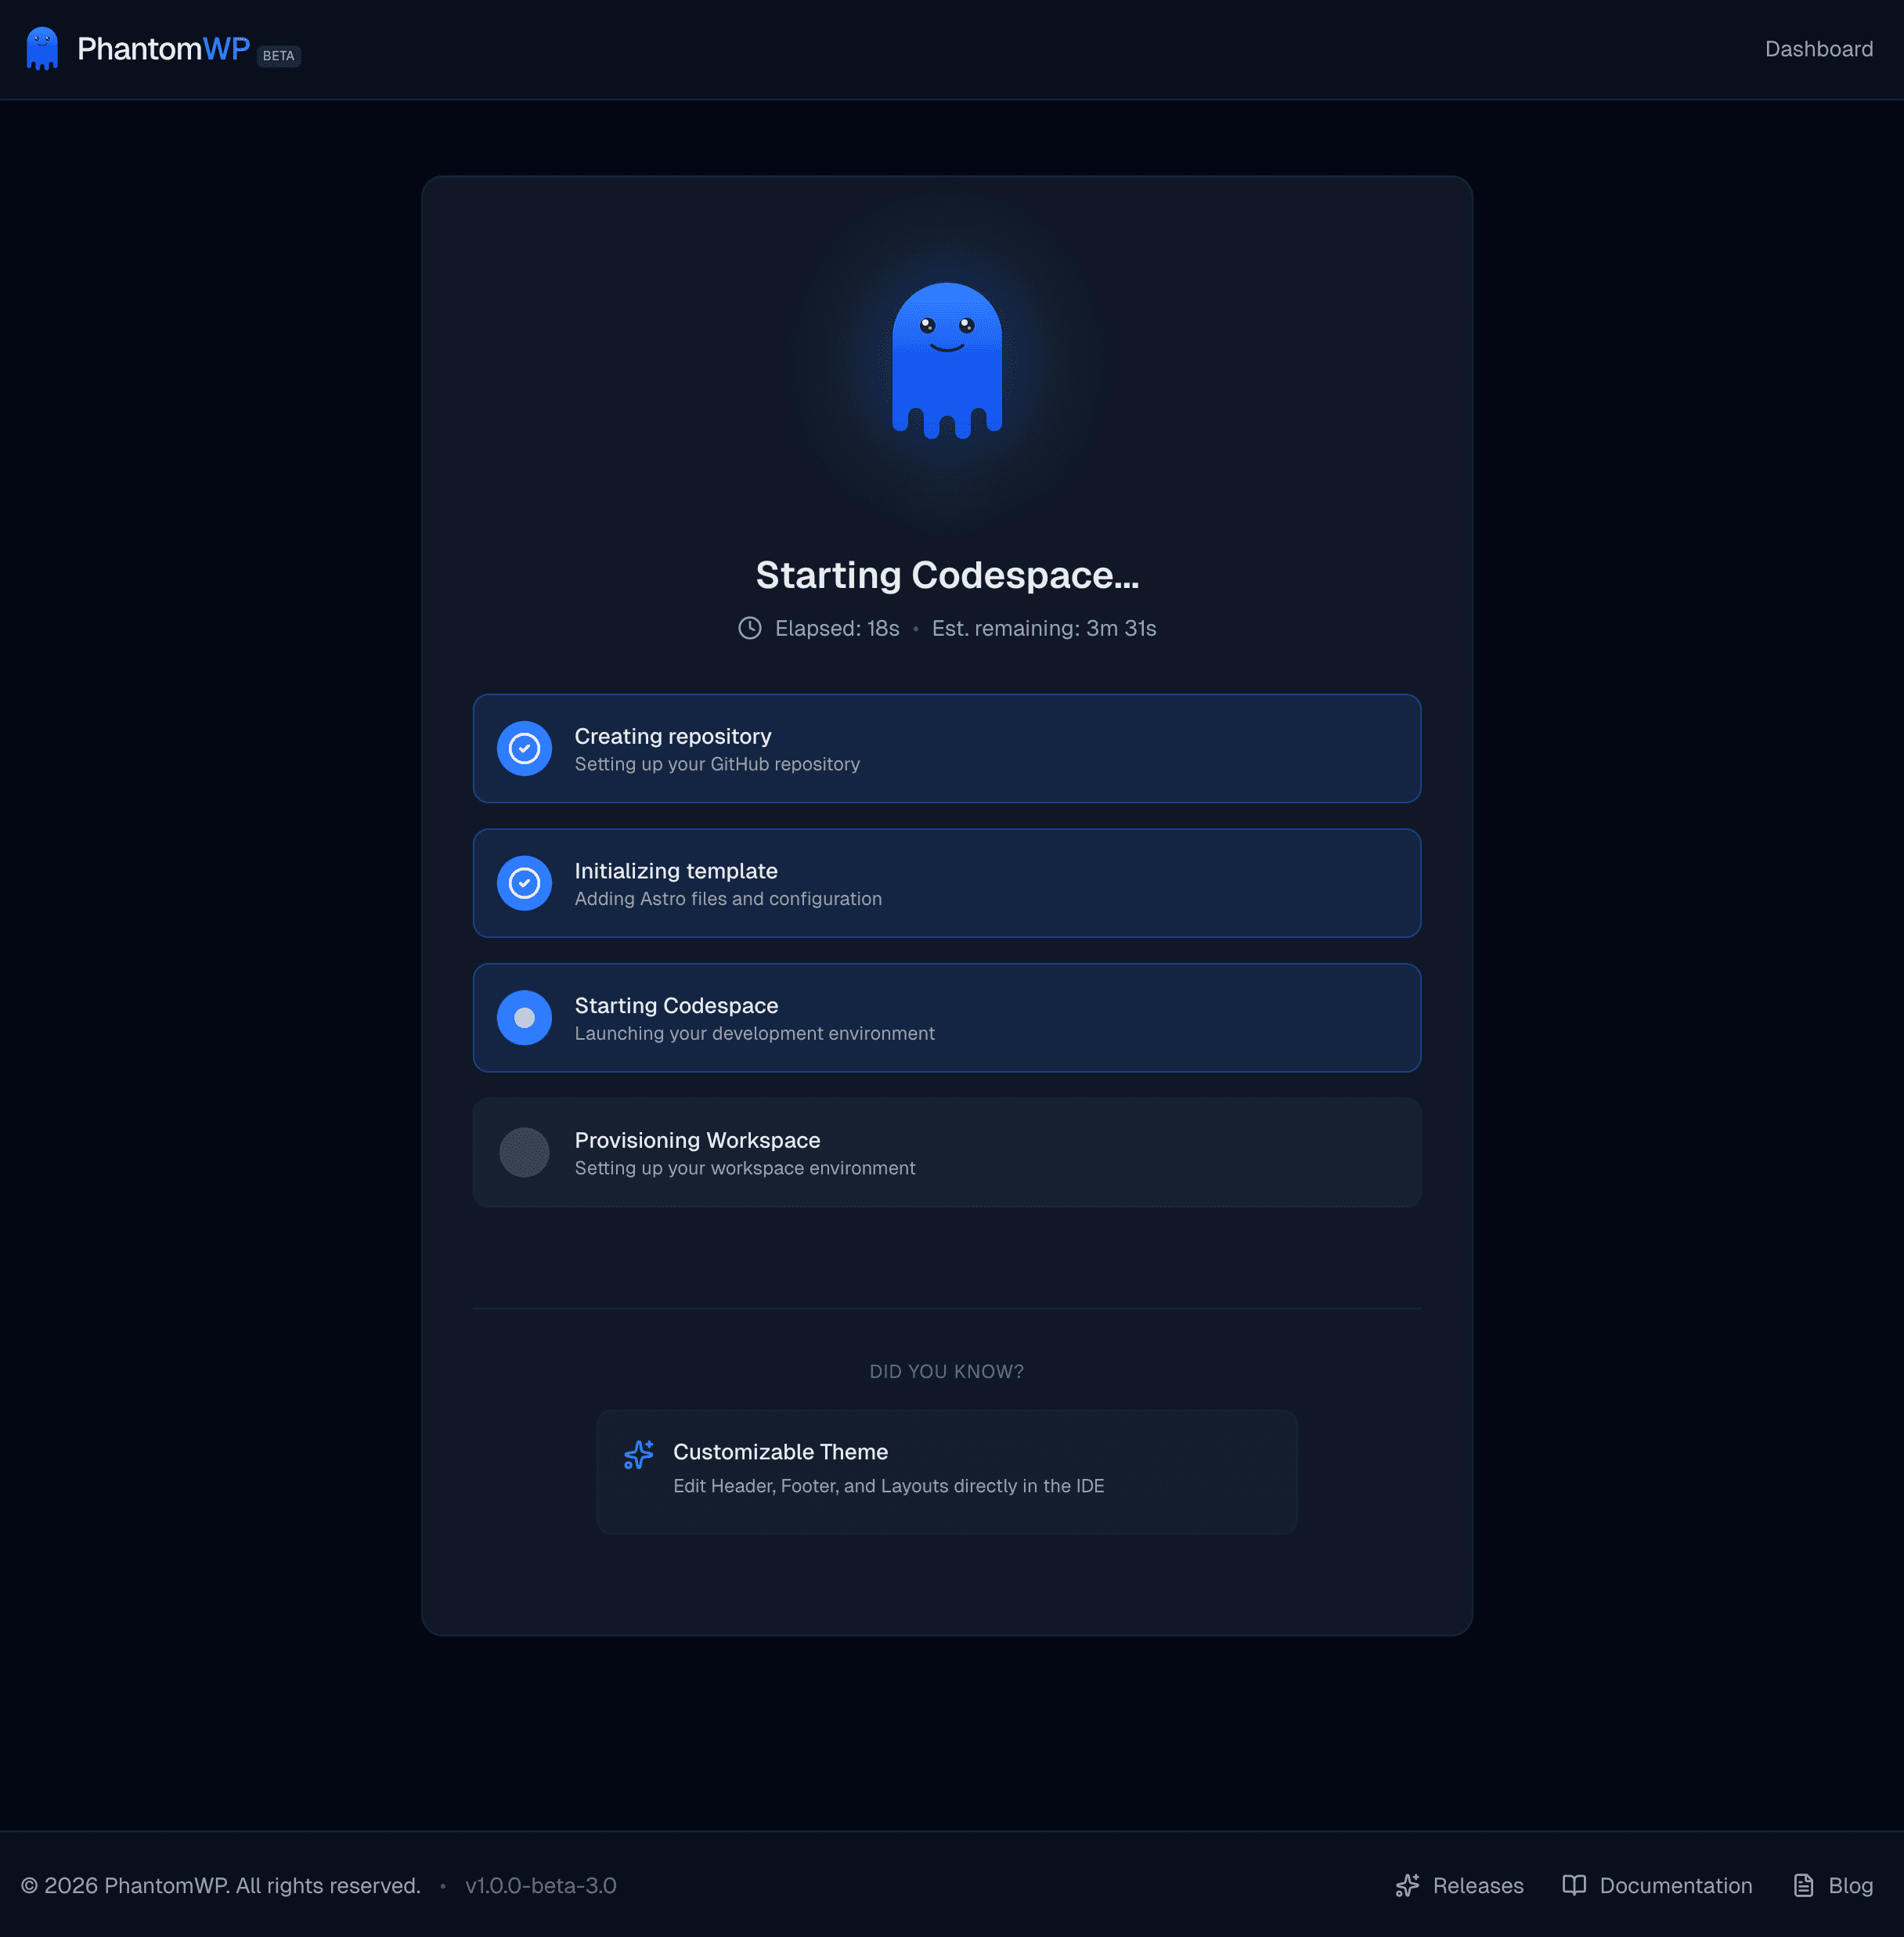
PhantomWP will now:
- Create a new GitHub repository
- Set up the Astro template with all files
- Launch a GitHub Codespace
- Open the IDE automatically
This takes about 3-4 minutes. You'll see progress updates as each step completes.
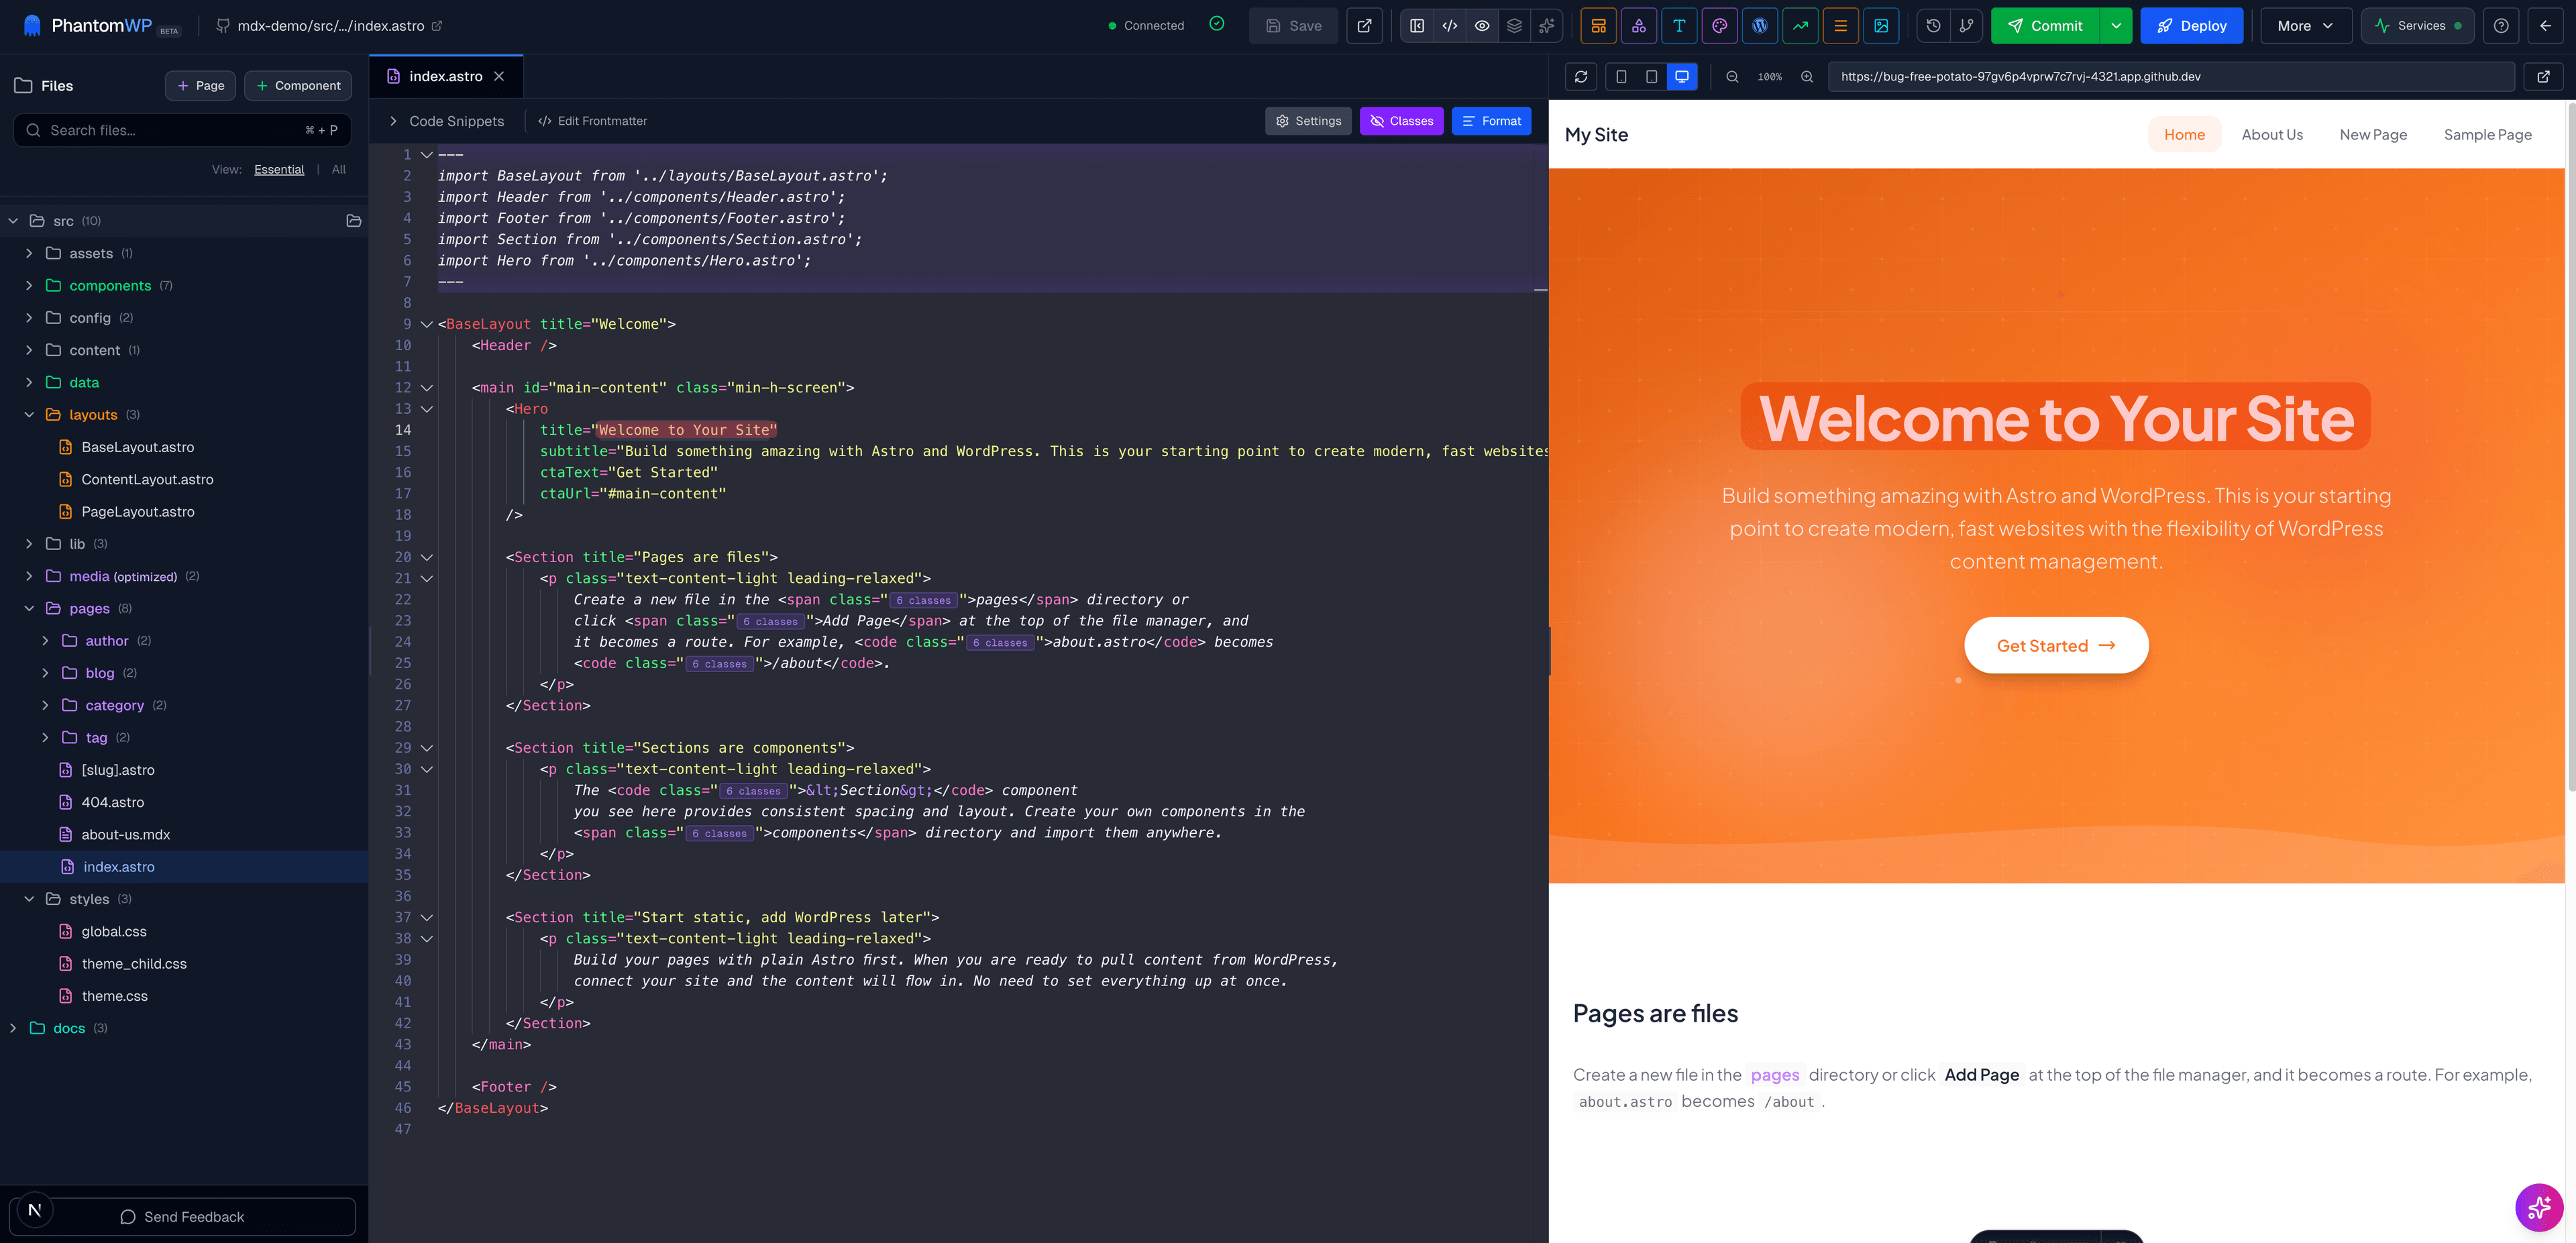
Step 4: Explore the IDE
Once your Codespace is ready, you'll see the PhantomWP IDE:
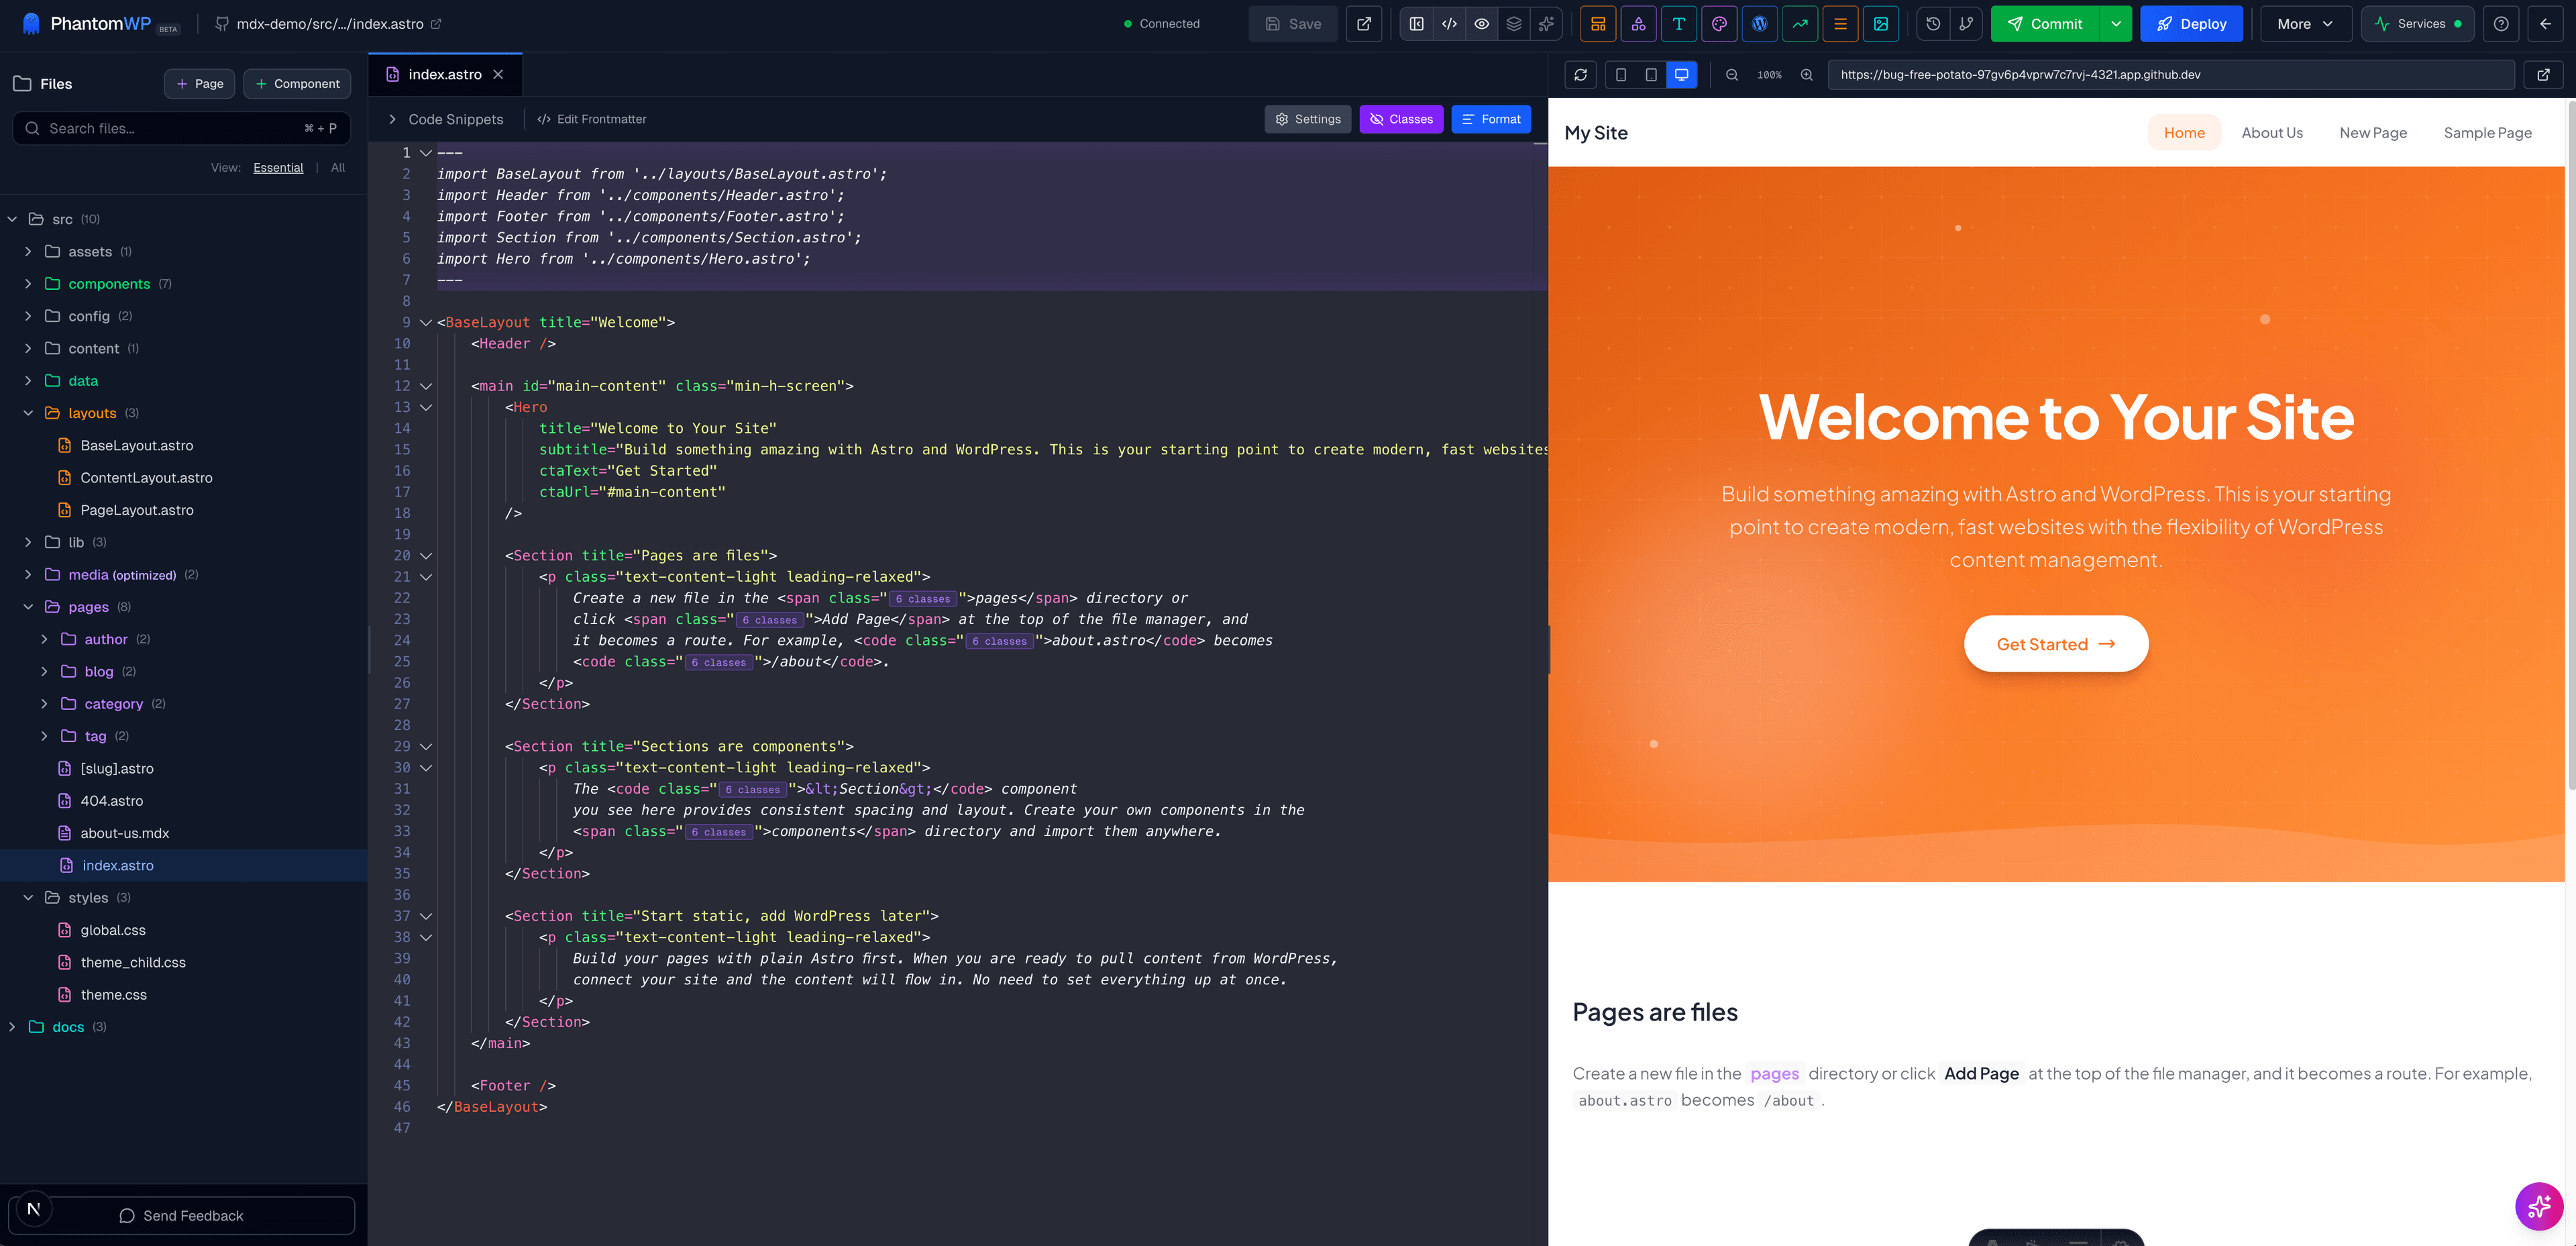
The IDE has several key areas:
| Area | Purpose |
|---|---|
| File Tree (left) | Browse and manage project files |
| Code Editor (center) | Edit files with syntax highlighting |
| Live Preview (right) | See changes instantly |
| Header Bar (top) | Access tools and settings |
For a complete tour, see the IDE Overview.
Step 5: Make Your First Edit
Let's personalize your site:
- In the file tree, click on
src/pages/index.astro - Find the
<h1>tag with the site title - Change the text to something personal
- Press
Cmd/Ctrl + Sto save
Watch the preview update instantly with your changes.
Step 6: Add a Component
Try adding a pre-built section from the Component Library:
- Click the Sections icon in the header (grid icon)
- Browse the available section templates
- Click a section to preview it
- Click Insert to add it to your page

Step 7: Deploy Your Site
When you're ready to share your site with the world:
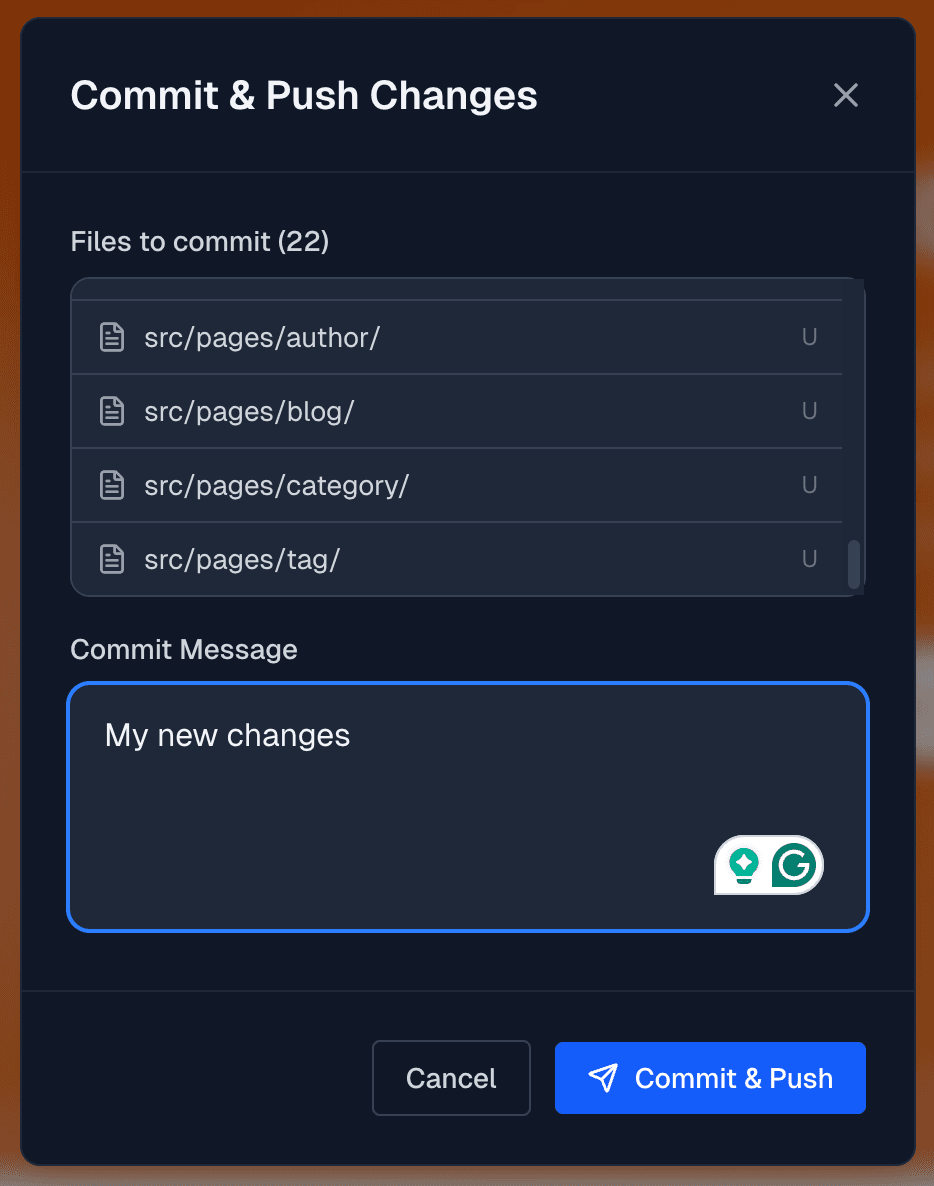
Commit Your Changes
- Click the Git icon in the header
- Review your changes
- Write a commit message (e.g., "Update homepage")
- Click Commit & Push
Set Up Vercel Deployment
- Go back to the Dashboard
- Find your project card
- Click Setup Deployment
- Enter your Vercel token (see Deploying to Vercel for details)
- Follow the prompts to connect your repository
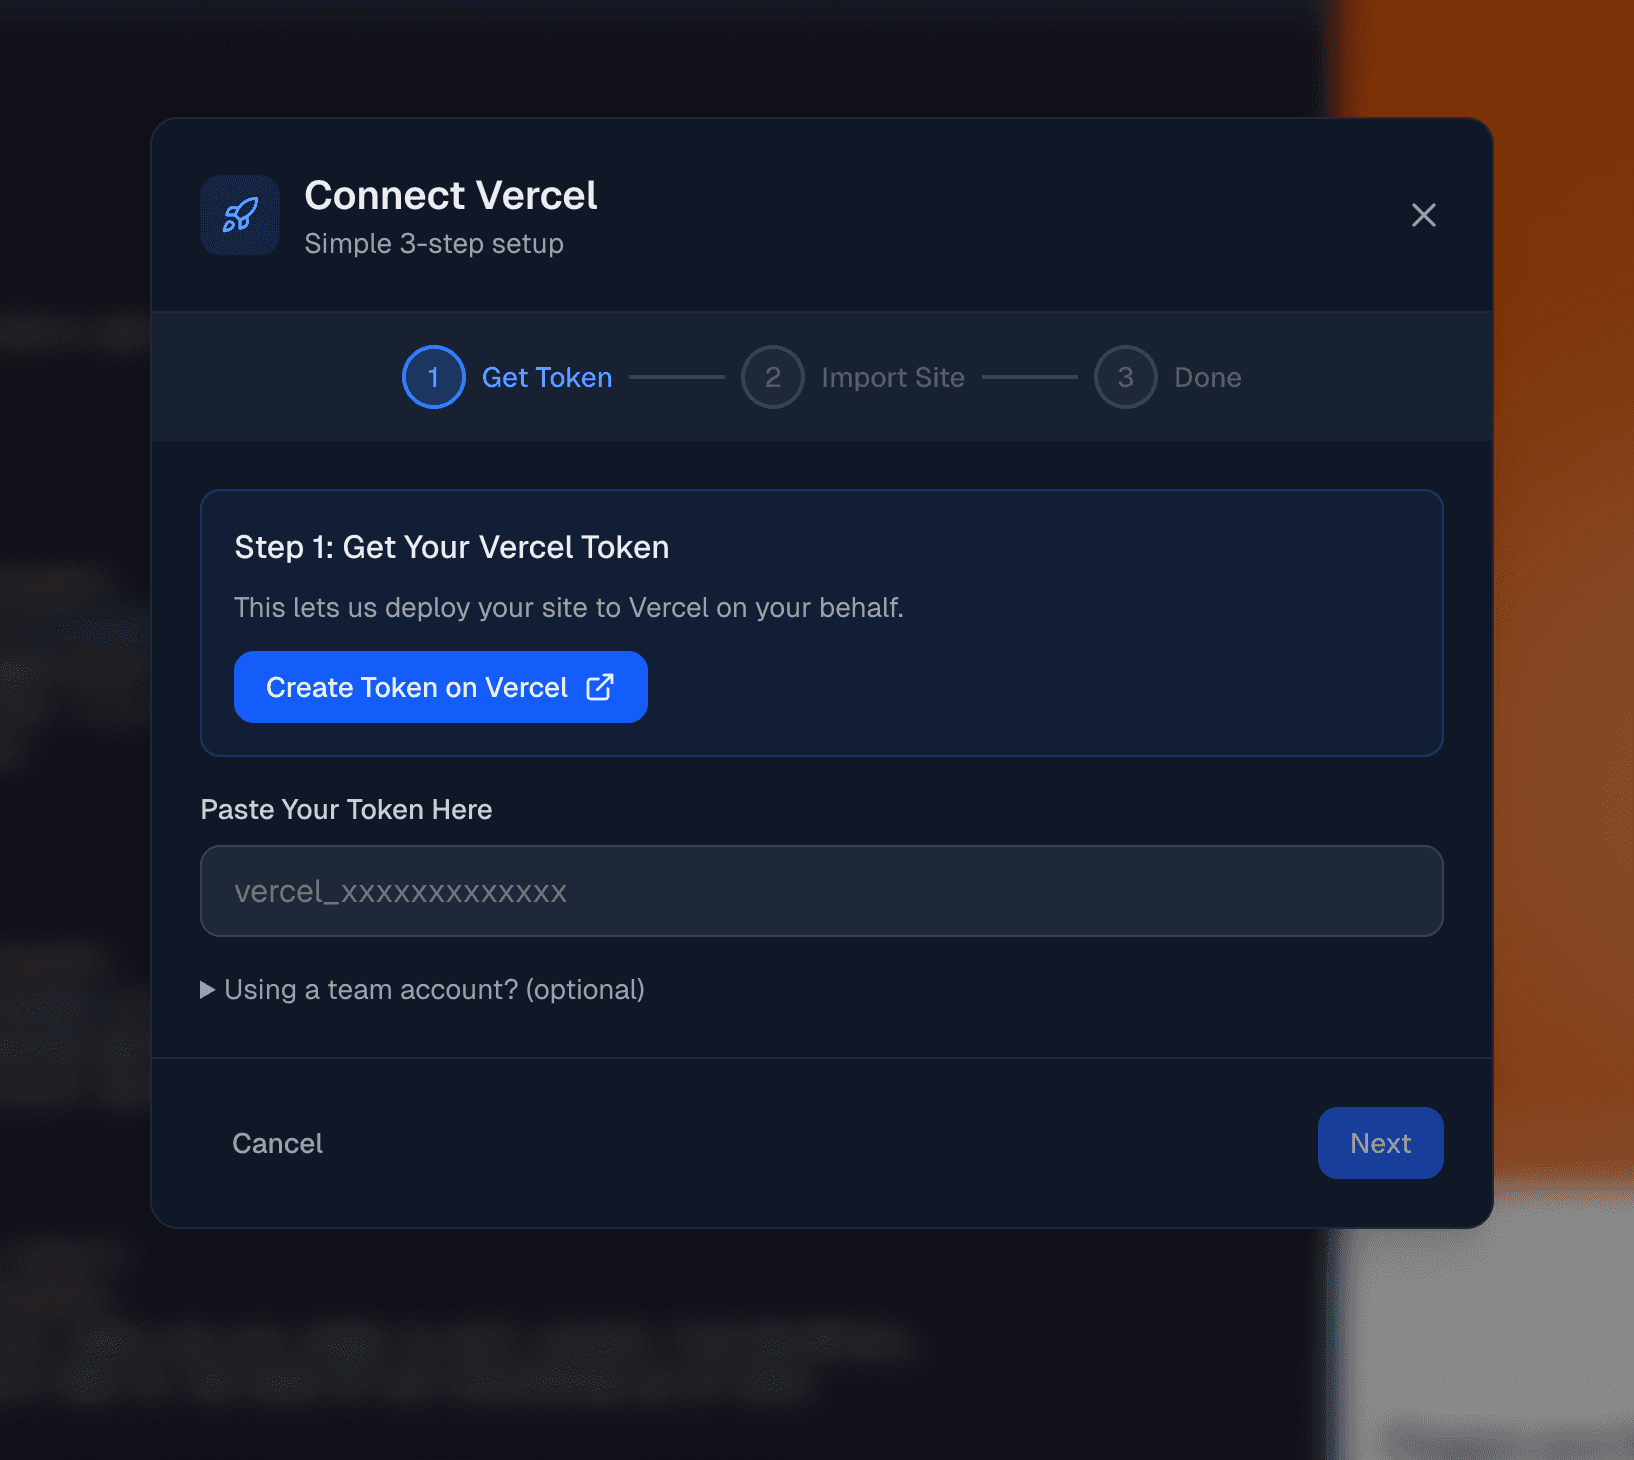
Once connected, every push to GitHub automatically deploys your site. You'll see the deployment status and live URL on your dashboard.
What's Next?
You've created your first PhantomWP project. Here's what to explore next:
Master the IDE
- IDE Overview - Learn all the features
- Visual Editor - Edit pages visually
- Menu Builder - Create navigation menus
- Media Manager - Manage images and files
Build Faster
- Component Library - Pre-built sections
- AI Assistant - Get AI help while coding
Connect WordPress
If you have an existing WordPress site:
- Connecting WordPress - Set up the connection
- Importing Content - Bring over your content
Troubleshooting
Having issues? Here are quick fixes for common problems:
Codespace Won't Start
If your Codespace is stuck starting:
- Go to the Dashboard
- Click the Remove button next to the Codespace
- Click Create Codespace to create a fresh one
If Codespaces are giving you trouble, you can also run the same project on your own machine with Docker — see Docker Local Development.
Preview Not Loading
If the preview shows a blank page:
- Make sure the Codespace status shows "Running"
- Wait 10-15 seconds for the dev server to start
- Click the refresh icon in the preview panel
Changes Not Saving
If your changes aren't persisting:
- Make sure you see "Saved" in the status bar
- Check that the tab doesn't show an unsaved indicator (dot)
- Try pressing
Cmd/Ctrl + Smanually
For more help, see our Troubleshooting Guide or visit the Support page.