AI Assistant
Use the AI assistant to write code, generate content, debug issues, and modify files directly.
AI Assistant
PhantomWP includes a powerful AI assistant that can read and modify your files, generate code, answer questions, and help you build faster. The AI has two interfaces: the Chat Panel for conversations and Inline AI for quick edits directly in the editor.
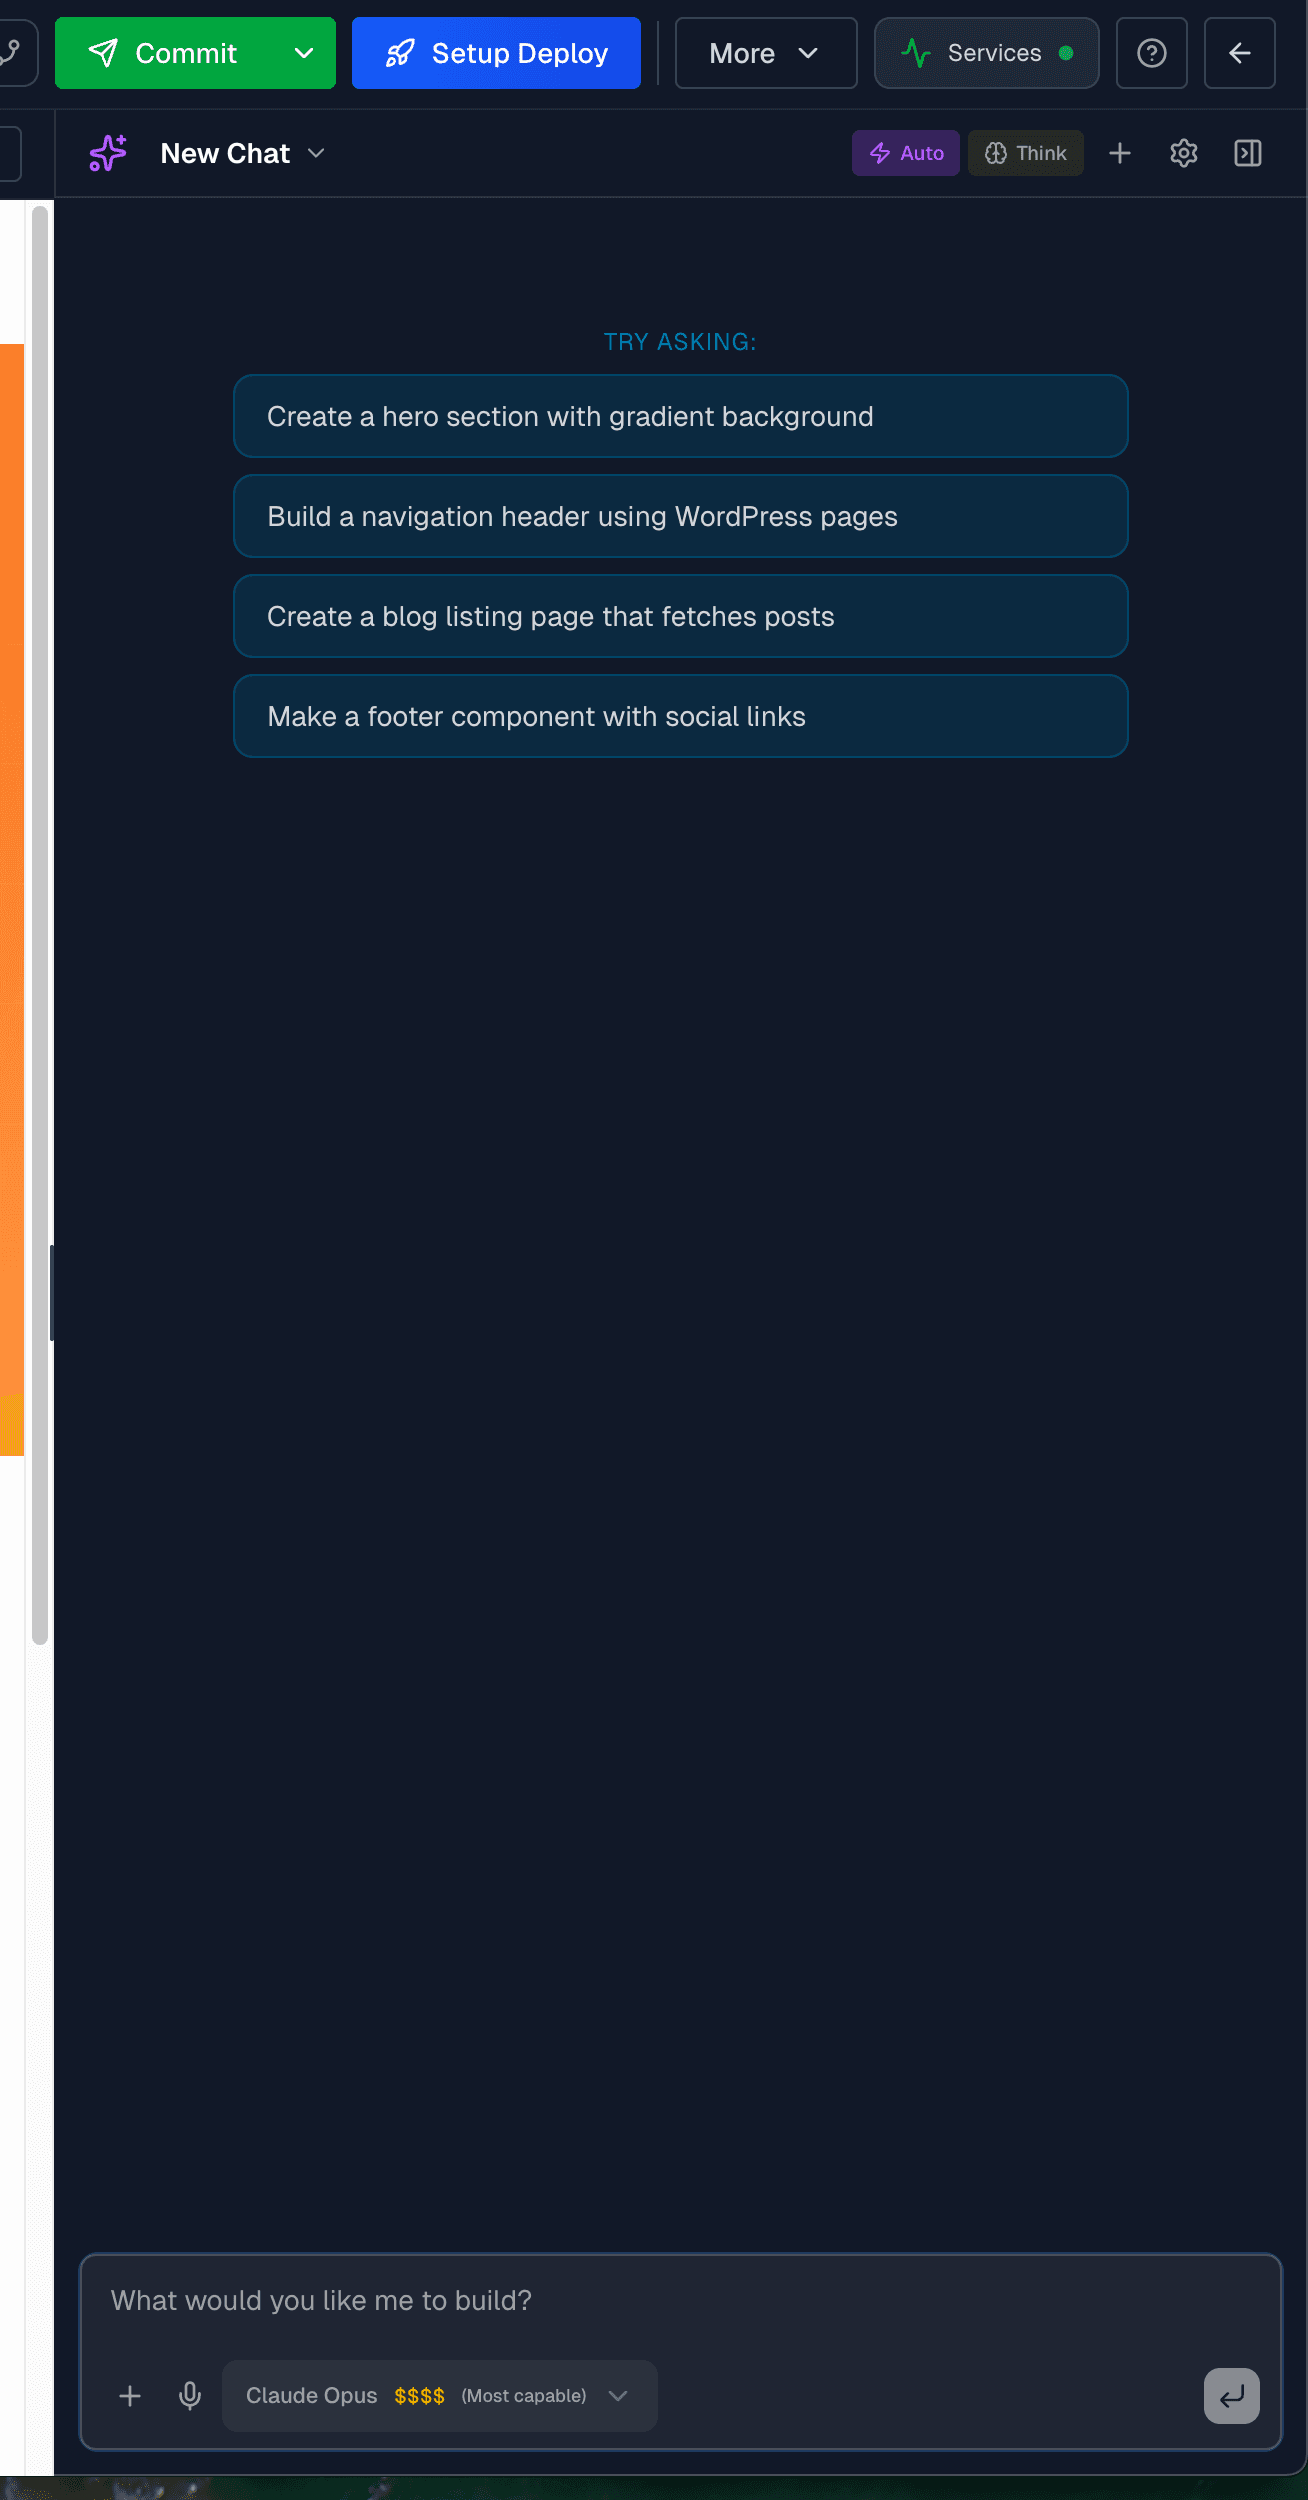
AI Chat Panel
Click the AI icon in the header bar to open the chat panel. It appears on the right side of the IDE.
Models
Choose from multiple AI models in the dropdown:
| Model | Provider | Notes |
|---|---|---|
| Claude Sonnet | Anthropic | Recommended, good balance |
| Claude Opus | Anthropic | Most capable |
| Claude Haiku | Anthropic | Fast and cheap |
| GPT-5.2 Pro | OpenAI | High precision |
| GPT-5.2 | OpenAI | Standard |
| Gemini 2.5 Pro | Thinking mode | |
| Gemini 2.5 Flash | Fast thinking | |
| Gemini 3 Pro | Multimodal | |
| Gemini 3 Flash | Fast |
You need to add your own API keys in AI Settings. Keys for Anthropic, OpenAI, and Google are supported.
Extended Thinking
For complex tasks, enable Extended Thinking (brain icon) to let the AI reason through problems step by step. Supported on Claude Sonnet/Opus, GPT-5.2, and Gemini 2.5 models.
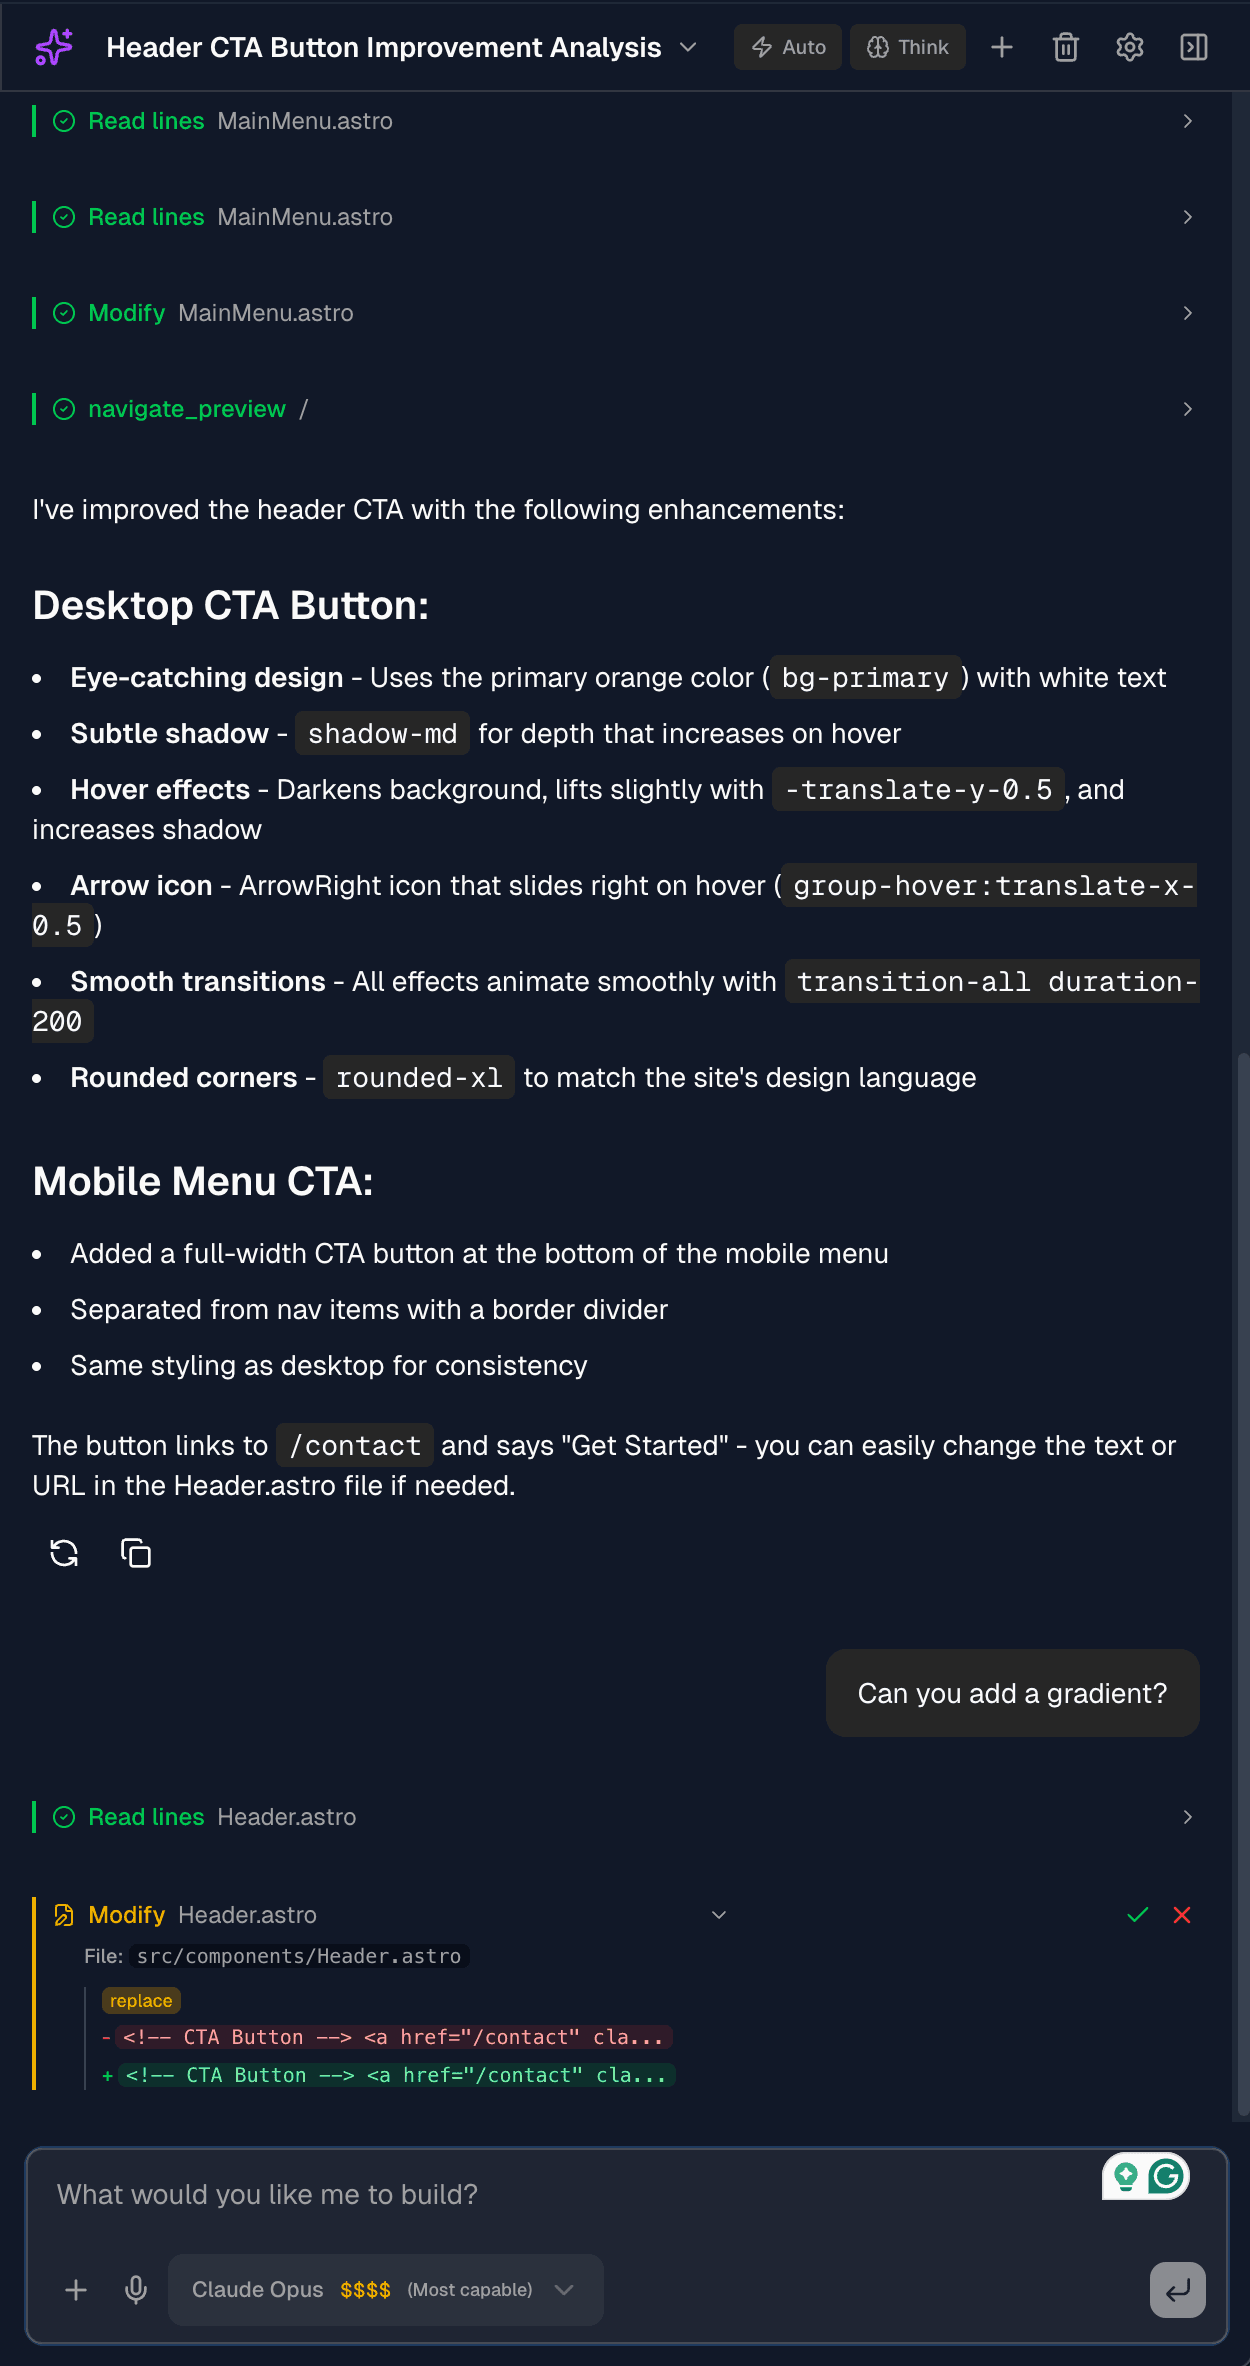
What the AI Can Do
The AI can perform actions directly in your project:
| Tool | What It Does |
|---|---|
| Create File | Create new files with specified content |
| Modify File | Edit existing files (replace, insert, delete) |
| Read File | Read file contents to understand your code |
| List Files | Browse your project structure |
| Read Lines | Read specific line ranges |
| Search in File | Find patterns in files |
| Get File Outline | Get structure of a file |
| Restart Services | Restart the dev server |
| Install Package | Install npm packages |
| Navigate Preview | Navigate the preview pane |
| Get Documentation | Access built-in docs for fonts, Tailwind, etc. |
Tool Approval
Some actions require your approval before executing:
- Create File - requires approval
- Modify File - requires approval
- Install Package - requires approval
Other tools (read, list, search, etc.) execute automatically.
Toggle Auto-approve to let the AI execute all actions without asking.
Using the Chat
- Type your request in the input field
- The AI responds with text and/or tool calls
- Review any file changes before approving
- Continue the conversation to refine results
The AI automatically knows about your current file and preview URL.
Example Prompts
- "Create a testimonial card component with image and quote"
- "Add a navigation menu to the header"
- "Fix the mobile layout on this page"
- "Explain how this WordPress integration works"
- "Install the Astro sitemap integration"
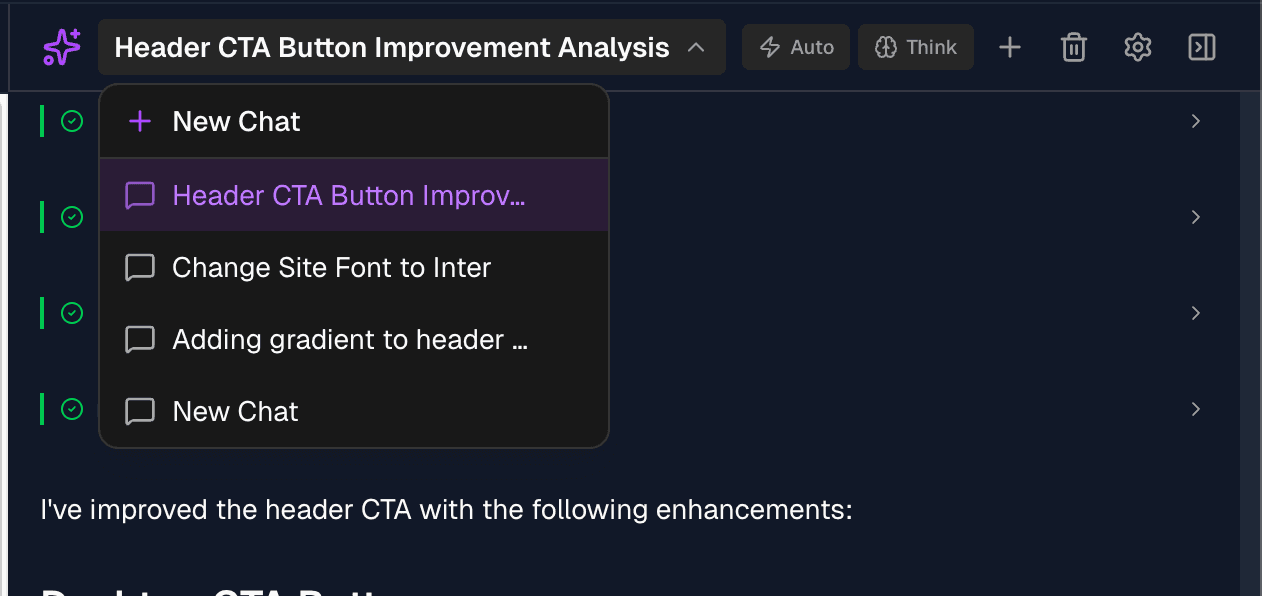
Chat Sessions
Your conversations are saved automatically. Use the chat menu to:
- New Chat - start a fresh conversation
- Switch Chat - return to a previous conversation
- Delete Chat - remove a conversation
- Clear History - clear the current chat
Custom AI Instructions
Create a docs/ai-instructions.md file to give the AI custom instructions about your project. The AI reads meaningful content from this file and follows your preferences; blank template text and comments are ignored.
Example instructions:
# AI Instructions

## Preferences
- Use TypeScript for all new files
- Follow the existing component patterns
- Use Tailwind CSS for styling
- Keep components small and focused

## Project Context
- This is a marketing site for a SaaS product
- The main colors are blue-600 and gray-900
- We use the Inter font family
Inline AI
For quick edits without leaving the editor, use Inline AI. It appears as a floating widget at your cursor.
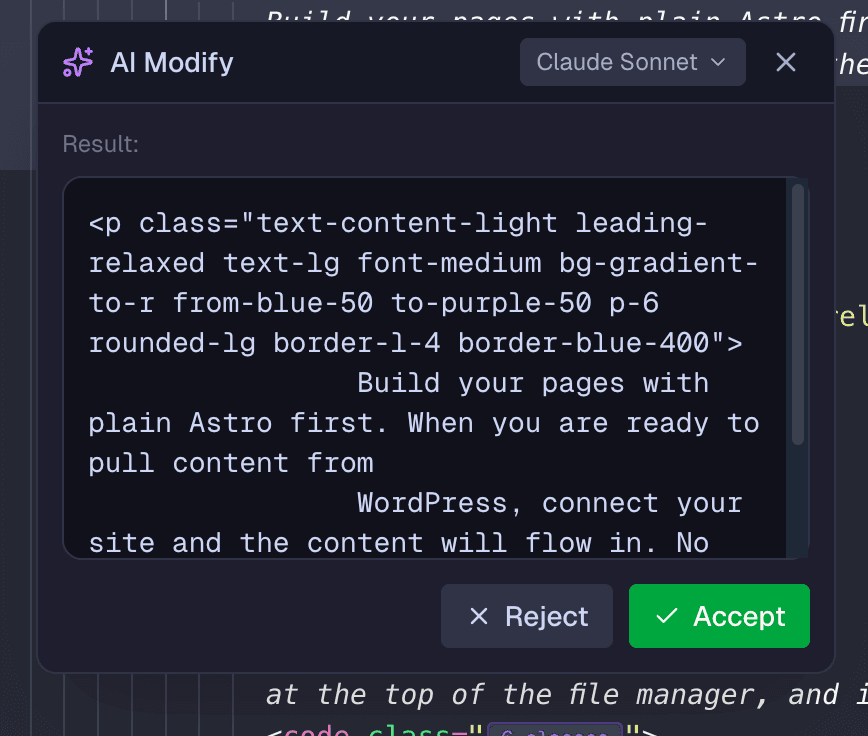
AI Modify
Modify selected code with AI:
- Select code in the editor
- Press
Cmd/Ctrl + Shift + Mor right-click and choose AI Modify - Describe how to change the code
- Press
Cmd/Ctrl + Enterto submit - Review the result
- Click Accept or Reject
Example uses:
- "Add error handling"
- "Convert to TypeScript"
- "Make this more efficient"
- "Add comments explaining the logic"
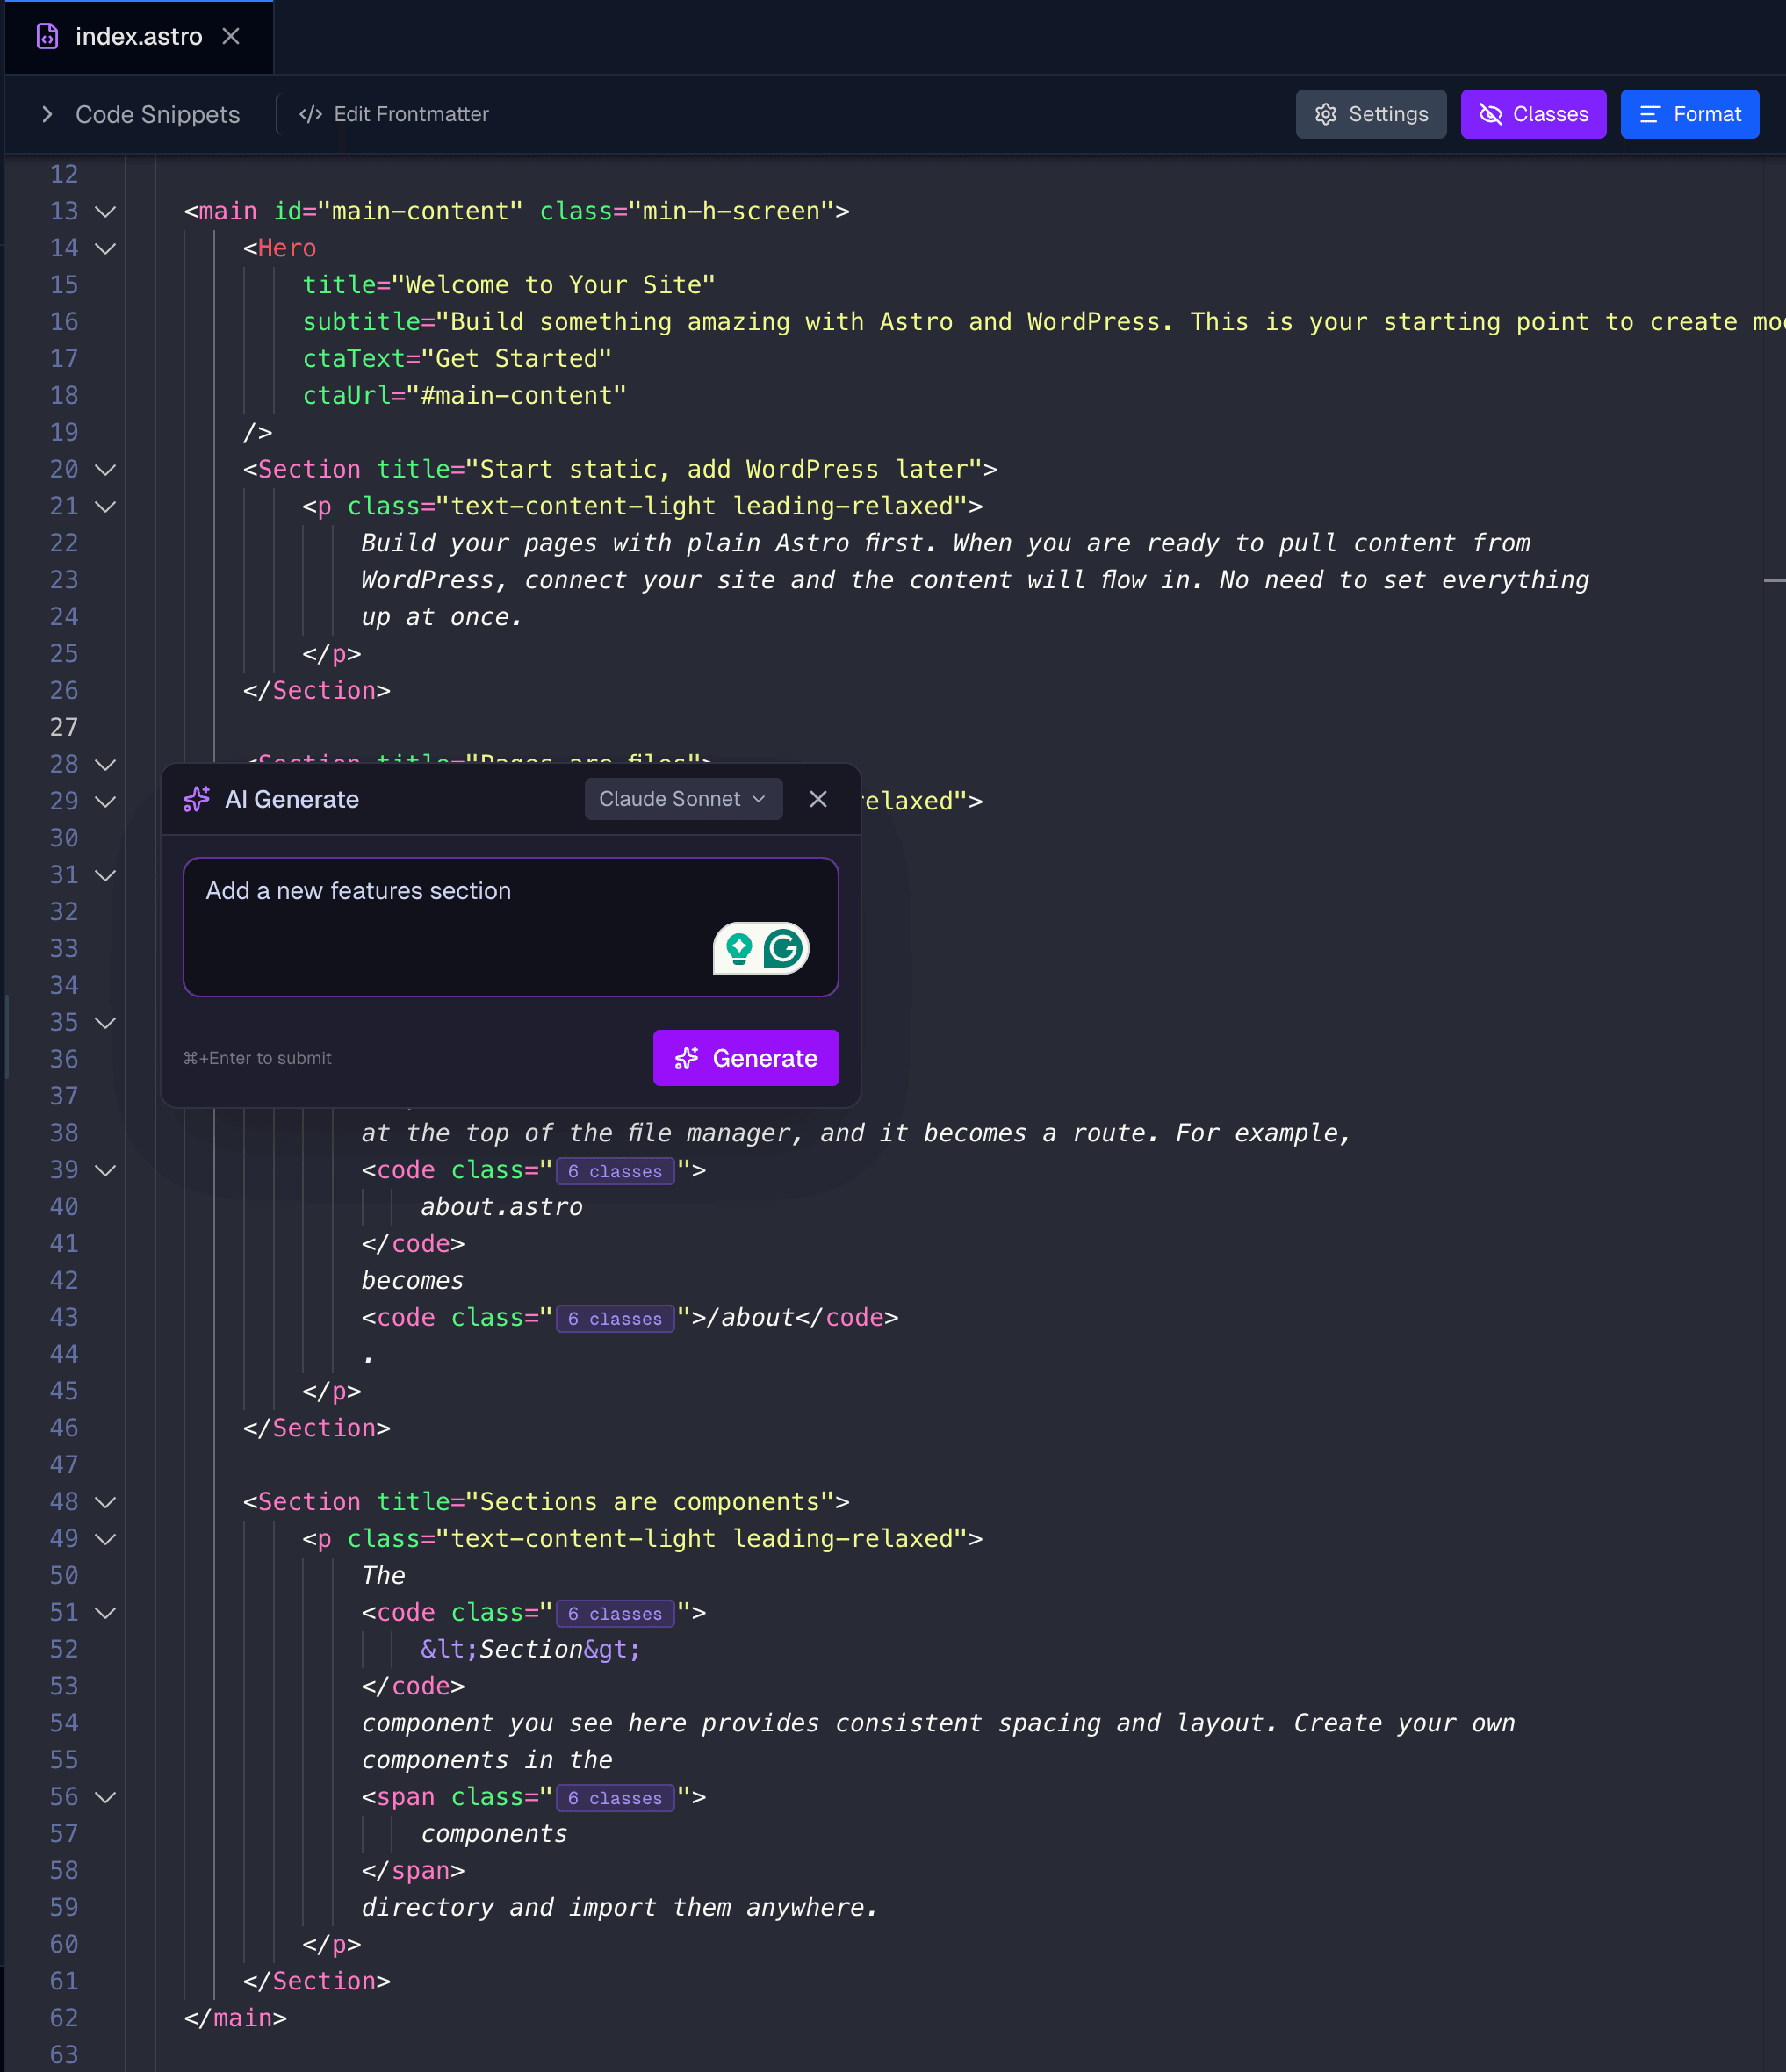
AI Generate
Generate new code at your cursor:
- Position your cursor where you want code
- Press
Cmd/Ctrl + Shift + Gor right-click and choose AI Generate - Describe what to generate
- Press
Cmd/Ctrl + Enterto submit - Review the result
- Click Accept or Reject
Example uses:
- "A function to format dates"
- "An Astro component for a pricing card"
- "CSS for a gradient button"
- "A TypeScript interface for blog posts"
Inline AI Models
The inline AI has its own model selector. It remembers your preference separately from the chat panel.
Tips for Better Results
Be Specific
Instead of: "Make a component"
Try: "Create a Card component with an image at the top, a title, description, and a Learn More link. Use Tailwind CSS with rounded corners and a shadow."
Provide Context
Instead of: "Fix this"
Try: "The navigation menu doesn't show on mobile. The hamburger button appears but clicking it does nothing. How do I make it toggle?"
Use Current File Context
The AI knows about your currently open file. Ask questions like:
- "Explain this component"
- "Add a loading state to this"
- "What's wrong with this code?"
Share Error Messages
When debugging, paste the full error:
"I'm getting this error when I load the page: 'Cannot read property title of undefined'. Here's my code..."
AI Settings
Click the gear icon in the chat panel header to open AI Settings.
API Keys
Add your API keys for each provider:
- Anthropic - for Claude models
- OpenAI - for GPT models
- Google - for Gemini models
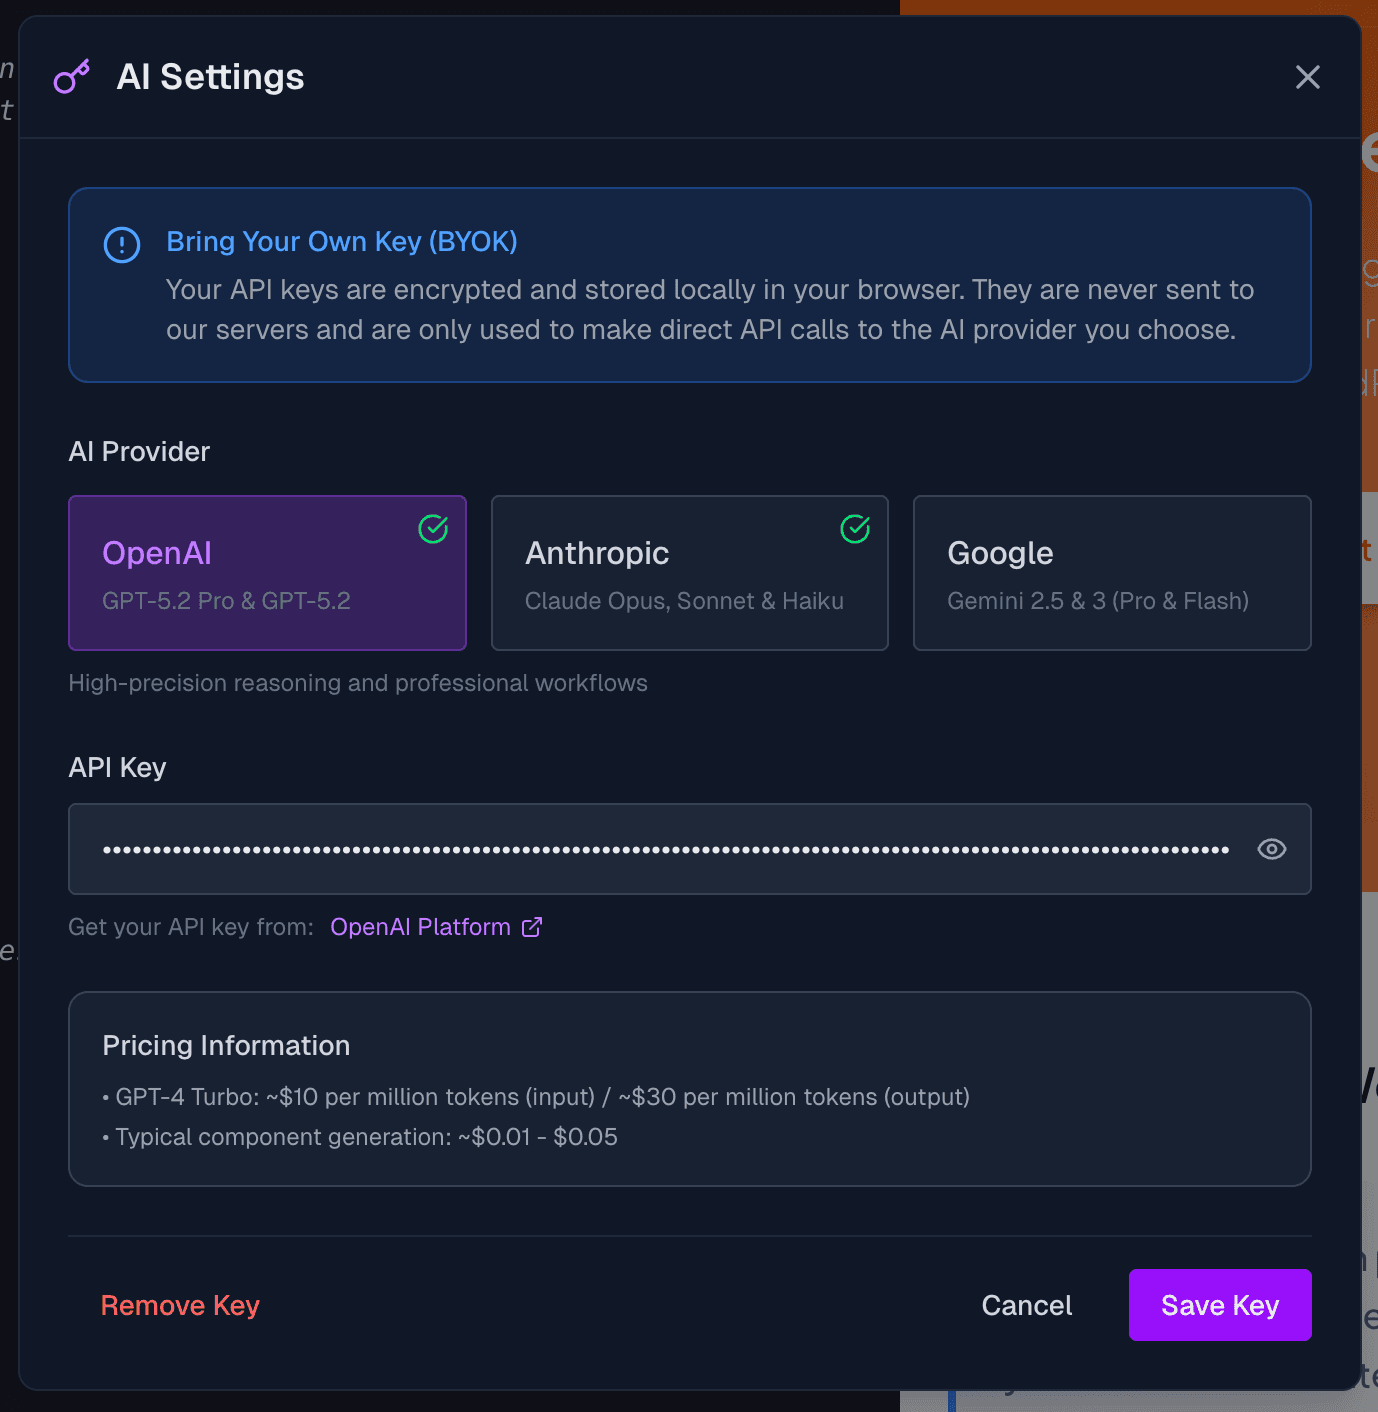
Keys are stored securely in your browser and sent directly to the AI providers.
Benefits of Your Own Keys
- Direct billing from the provider
- Access to latest models
- Higher rate limits
- Enhanced privacy
Keyboard Shortcuts
| Shortcut | Action |
|---|---|
Cmd/Ctrl + Shift + M | Open AI Modify (with selection) |
Cmd/Ctrl + Shift + G | Open AI Generate (at cursor) |
Cmd/Ctrl + Enter | Submit inline AI request |
Escape | Close inline AI widget |
Troubleshooting
AI Not Responding
- Check your API key is valid
- Verify you have credits/quota with the provider
- Try a different model
- Refresh the page
Tool Call Failed
- Check the error message in the tool card
- The AI may retry with a different approach
- Try approving manually if auto-approve is off
Poor Quality Responses
- Be more specific in your request
- Provide more context
- Use Extended Thinking for complex tasks
- Try a more capable model (Claude Opus, GPT-5.2 Pro)
Inline AI Shows "No API Keys"
- Open AI Settings (gear icon in chat panel)
- Add at least one API key
- The inline AI will detect available models
Next Steps
- Visual Editor - Combine AI with visual editing
- Component Library - Start with pre-built components
- Troubleshooting - Common issues and solutions