Media Manager
Upload, organize, and manage images and files in your project.
Media Manager
PhantomWP provides two ways to manage media: the Media Library modal for a visual gallery view, and the File Tree for file-based management. Both work with images in src/media/ which are automatically optimized by Astro.
Media Library
Click the Media icon in the header bar (image icon) to open the Media Library. This provides a visual grid of all your images.
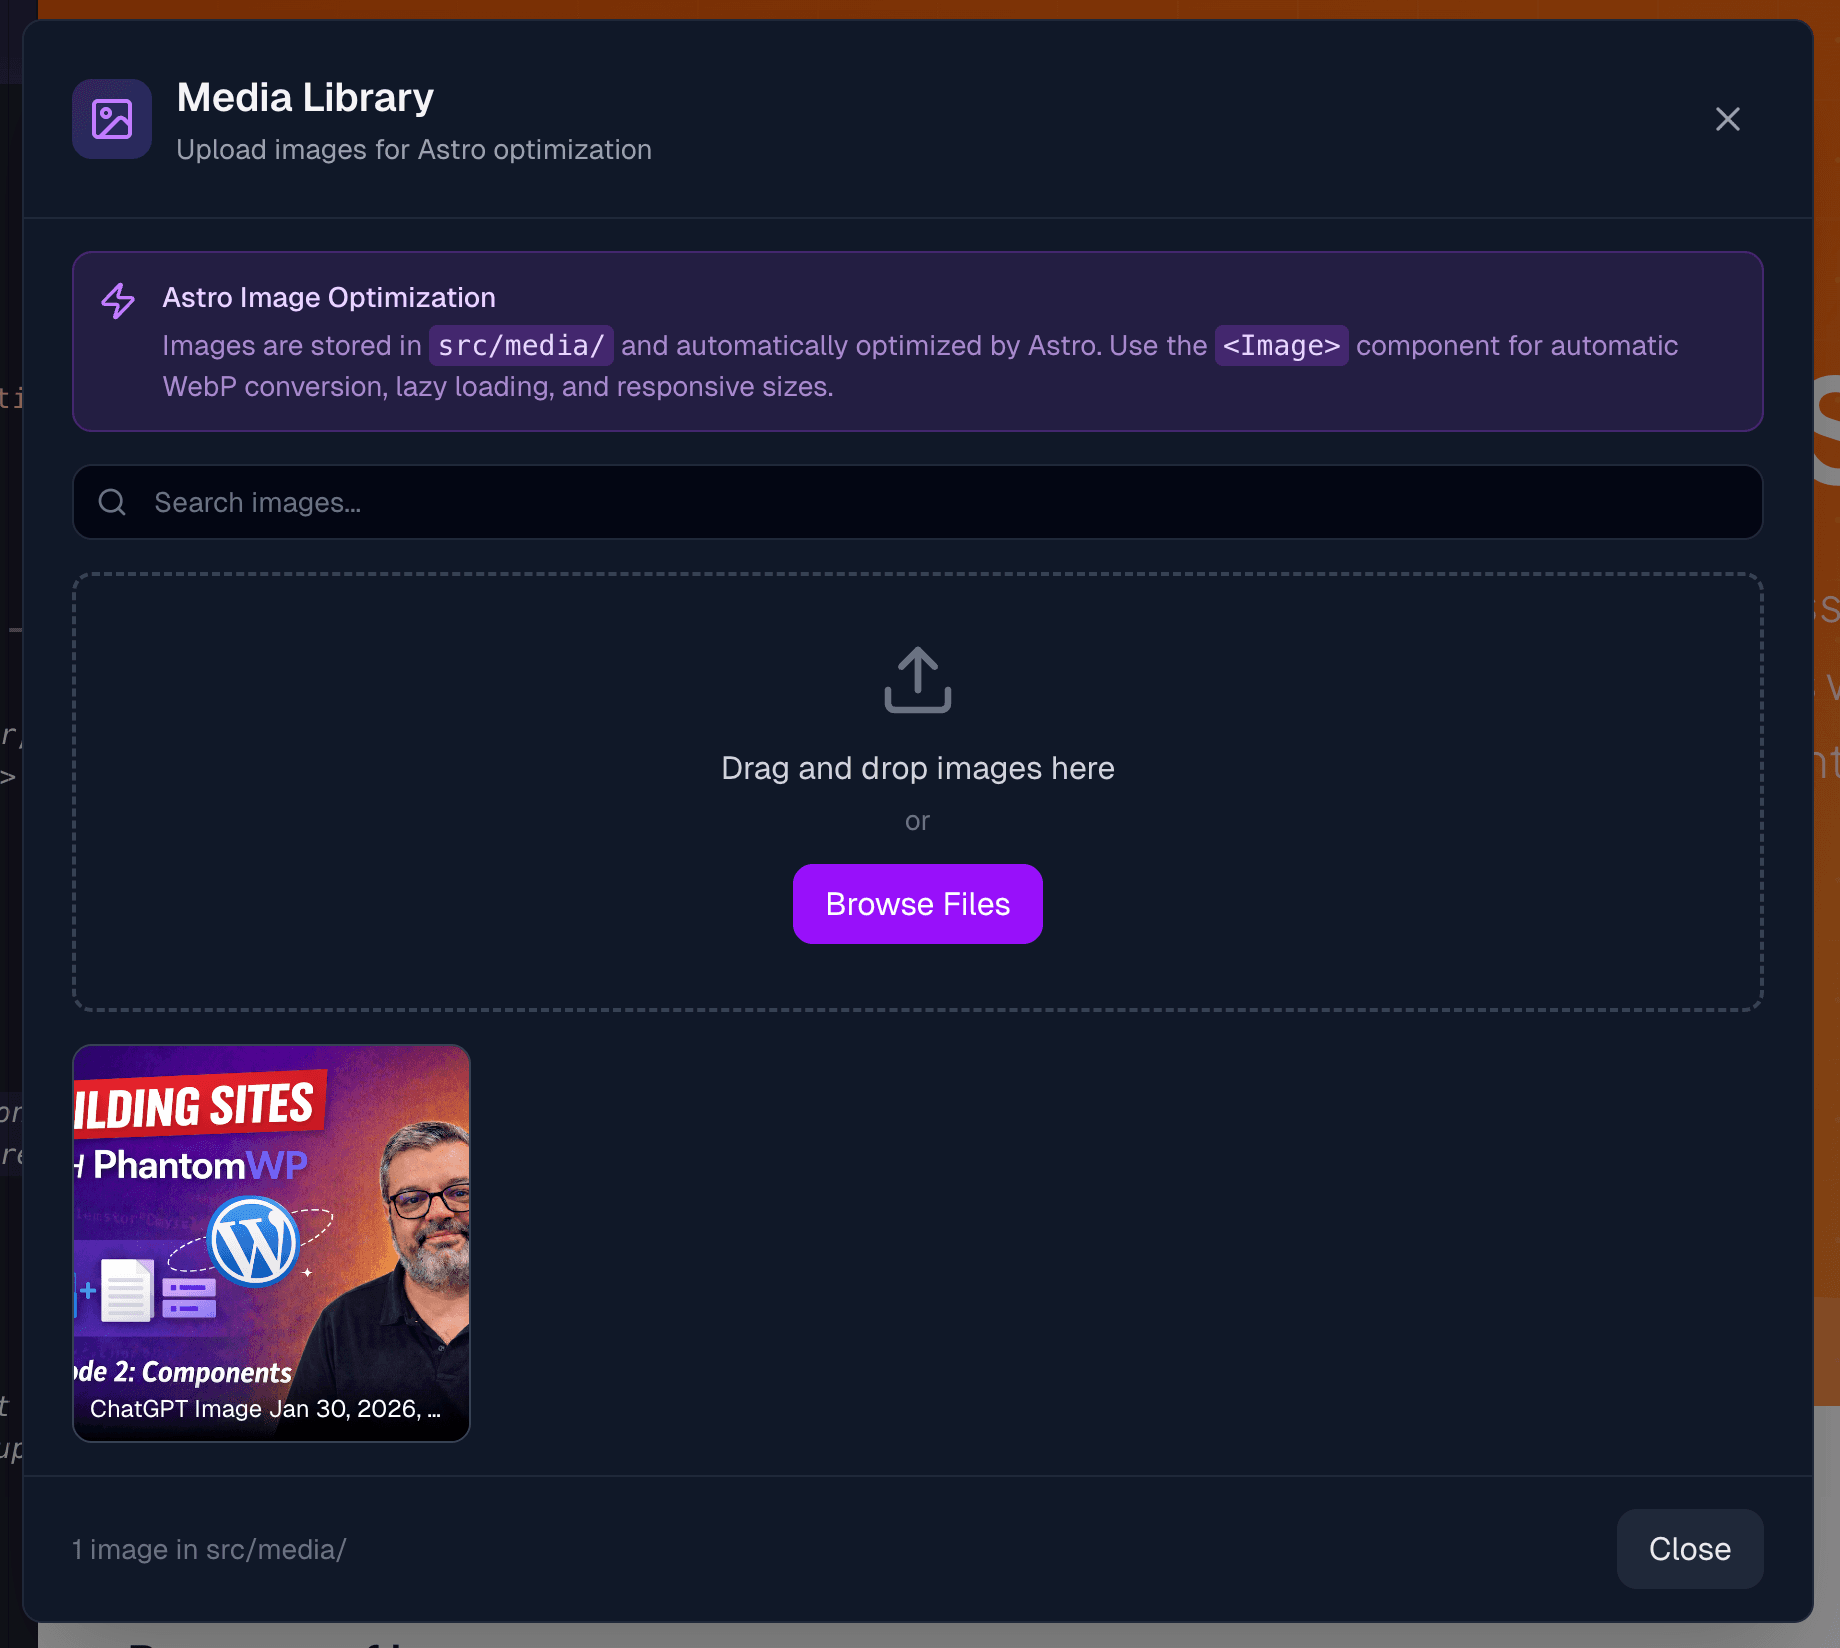
Features
The Media Library shows:
- Image thumbnails - Visual previews of all images in
src/media/ - Search bar - Filter images by filename
- Upload area - Drag and drop or browse to upload
- Image count - Shows total images in your library
Uploading Images
Drag and drop:
- Open the Media Library
- Drag image files from your computer
- Drop them in the upload area
- Files upload automatically with progress indicator
Browse files:
- Click the Browse Files button
- Select images from your computer
- Files upload to
src/media/

Supported formats: JPG, JPEG, PNG, GIF, WebP, SVG, AVIF
Using Images
Hover over any image to see action buttons:
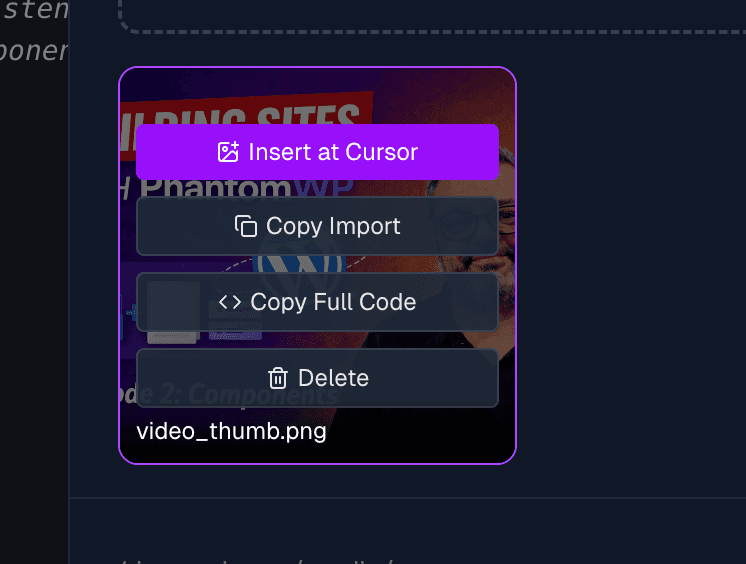
| Action | Description |
|---|---|
| Insert at Cursor | Adds import + Image component at your cursor position |
| Copy Import | Copies just the import statement to clipboard |
| Copy Full Code | Copies complete code with frontmatter |
| Delete | Removes the image from your project |
Insert at Cursor
This is the quickest way to add an image to your page:
- Position your cursor in a file where you want the image
- Open Media Library
- Hover over an image
- Click Insert at Cursor
The following code is inserted:
---
import { Image } from 'astro:assets';
import heroImage from '../media/hero.jpg';
---

<Image src={heroImage} alt="hero" />
Image Preview
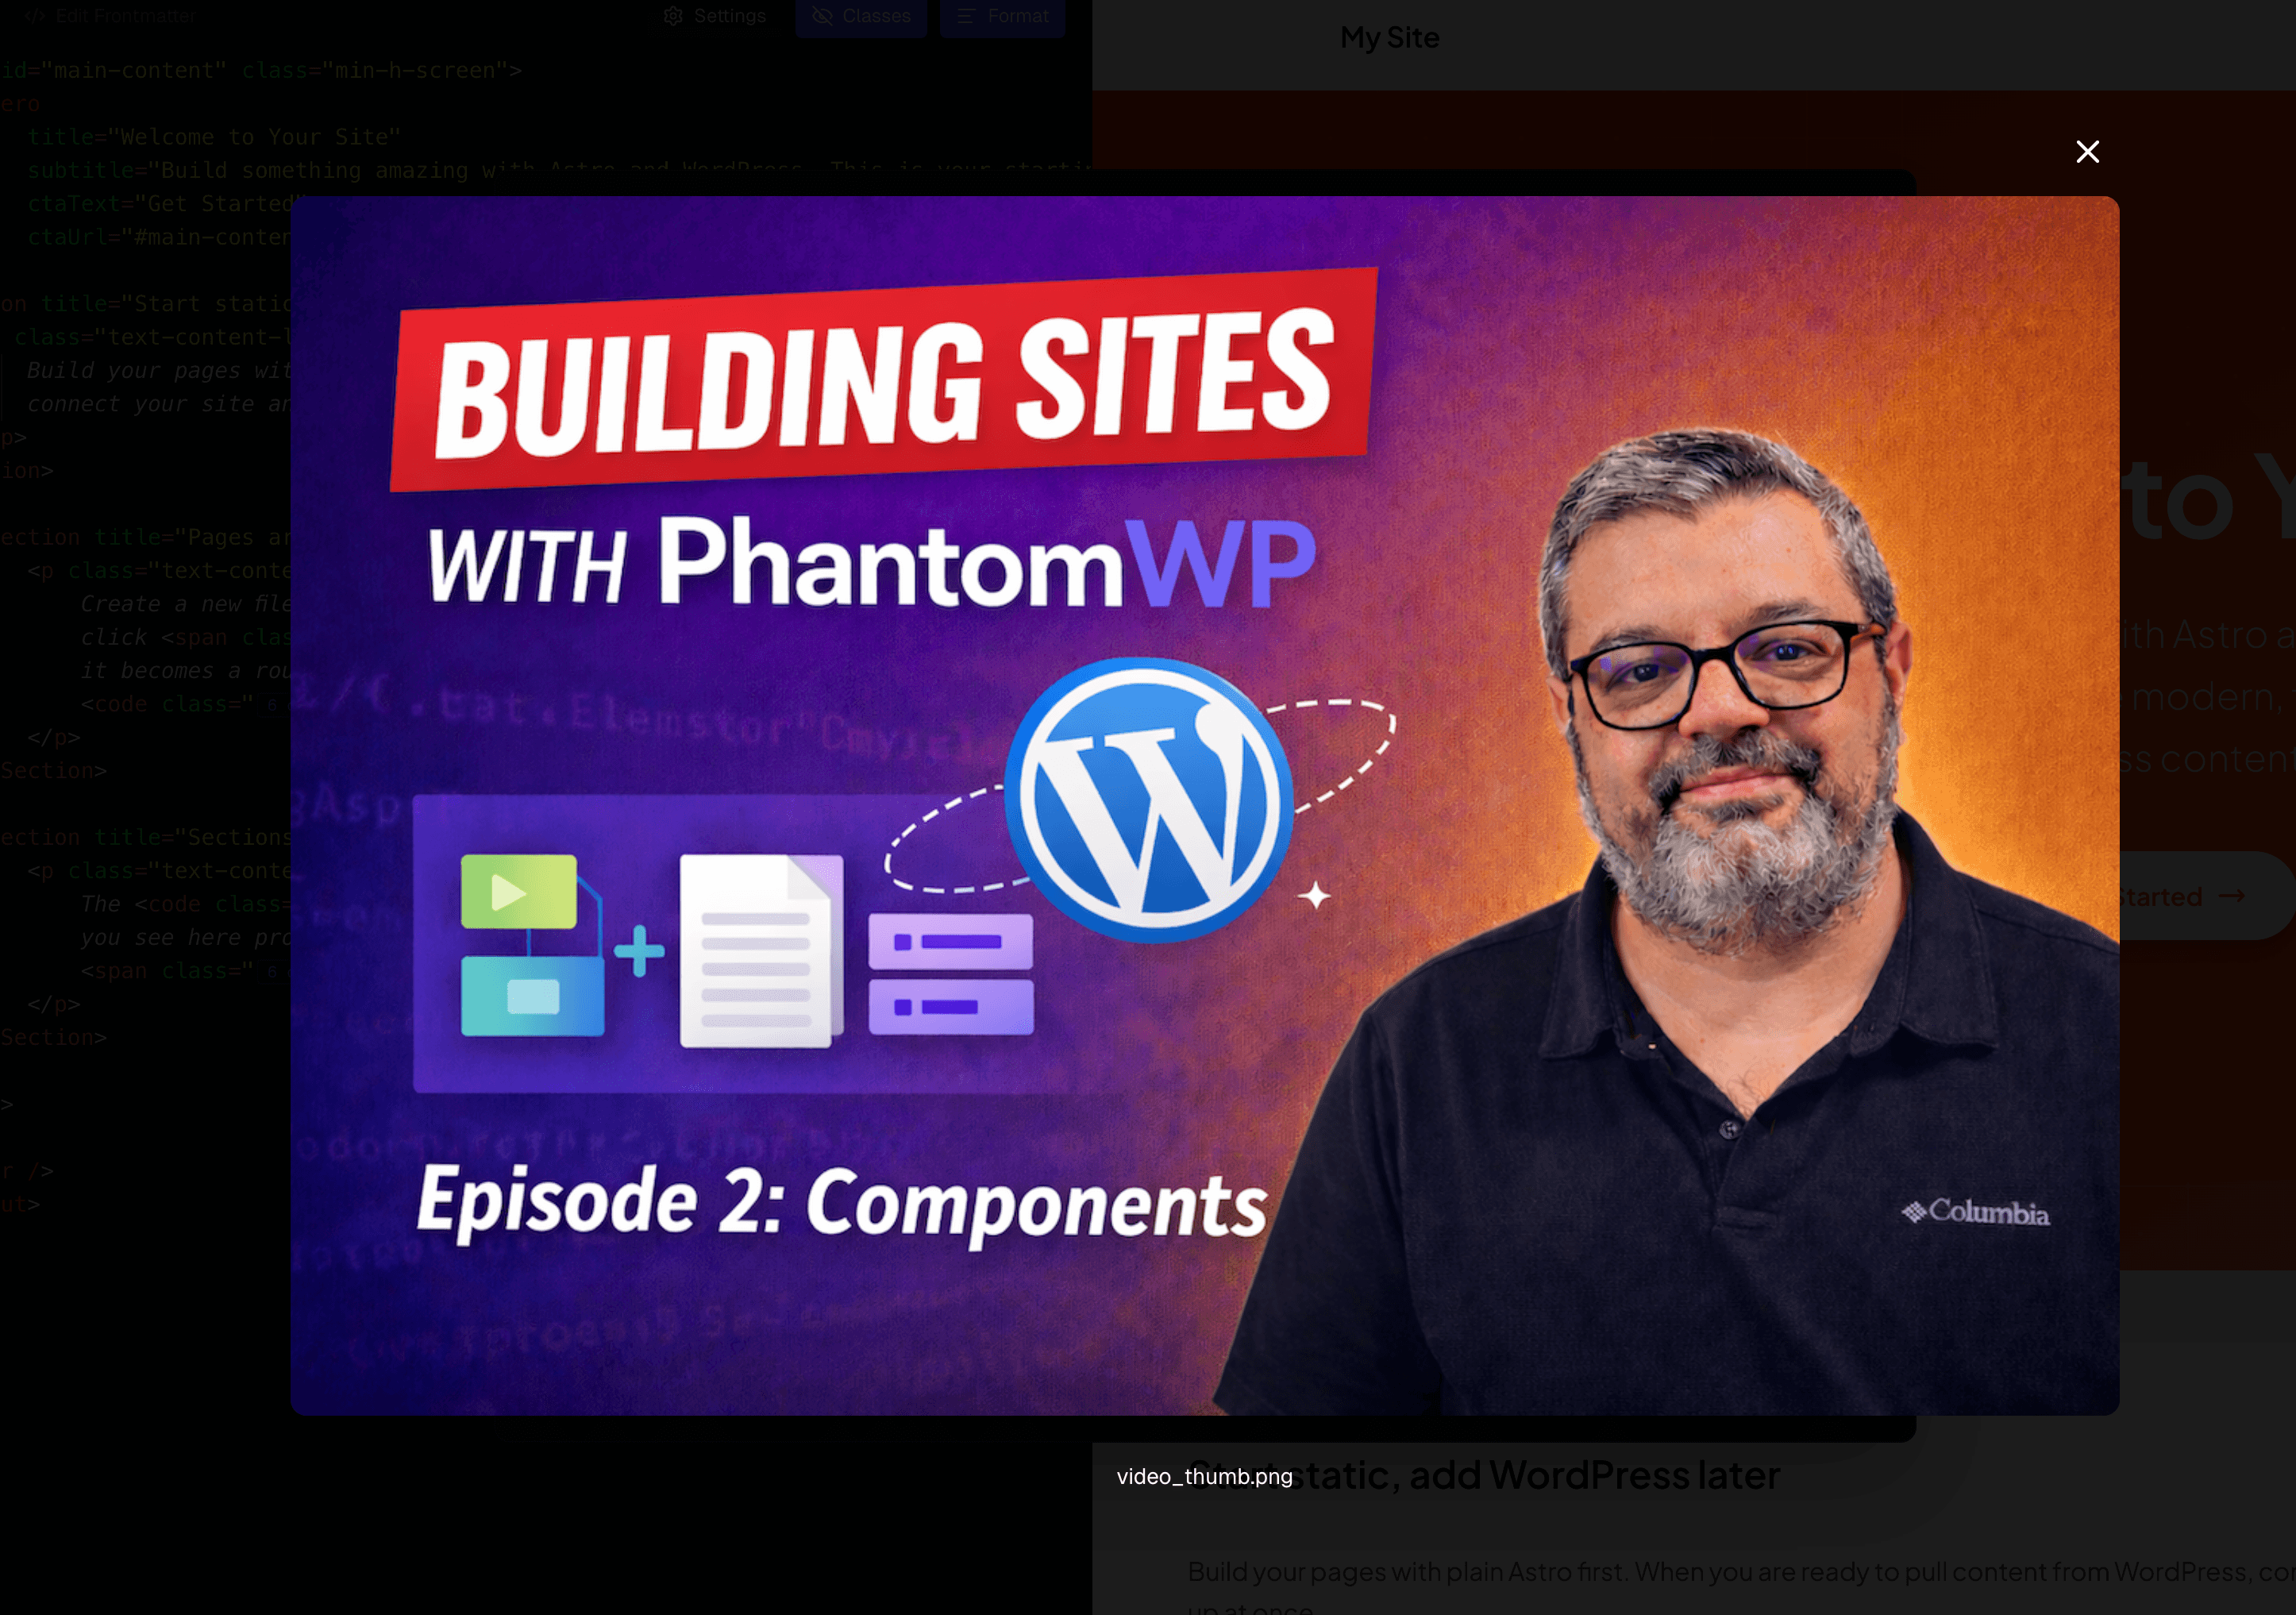
Click any image to view it full-size. Click outside or press the X to close.
Astro Optimization
Images stored in src/media/ get automatic optimization:
- Format conversion - WebP/AVIF for supported browsers
- Responsive sizes - Multiple sizes generated
- Lazy loading - Images load as they come into view
- Blur placeholders - Smooth loading experience
The info banner in the Media Library explains these benefits.
File Tree
The File Tree in the left panel also provides media management with more file-level control.

Project Structure
src/
  media/          # Optimized images (recommended)
  components/
  layouts/
  pages/
public/           # Static files (favicon, etc.)
Two Media Locations
src/media/ - Images with Astro optimization (recommended)
- Automatic format conversion
- Responsive sizes
- Lazy loading
public/ - Static files served as-is
- Favicon and app icons
- robots.txt
- Open Graph default images
- Files that must keep exact format
Uploading via File Tree
To src/media/:
- Right-click the
src/mediafolder - Select Upload Images
- Drag and drop or browse
To public/:
- Right-click the
publicfolder - Select Upload to Public
- Drag and drop or browse
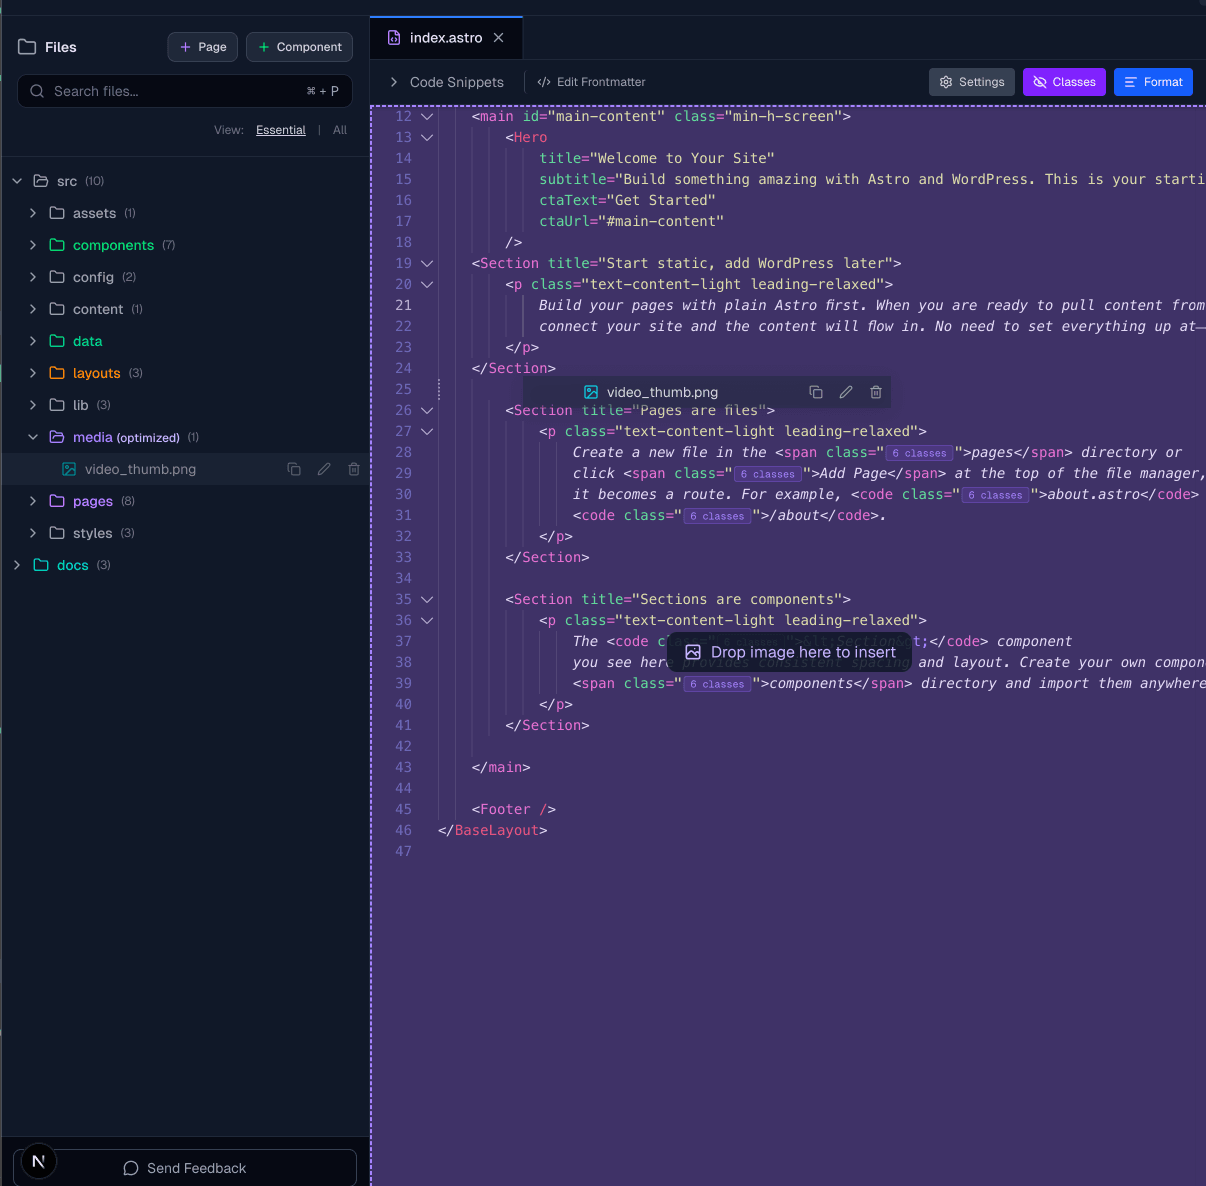
Drag and Drop to Editor
Drag images directly from the File Tree into your code:
- Find the image in
src/media/ - Drag it from the File Tree
- Drop it into your code editor
- The import and Image component code is inserted
Right-Click Menu
Right-click any image in src/media/ for quick actions:
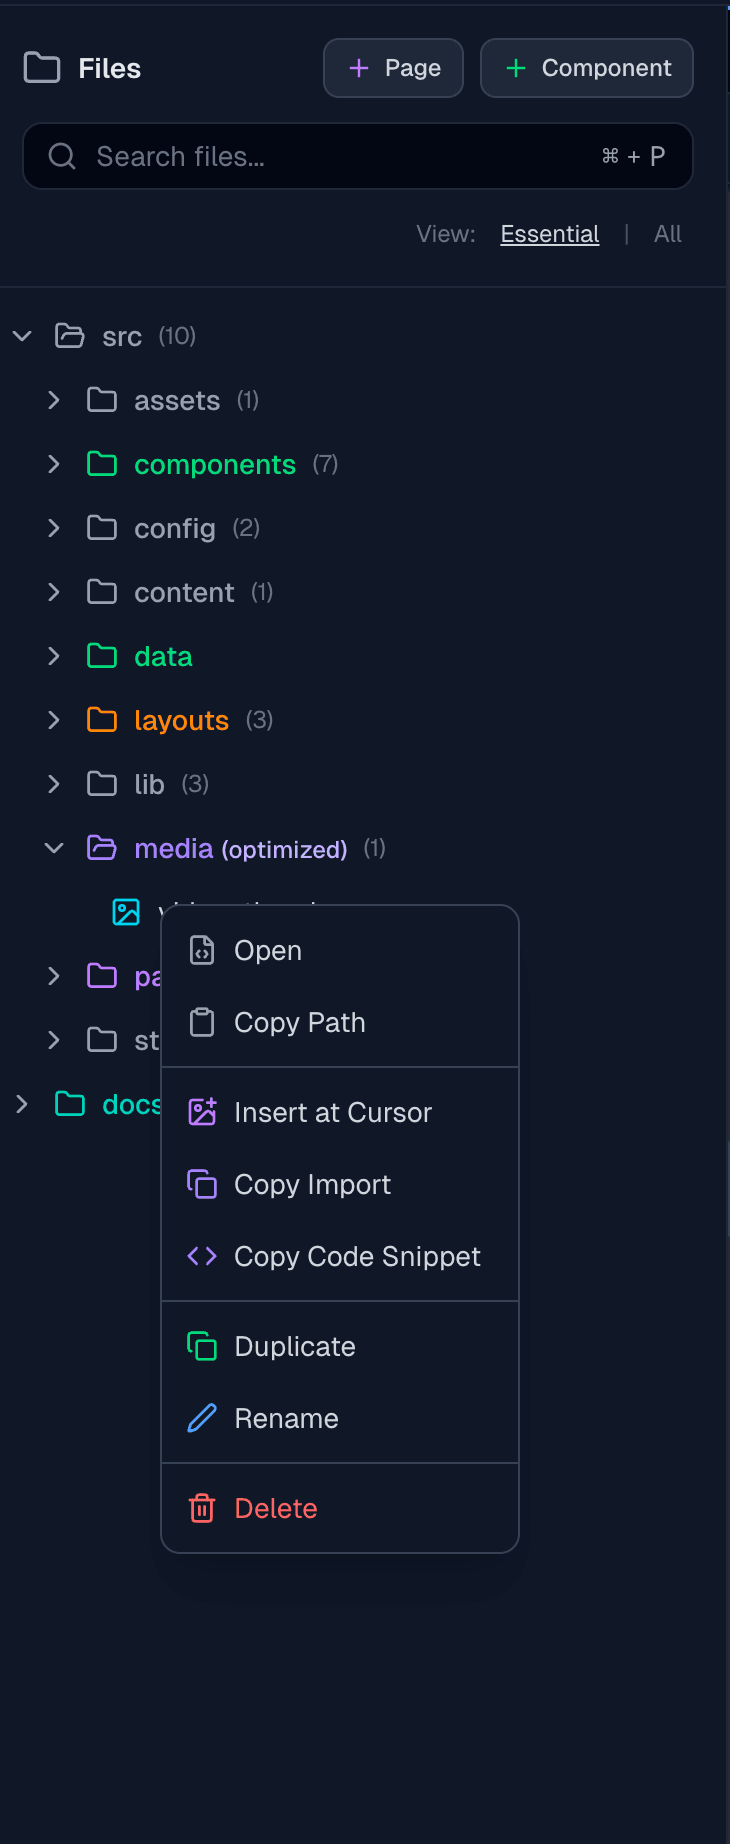
| Action | Description |
|---|---|
| Insert at Cursor | Adds code at your cursor |
| Copy Import | Copies import statement |
| Copy Code Snippet | Copies complete code |
| Copy Path | Copies file path |
| Delete | Removes the file |
File Management
The File Tree also supports:
- Create folders - Right-click > New Folder
- Rename files - Right-click > Rename
- Duplicate files - Right-click > Duplicate
- Move files - Drag between folders
- Search - Use the search bar to filter
Code Examples
Using the Image Component
---
import { Image } from 'astro:assets';
import heroImage from '../media/hero.jpg';
---

<Image src={heroImage} alt="Hero image" width={800} />
With Custom Dimensions
<Image
  src={heroImage}
  alt="Hero"
  width={1200}
  height={600}
  class="rounded-lg shadow-lg"
/>
In Markdown/MDX
import heroImage from '../media/hero.jpg';

<Image src={heroImage} alt="Hero" />
Best Practices
File Naming
Use descriptive, URL-friendly names:
- Good:
team-photo-2024.jpg,product-dashboard.png - Avoid:
IMG_2847.jpg,Screenshot 2024-01-15.png
Folder Organization
Organize images by purpose:
src/media/
  blog/          # Blog post images
  products/      # Product photos
  team/          # Team photos
  icons/         # Icon files
Image Sizing
- Hero images: 1920px wide maximum
- Content images: 800-1200px wide
- Thumbnails: 400px wide
- Icons: SVG preferred
Alt Text
Always add descriptive alt text:
- Describe what's in the image
- Keep it concise (125 characters or less)
- Don't start with "Image of"
Troubleshooting
Upload Failed
If uploads fail:
- Check file size (large files may timeout)
- Verify file type is supported
- Ensure the Codespace is running
- Try refreshing the page
Image Not Showing
If an image doesn't appear:
- Verify the import path is correct
- Check the file exists in
src/media/ - Make sure you're using the Image component
- Save and wait for hot reload
Thumbnails Not Loading
If Media Library thumbnails don't load:
- Wait a moment - previews load asynchronously
- Check WebSocket connection (green indicator in header)
- Refresh the Media Library
Next Steps
- Visual Editor - Edit elements visually
- Component Library - Use images in sections