Building Your First Headless WordPress Site with PhantomWP
A step-by-step tutorial to transform your WordPress site into a blazing-fast Astro frontend using PhantomWP's built-in IDE and one-click deployment.
Ready to transform your WordPress site into a modern, lightning-fast Astro frontend? This guide walks you through every step using PhantomWP—from connecting your WordPress site to deploying your new headless frontend.
What You'll Build
By the end of this tutorial, you'll have:
WordPress CMS
Keep writing content in the admin you know
Astro Frontend
Blazing fast static site built by you
Vercel CDN
Free global hosting with auto-deploy
Prerequisites
Before we start, you'll need:
- A WordPress site with some content (posts, pages)
- A GitHub account (free)
- 10 minutes of your time
That's it. No local development environment, no command line skills, no prior Astro experience needed. New to headless WordPress? Read our complete guide to headless WordPress first.
Step 1: Create Your PhantomWP Account
Head to phantomwp.com/sign-up and create an account. You can use your email or sign up directly with GitHub.
Tip: Sign up with GitHub for the smoothest experience—it enables automatic repository creation and Vercel deployment.
Step 2: Connect Your GitHub Account
If you signed up with email, you'll need to connect GitHub from your dashboard. Click "Link GitHub Account" and authorize PhantomWP to:
- Create repositories on your behalf
- Access GitHub Codespaces
- Enable webhooks for automatic deployments
Don't worry—we only create repos you explicitly request, and we never access your other repositories.
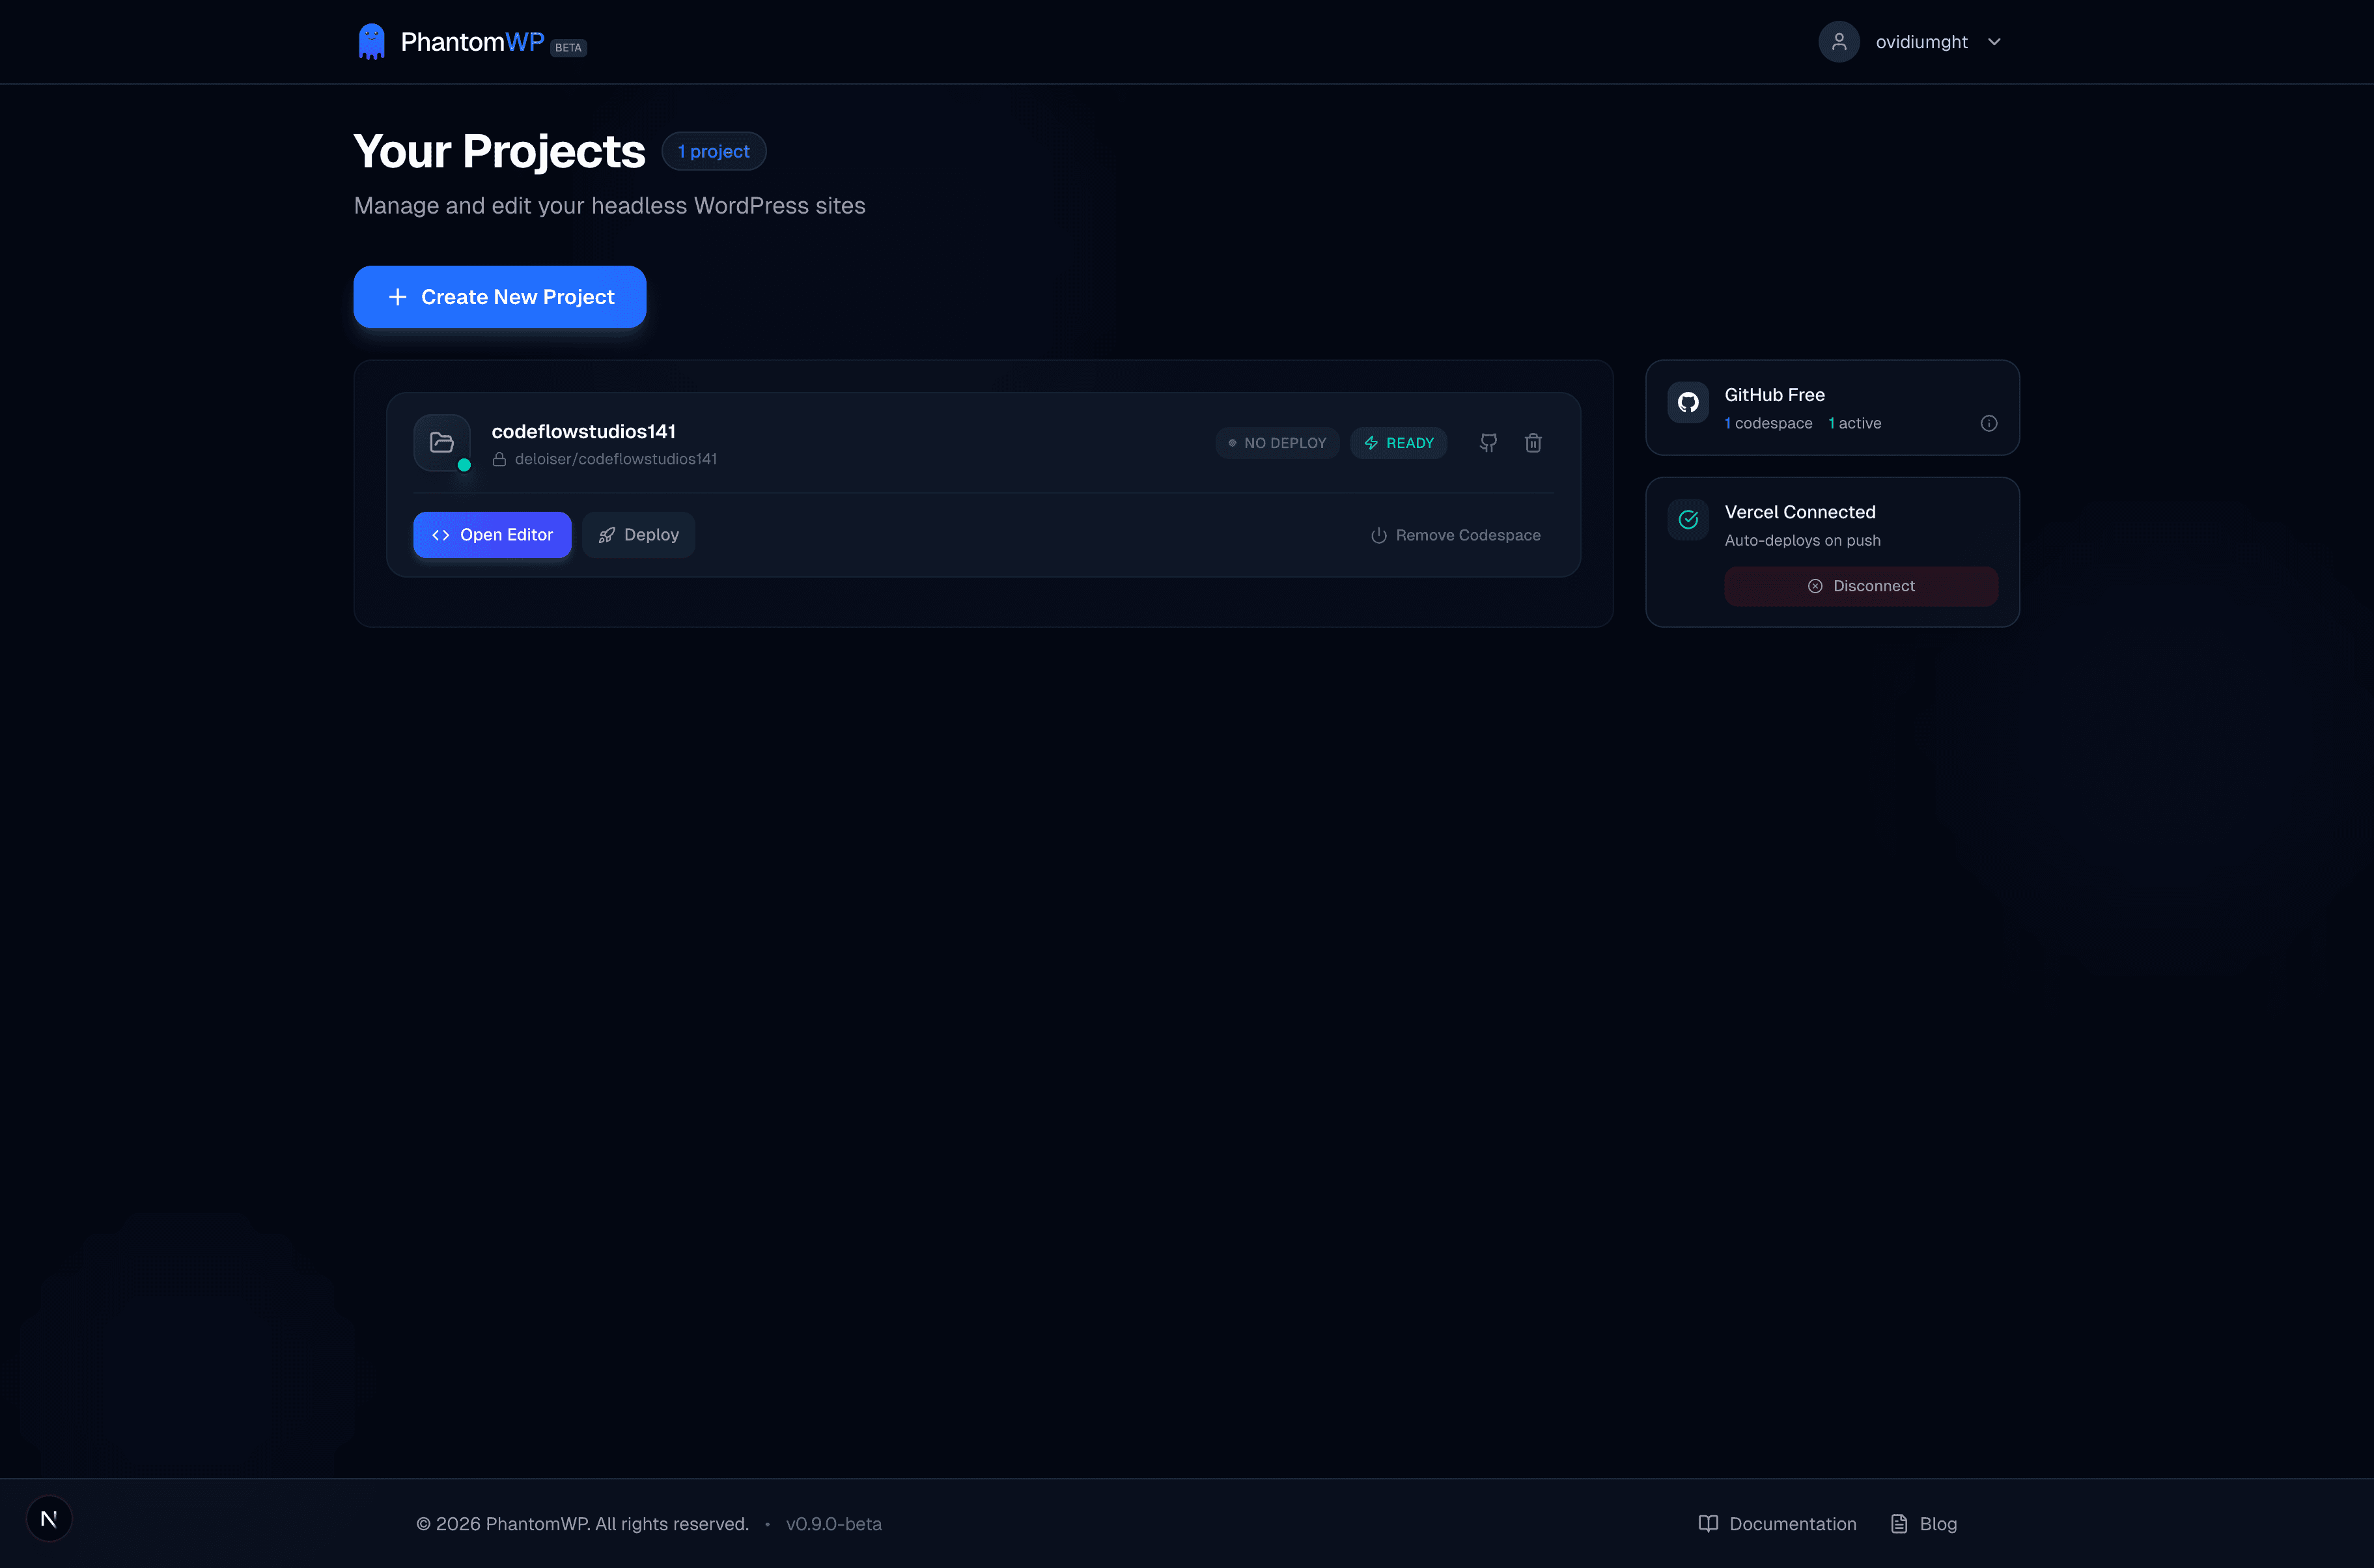
Step 3: Create a New Project
From your dashboard, click "Create New Project" or navigate to /create.
PhantomWP will:
- Create a new GitHub repository with your chosen name
- Initialize it with our optimized Astro template
- Open the built-in IDE so you can start editing
Step 4: Explore the IDE
Welcome to the PhantomWP IDE! Here's what you're looking at. For a comprehensive walkthrough of all IDE features, see our complete IDE guide.
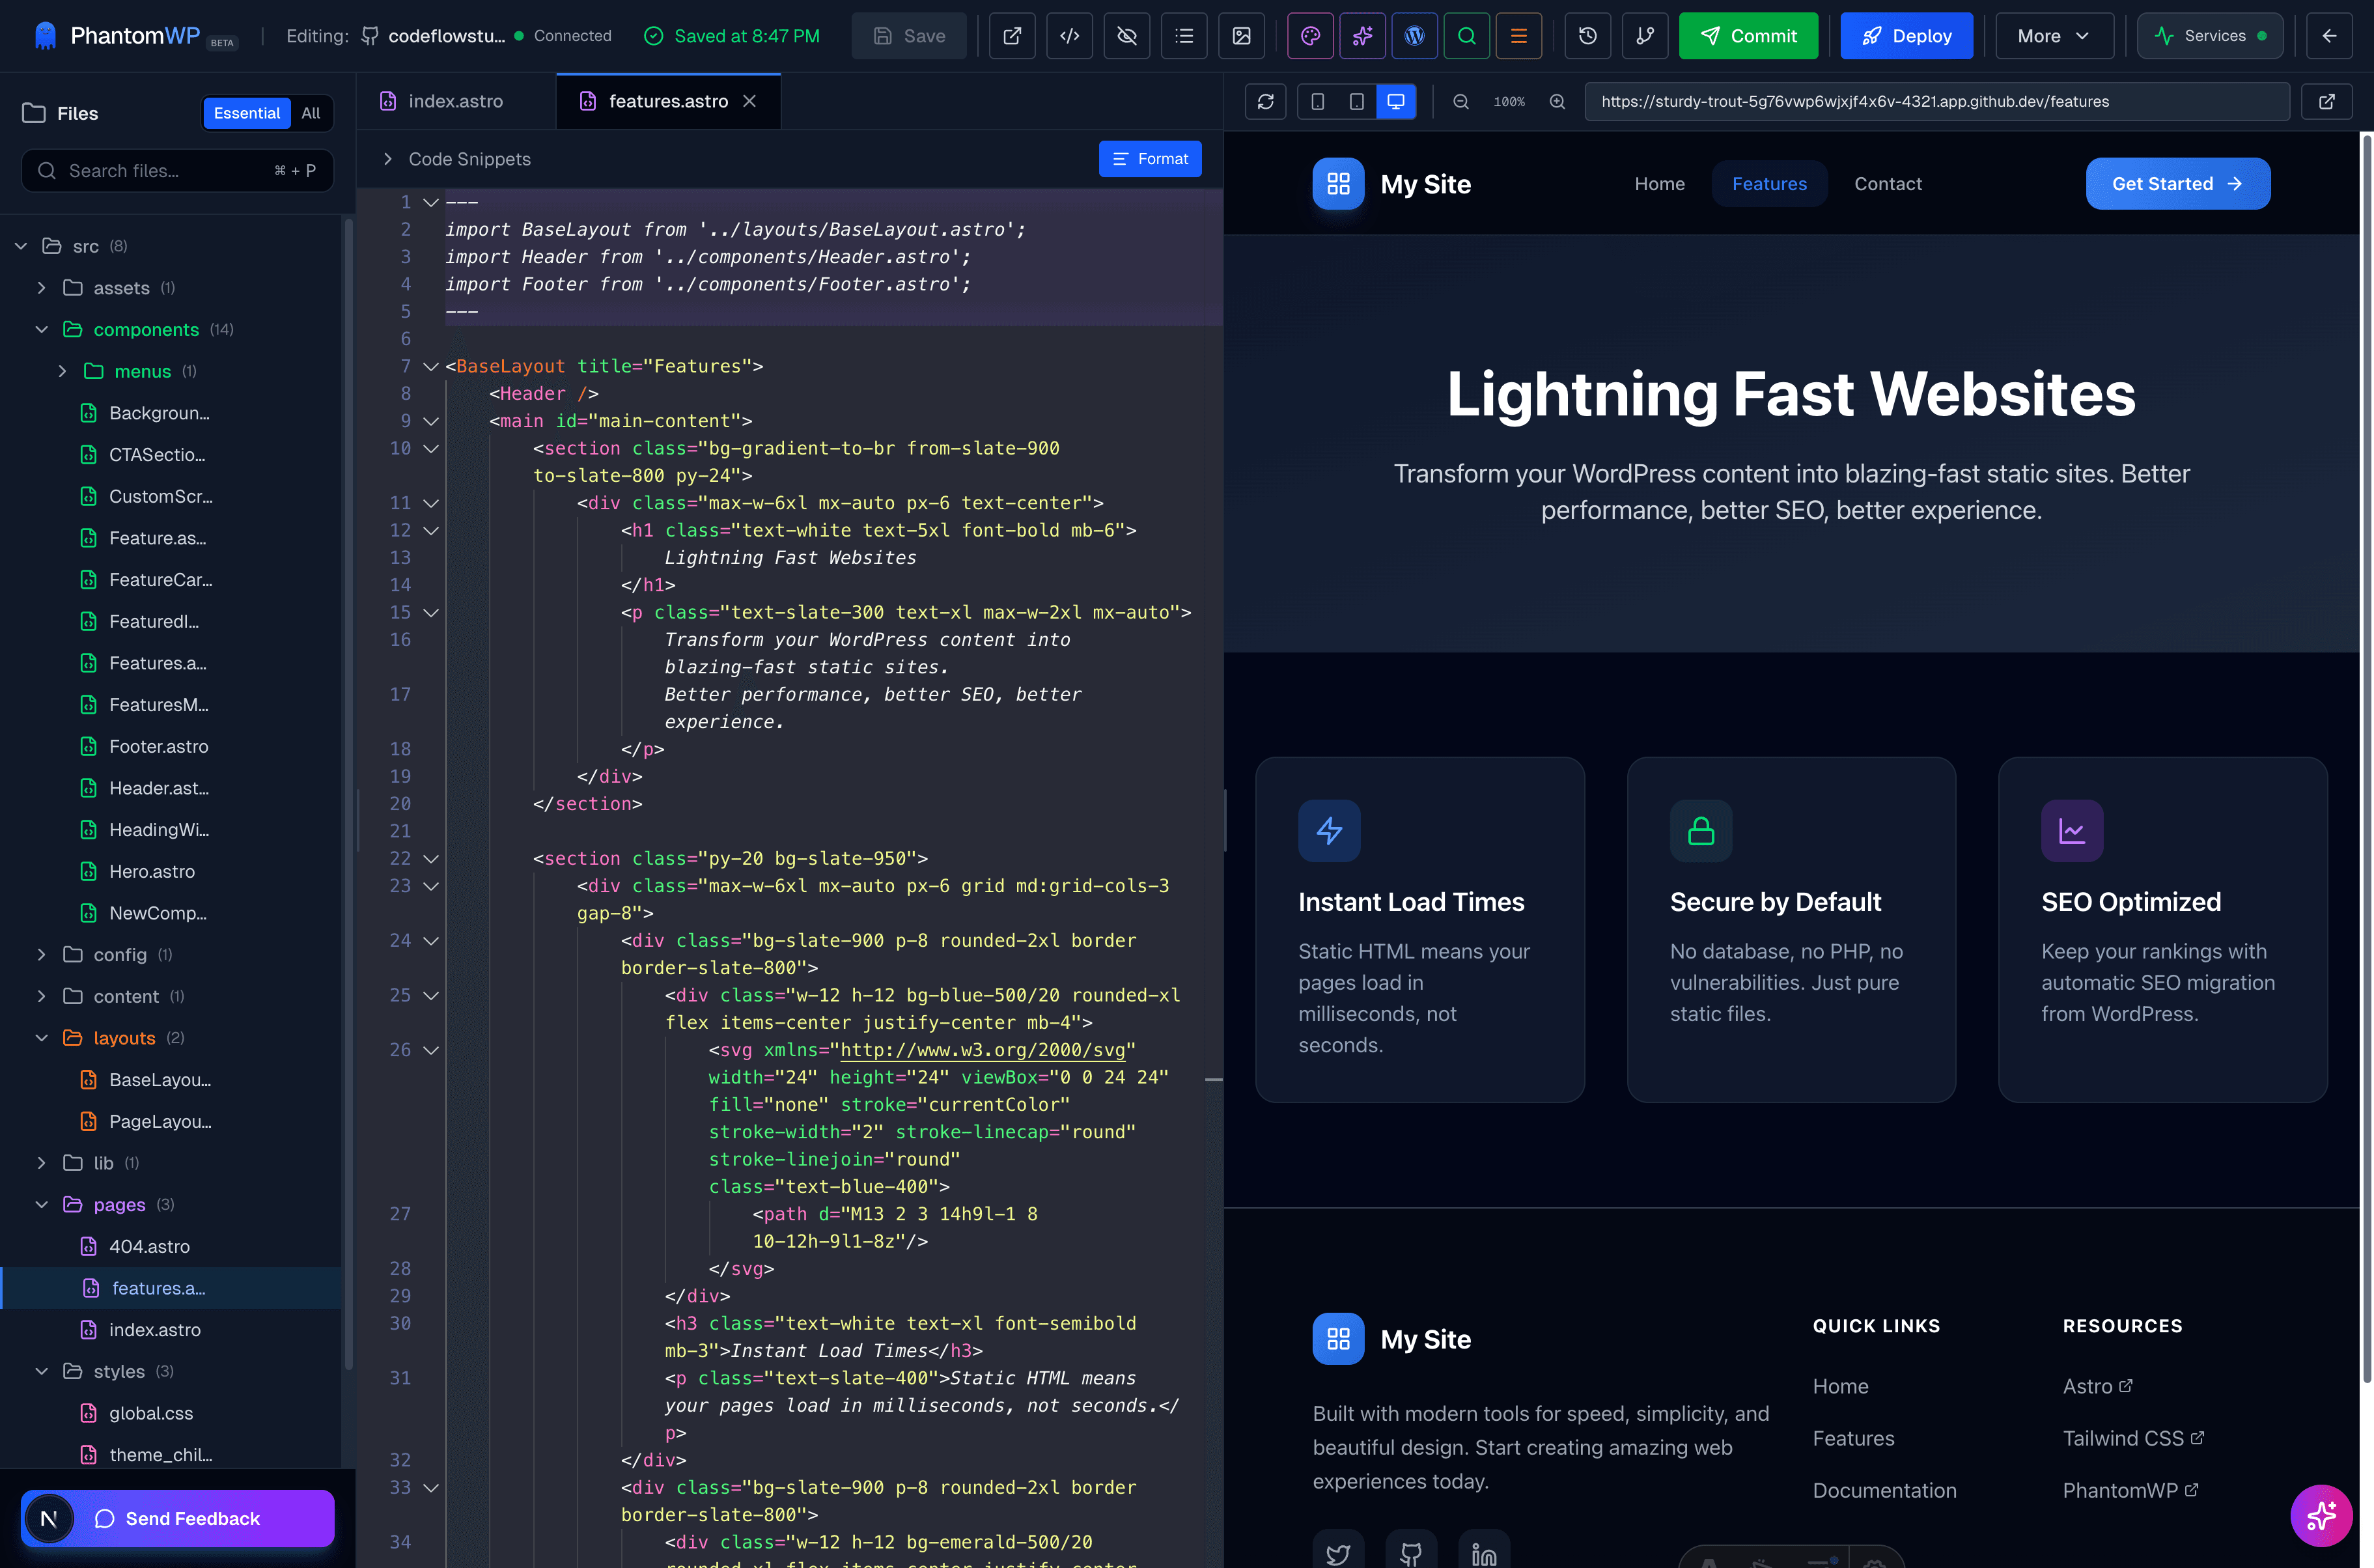
- File Tree (Left) — Navigate your project files
- Editor (Center) — Edit code with syntax highlighting and autocomplete
- Preview (Right) — See changes in real-time
Step 5: Connect Your WordPress Site
Click the "WordPress" button in the sidebar to open WordPress integration settings.
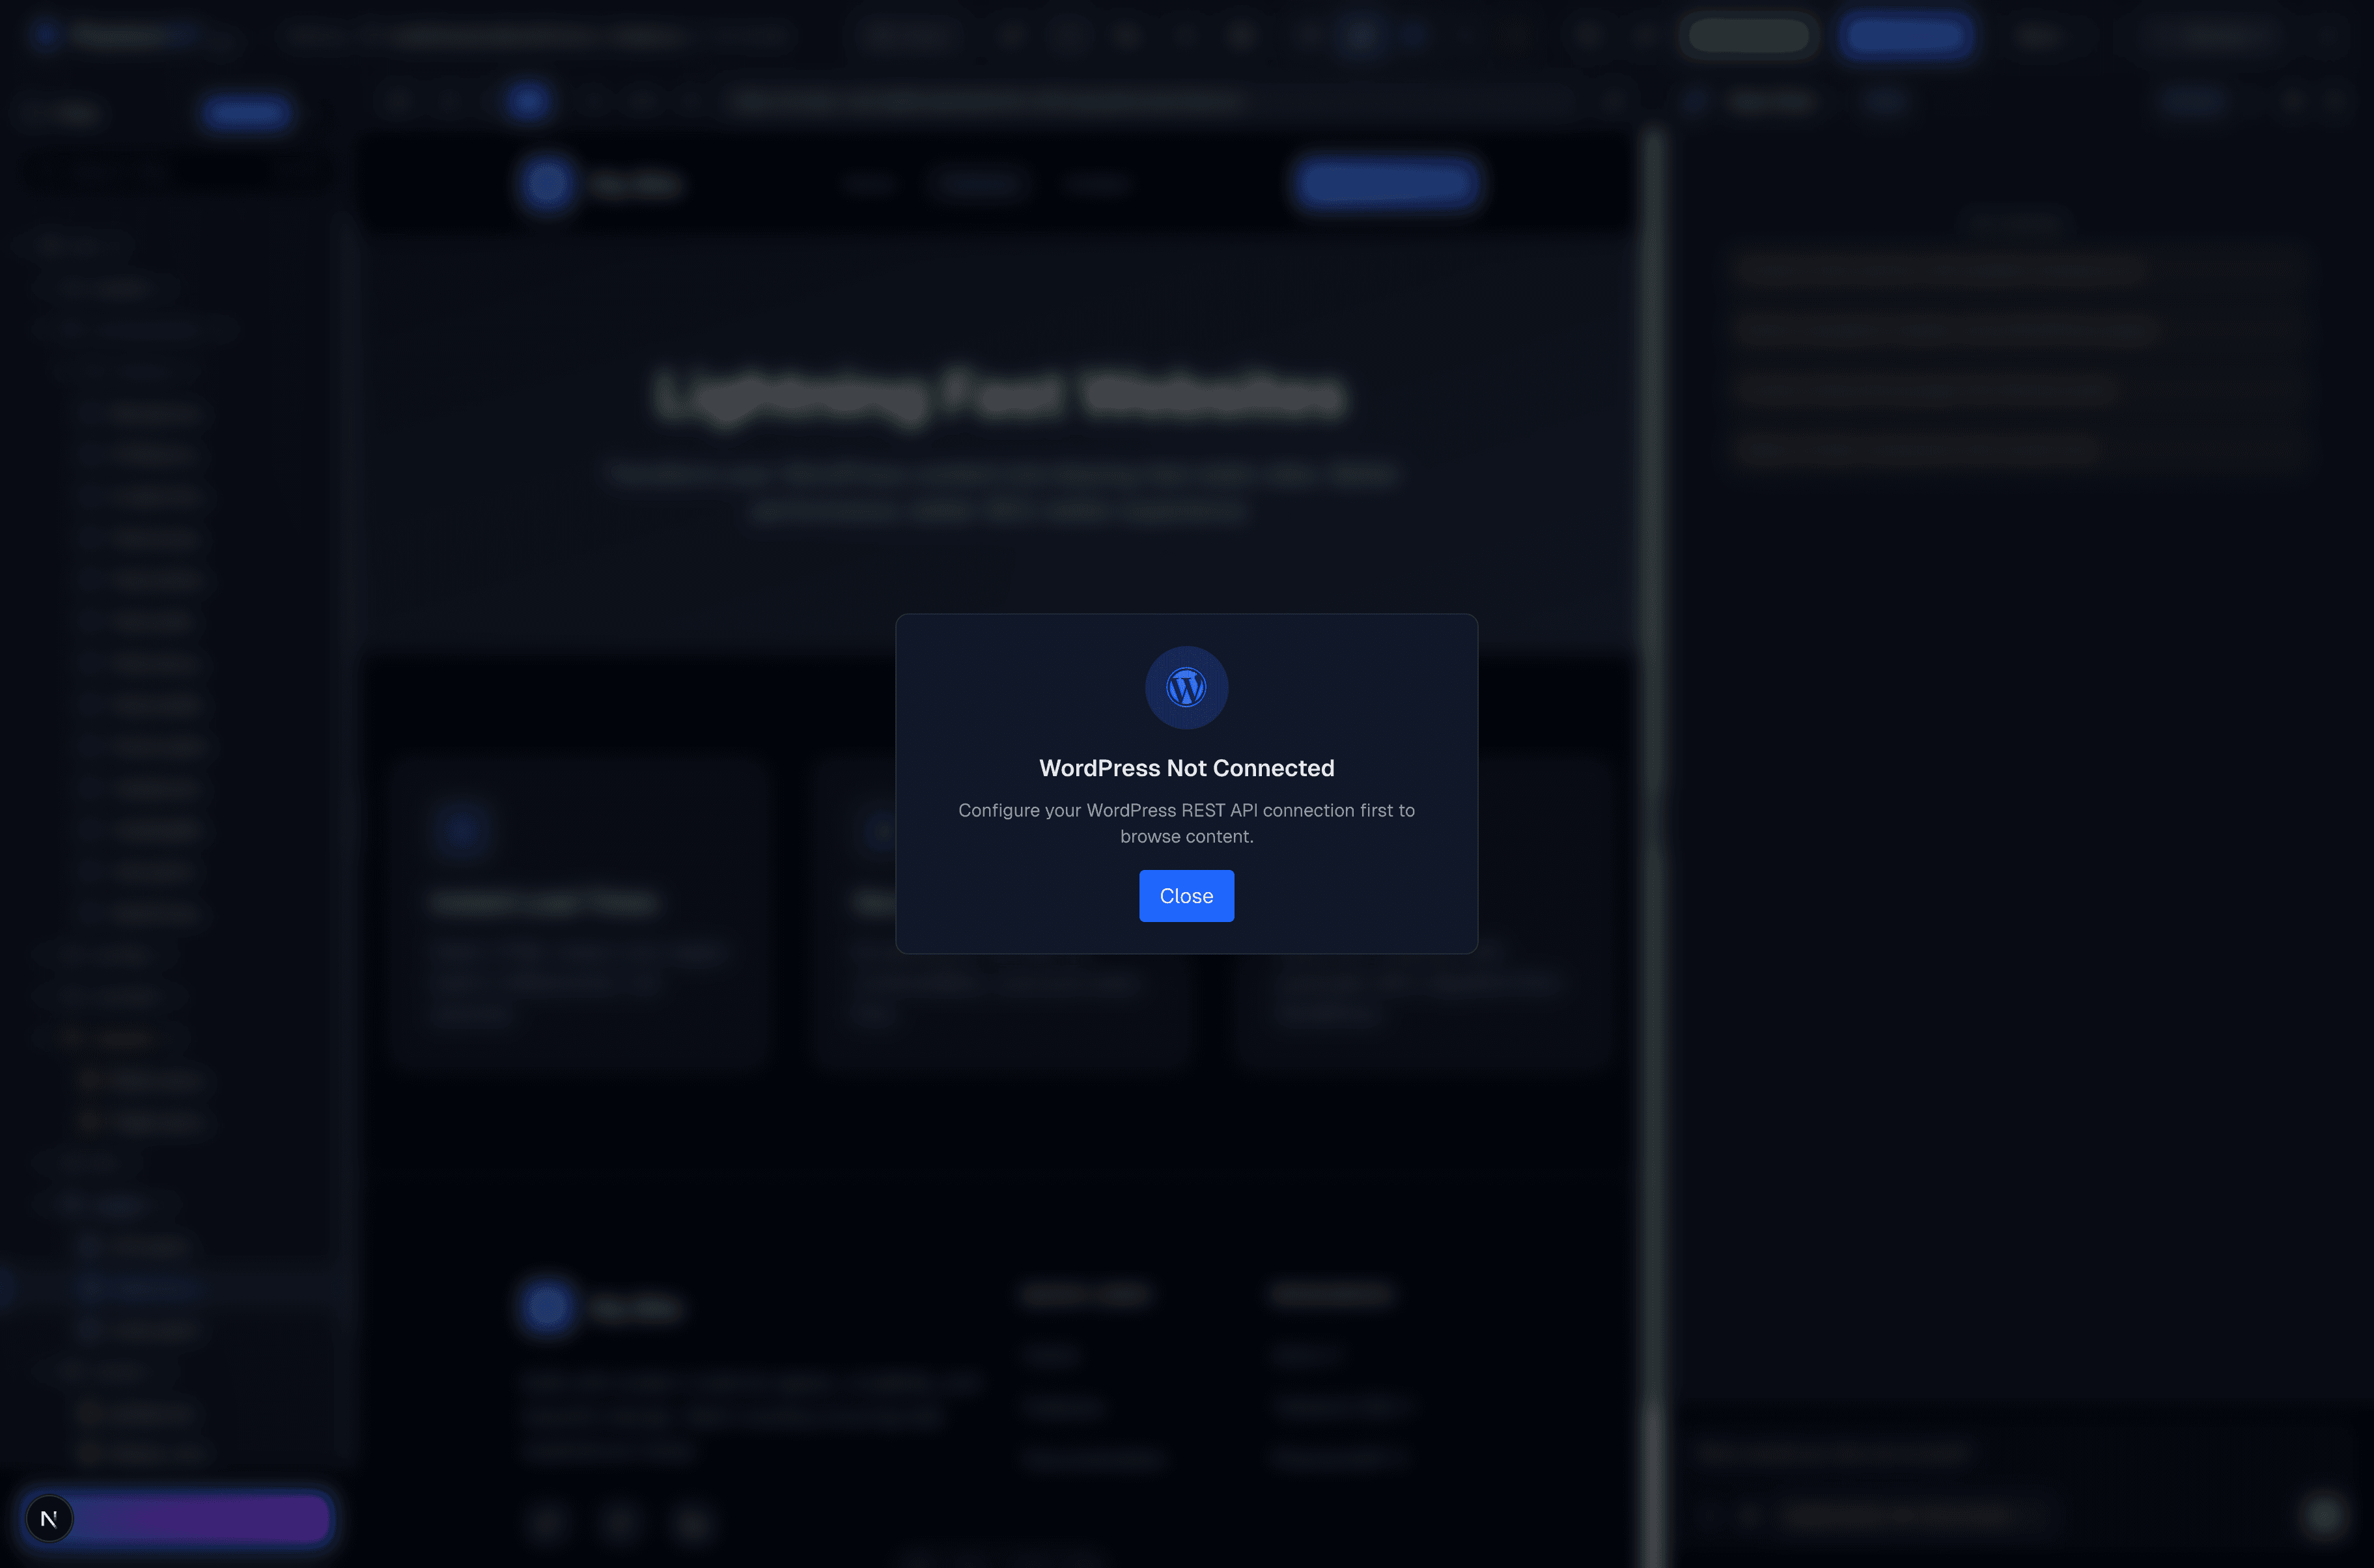
Enter your WordPress site URL and click Connect. PhantomWP will:
- Detect your WordPress REST API endpoint
- Fetch your posts, pages, and media
- Import SEO metadata (from Yoast, Rank Math, or All in One SEO)
- Make your content available in the IDE
Step 6: Browse Your WordPress Data
Once connected, you can browse your WordPress content directly in the IDE:
Click any item to see its details, or use "Import All" to pull everything into your Astro project.
Step 7: Customize Your Theme
Your Astro project comes with a clean, modern template. Let's customize it:
Editing the Homepage
Open src/pages/index.astro and find the hero section:
---
import Layout from '../layouts/Layout.astro';
import { getPosts } from '../lib/wordpress';

const posts = await getPosts();
---

<Layout title="My Blog">
  <section className="hero">
    <h1>Welcome to My Blog</h1>
    <p>Thoughts on development, design, and more.</p>
  </section>

  <section className="posts">
    {posts.map(post => (
      <article>
        <h2><a href={`/blog/${post.slug}`}>{post.title}</a></h2>
        <p>{post.excerpt}</p>
      </article>
    ))}
  </section>
</Layout>
Change the text, and watch the preview update instantly!
Styling with Tailwind
The template includes Tailwind CSS. Modify styles directly in your components:
<section className="bg-gradient-to-br from-blue-600 to-purple-700 py-20 px-6">
<div className="max-w-4xl mx-auto text-center text-white">
<h1 className="text-5xl font-bold mb-4">Welcome to My Blog</h1>
<p className="text-xl opacity-90">Thoughts on development, design, and more.</p>
</div>
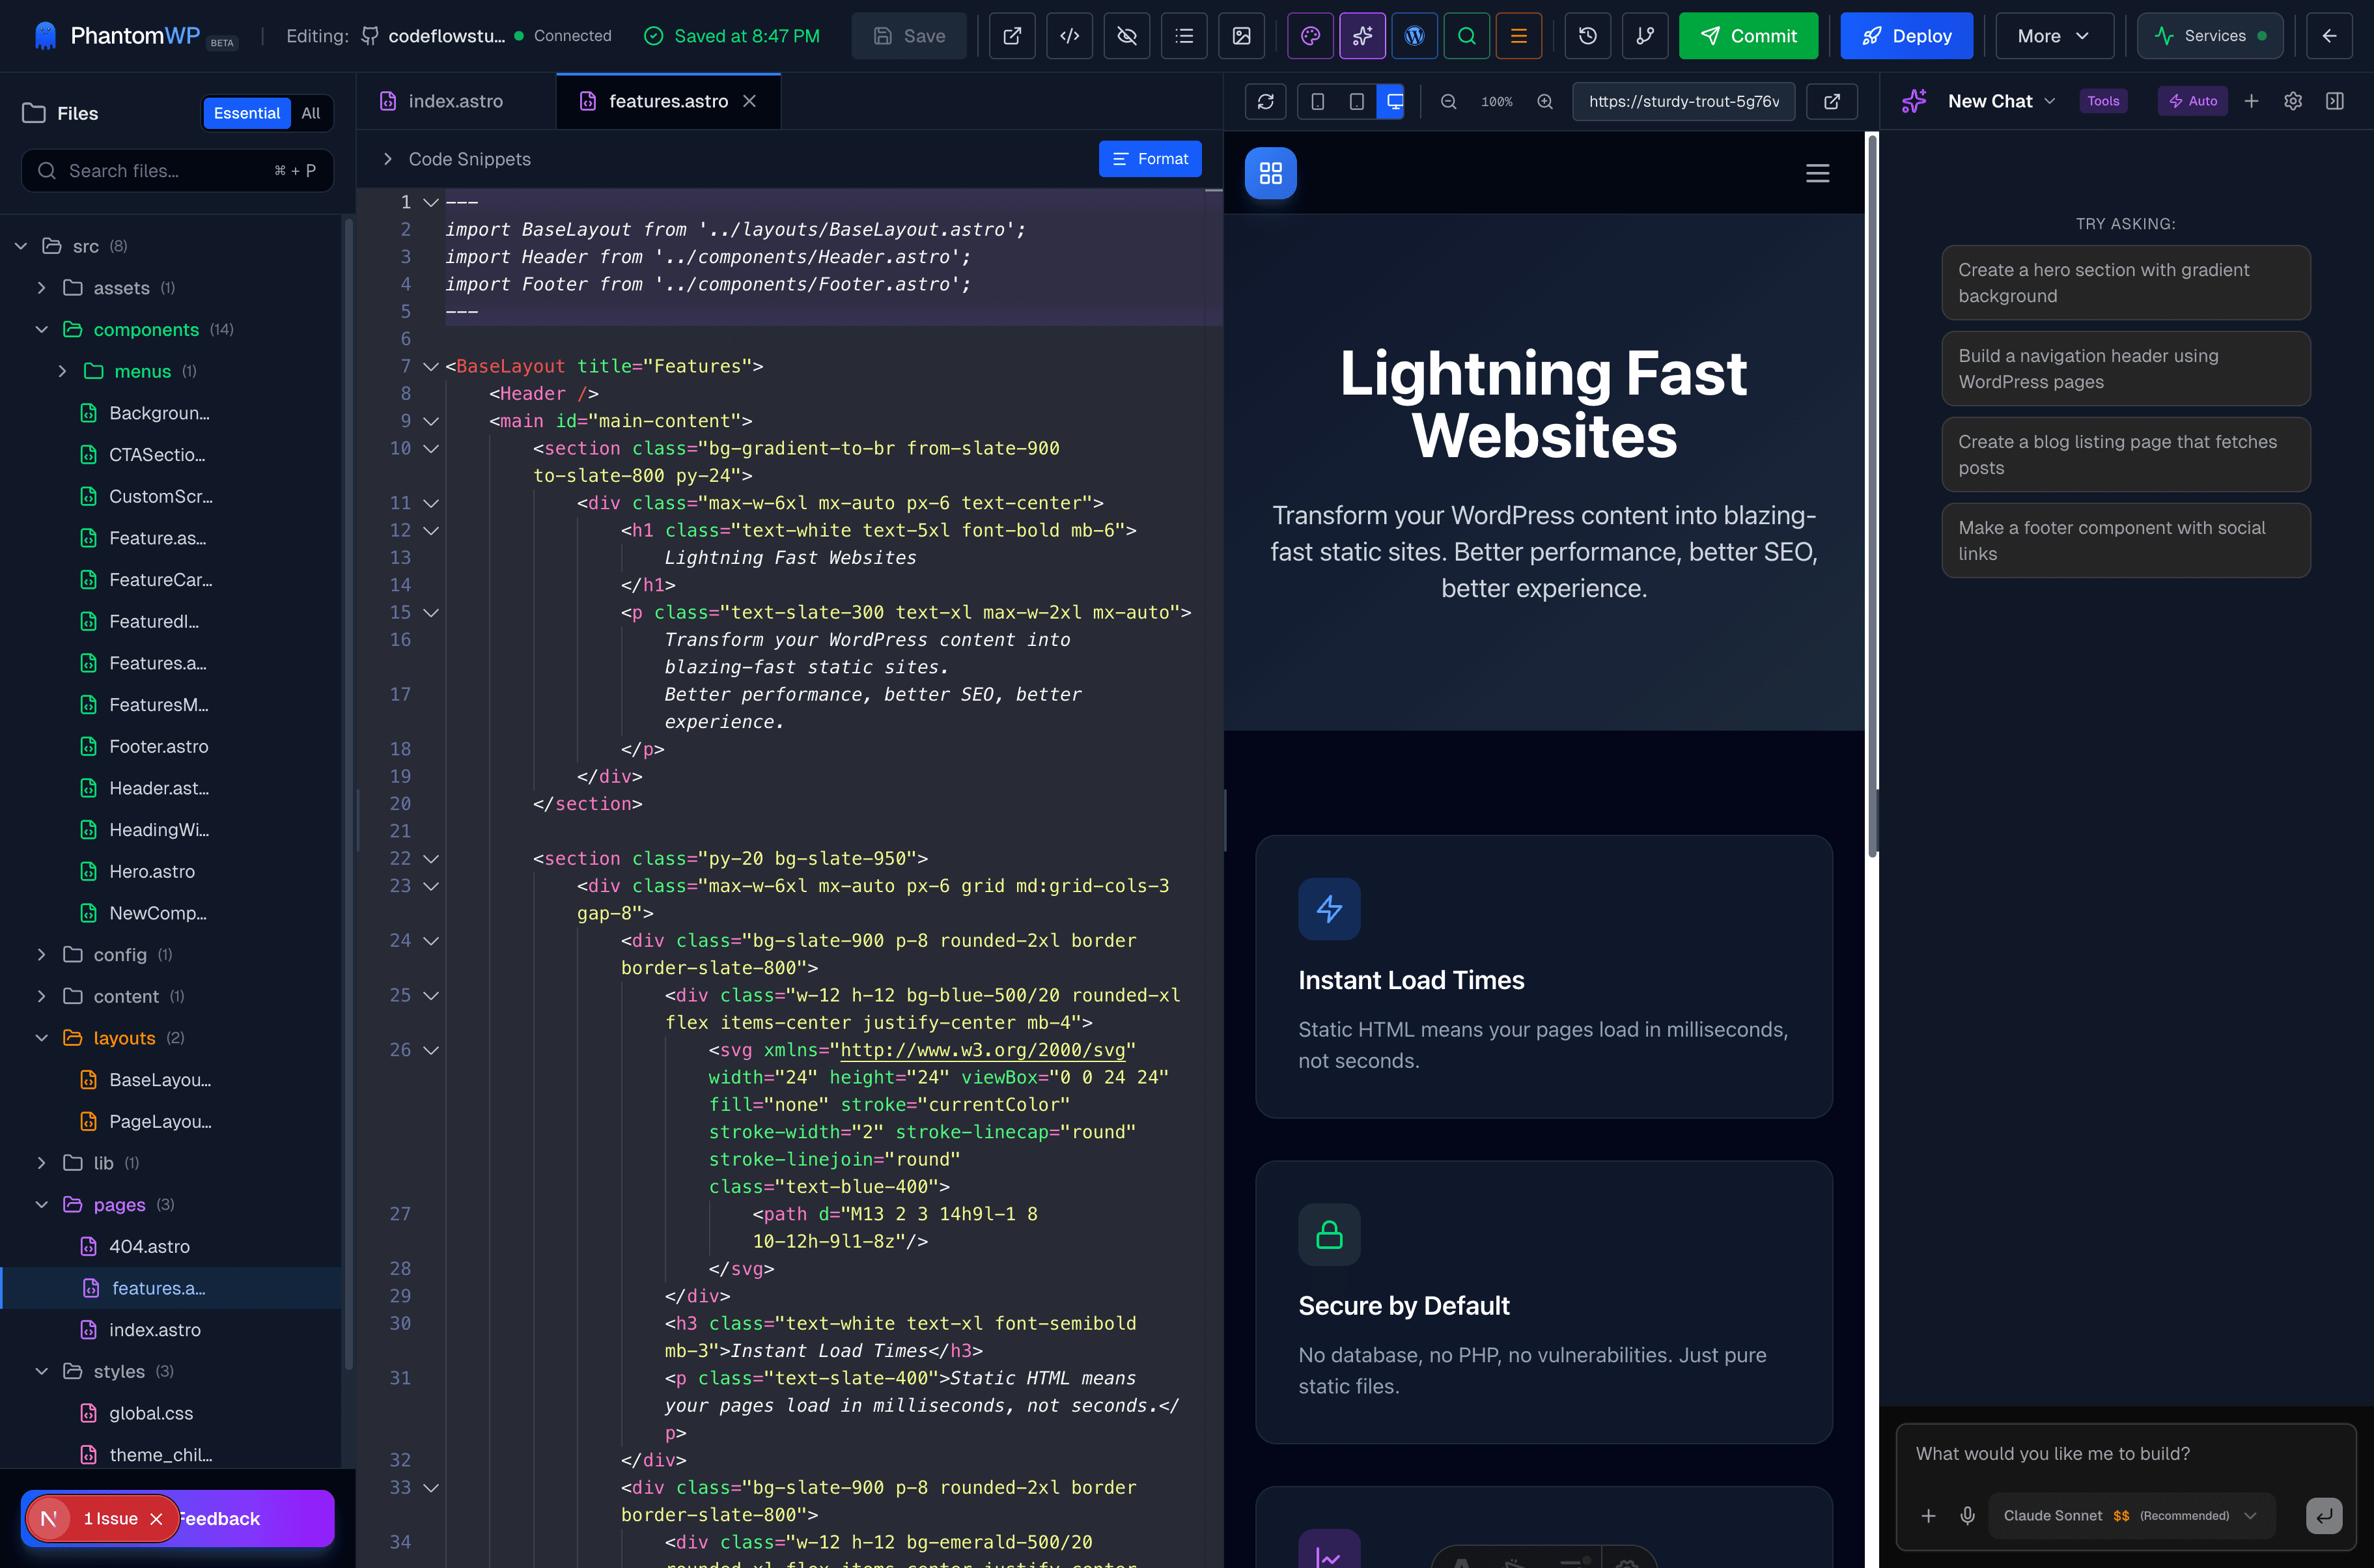
</section>Step 8: Use the AI Assistant
Stuck on something? Click the AI Assistant button to get help:
The AI understands your project structure and can generate contextual code suggestions. Try asking:
- "How do I add a dark mode toggle?"
- "Create a contact form component"
- "Style this section with a gradient background"
Click "Apply to Editor" to insert AI-generated code directly into your current file.
Step 9: Deploy to Vercel
When you're ready to go live, click the "Deploy" button in the top right.
First deployment takes about 1-2 minutes. After that, PhantomWP sets up automatic deployments—every push to your repository triggers a new build.
Step 10: Visit Your Live Site!
Once deployment completes, you'll get a URL like:
Your site is live!
https://my-awesome-blog.vercel.appShare it with the world! Your blazing-fast headless WordPress site is now live on Vercel's global CDN.
Next Steps
Congratulations! You've built your first headless WordPress site. Here's what to explore next:
Content Updates
WordPress → Astro workflow:
- Write or edit content in WordPress admin
- PhantomWP detects changes
- Click "Sync" or enable auto-sync
- Site rebuilds with new content
Custom Domain
Connect your own domain in Vercel settings:
myblog.cominstead ofmy-awesome-blog.vercel.app- Free SSL certificates included
Advanced Features
One major benefit you'll notice: no more fear of WordPress updates. Your static frontend is completely decoupled from WordPress.
- Multiple content types — Create custom post types in WordPress
- Dynamic routes — Generate pages from WordPress categories/tags
- Hybrid rendering — Add SSR for specific routes
- API routes — Build contact forms and dynamic features
Common Questions
Q: Will my WordPress site be affected?
A: No! PhantomWP only reads from your WordPress REST API. Your existing site continues working normally.
Q: Can non-technical editors still use WordPress?
A: Absolutely. Editors keep using the WordPress admin they know. Content automatically flows to your Astro frontend.
Q: How fast is my new site?
A: Most PhantomWP sites score 95-100 on Lighthouse Performance. Pages load in under 500ms globally. See our detailed performance comparison for more metrics.
Q: What if I need to make changes later?
A: Just open the IDE, make changes, and deploy. Or use your favorite local editor with Git.
Ready to Build?
You've seen how easy it is to create a headless WordPress site with PhantomWP. No complicated setup, no local development environment, no DevOps expertise needed.
Questions? Check out our documentation or reach out to support.