The PhantomWP IDE: Your Complete Guide to the Built-in Editor
Master the PhantomWP IDE with this comprehensive guide. Learn about the Monaco editor, live preview, WordPress integration, AI assistant, and deployment features.
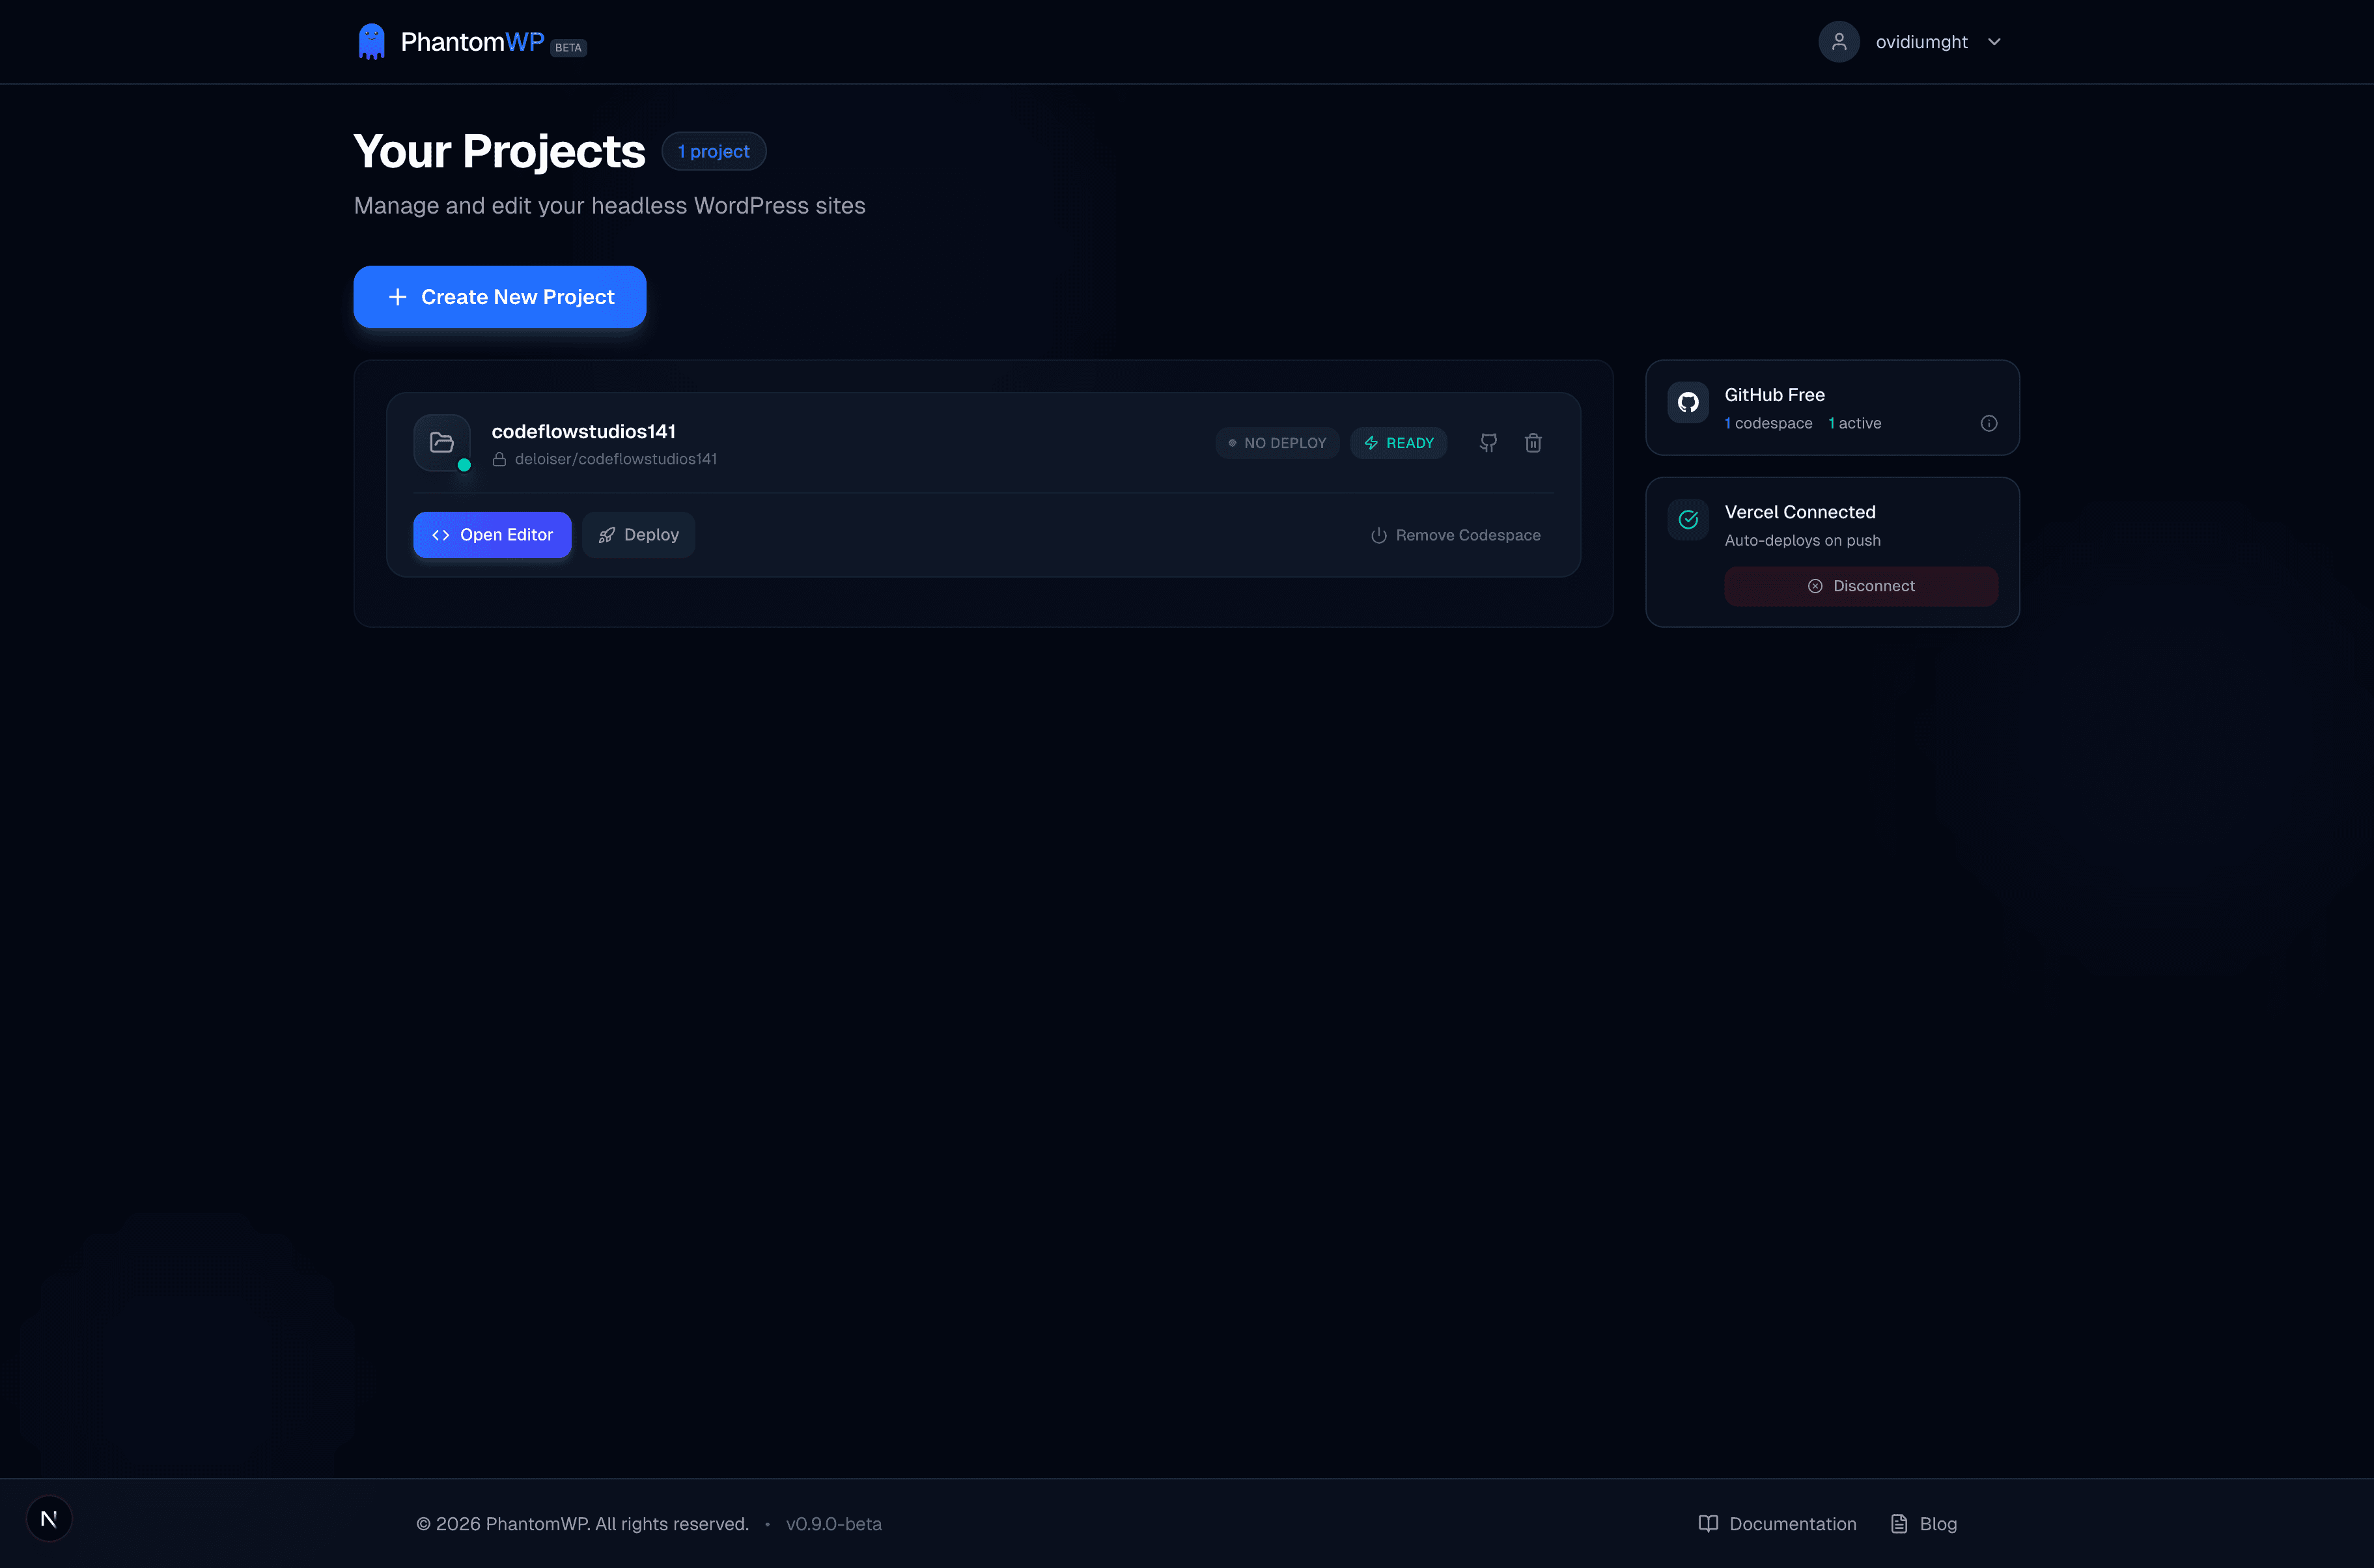
PhantomWP includes a powerful browser-based IDE designed specifically for building headless WordPress frontends with Astro. No downloads, no configuration—just open your browser and start building.
This guide covers everything you need to know to master the IDE.
IDE Overview
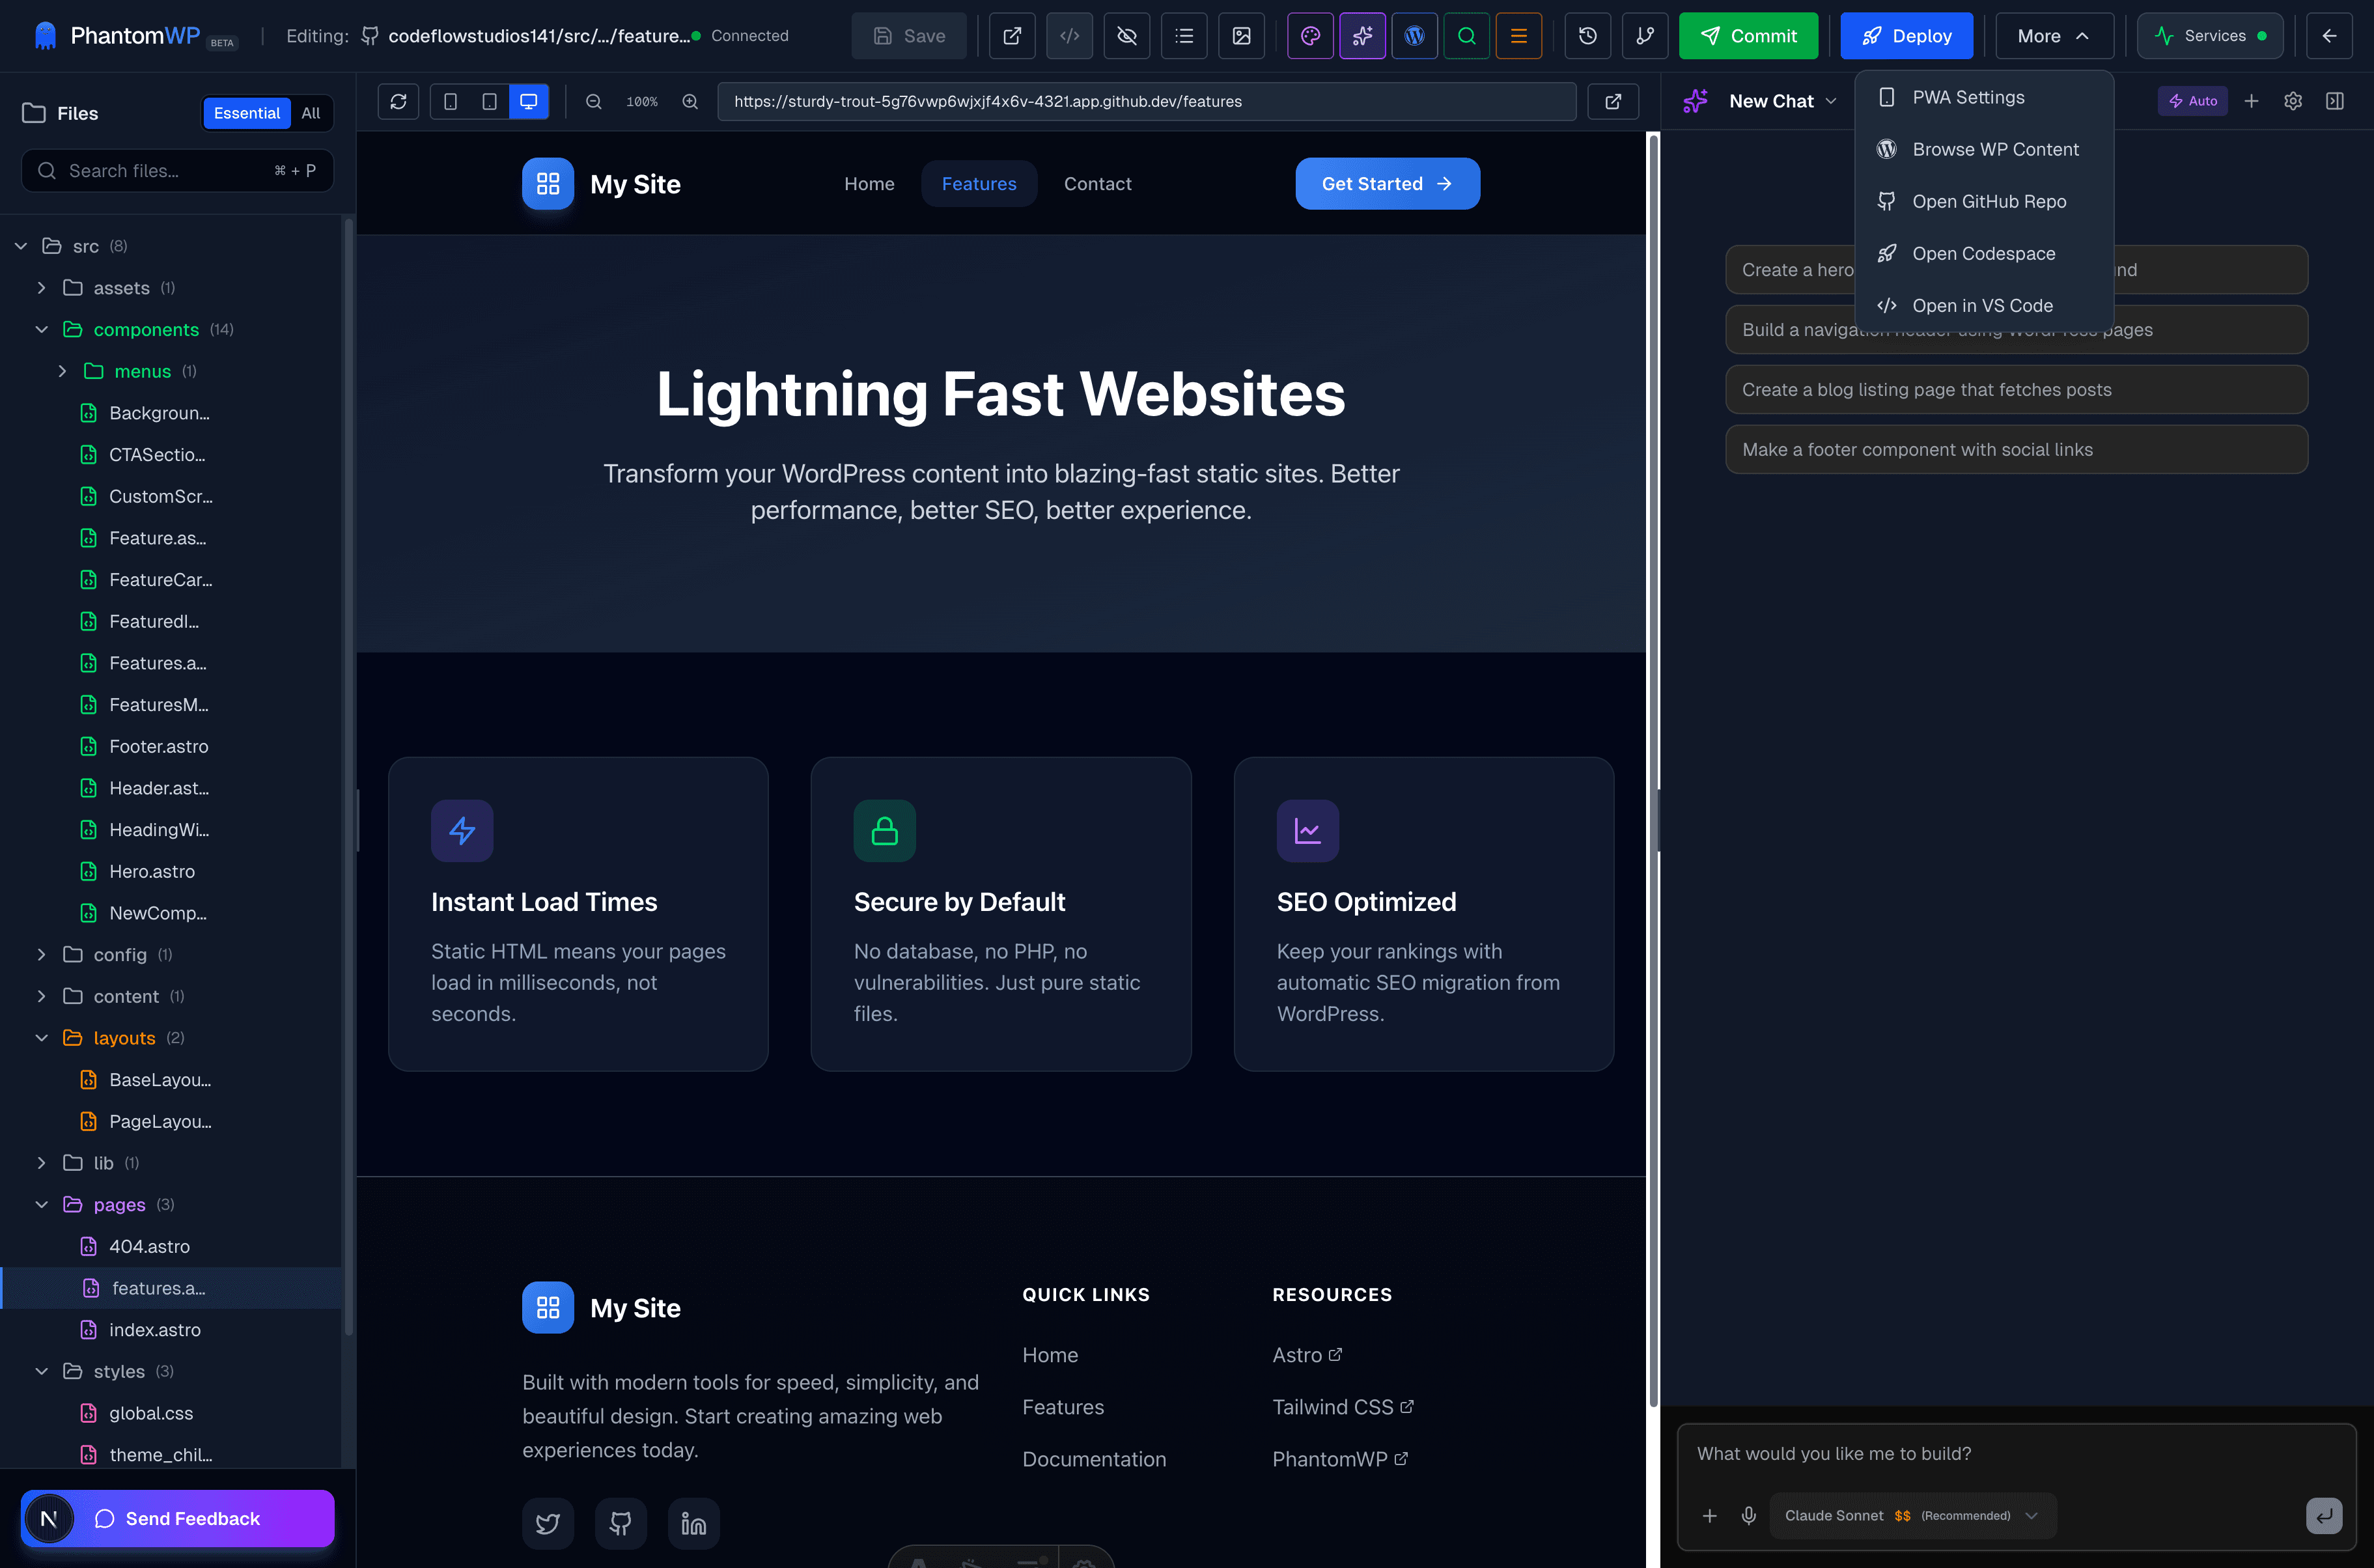
When you open a project, you'll see three main areas:
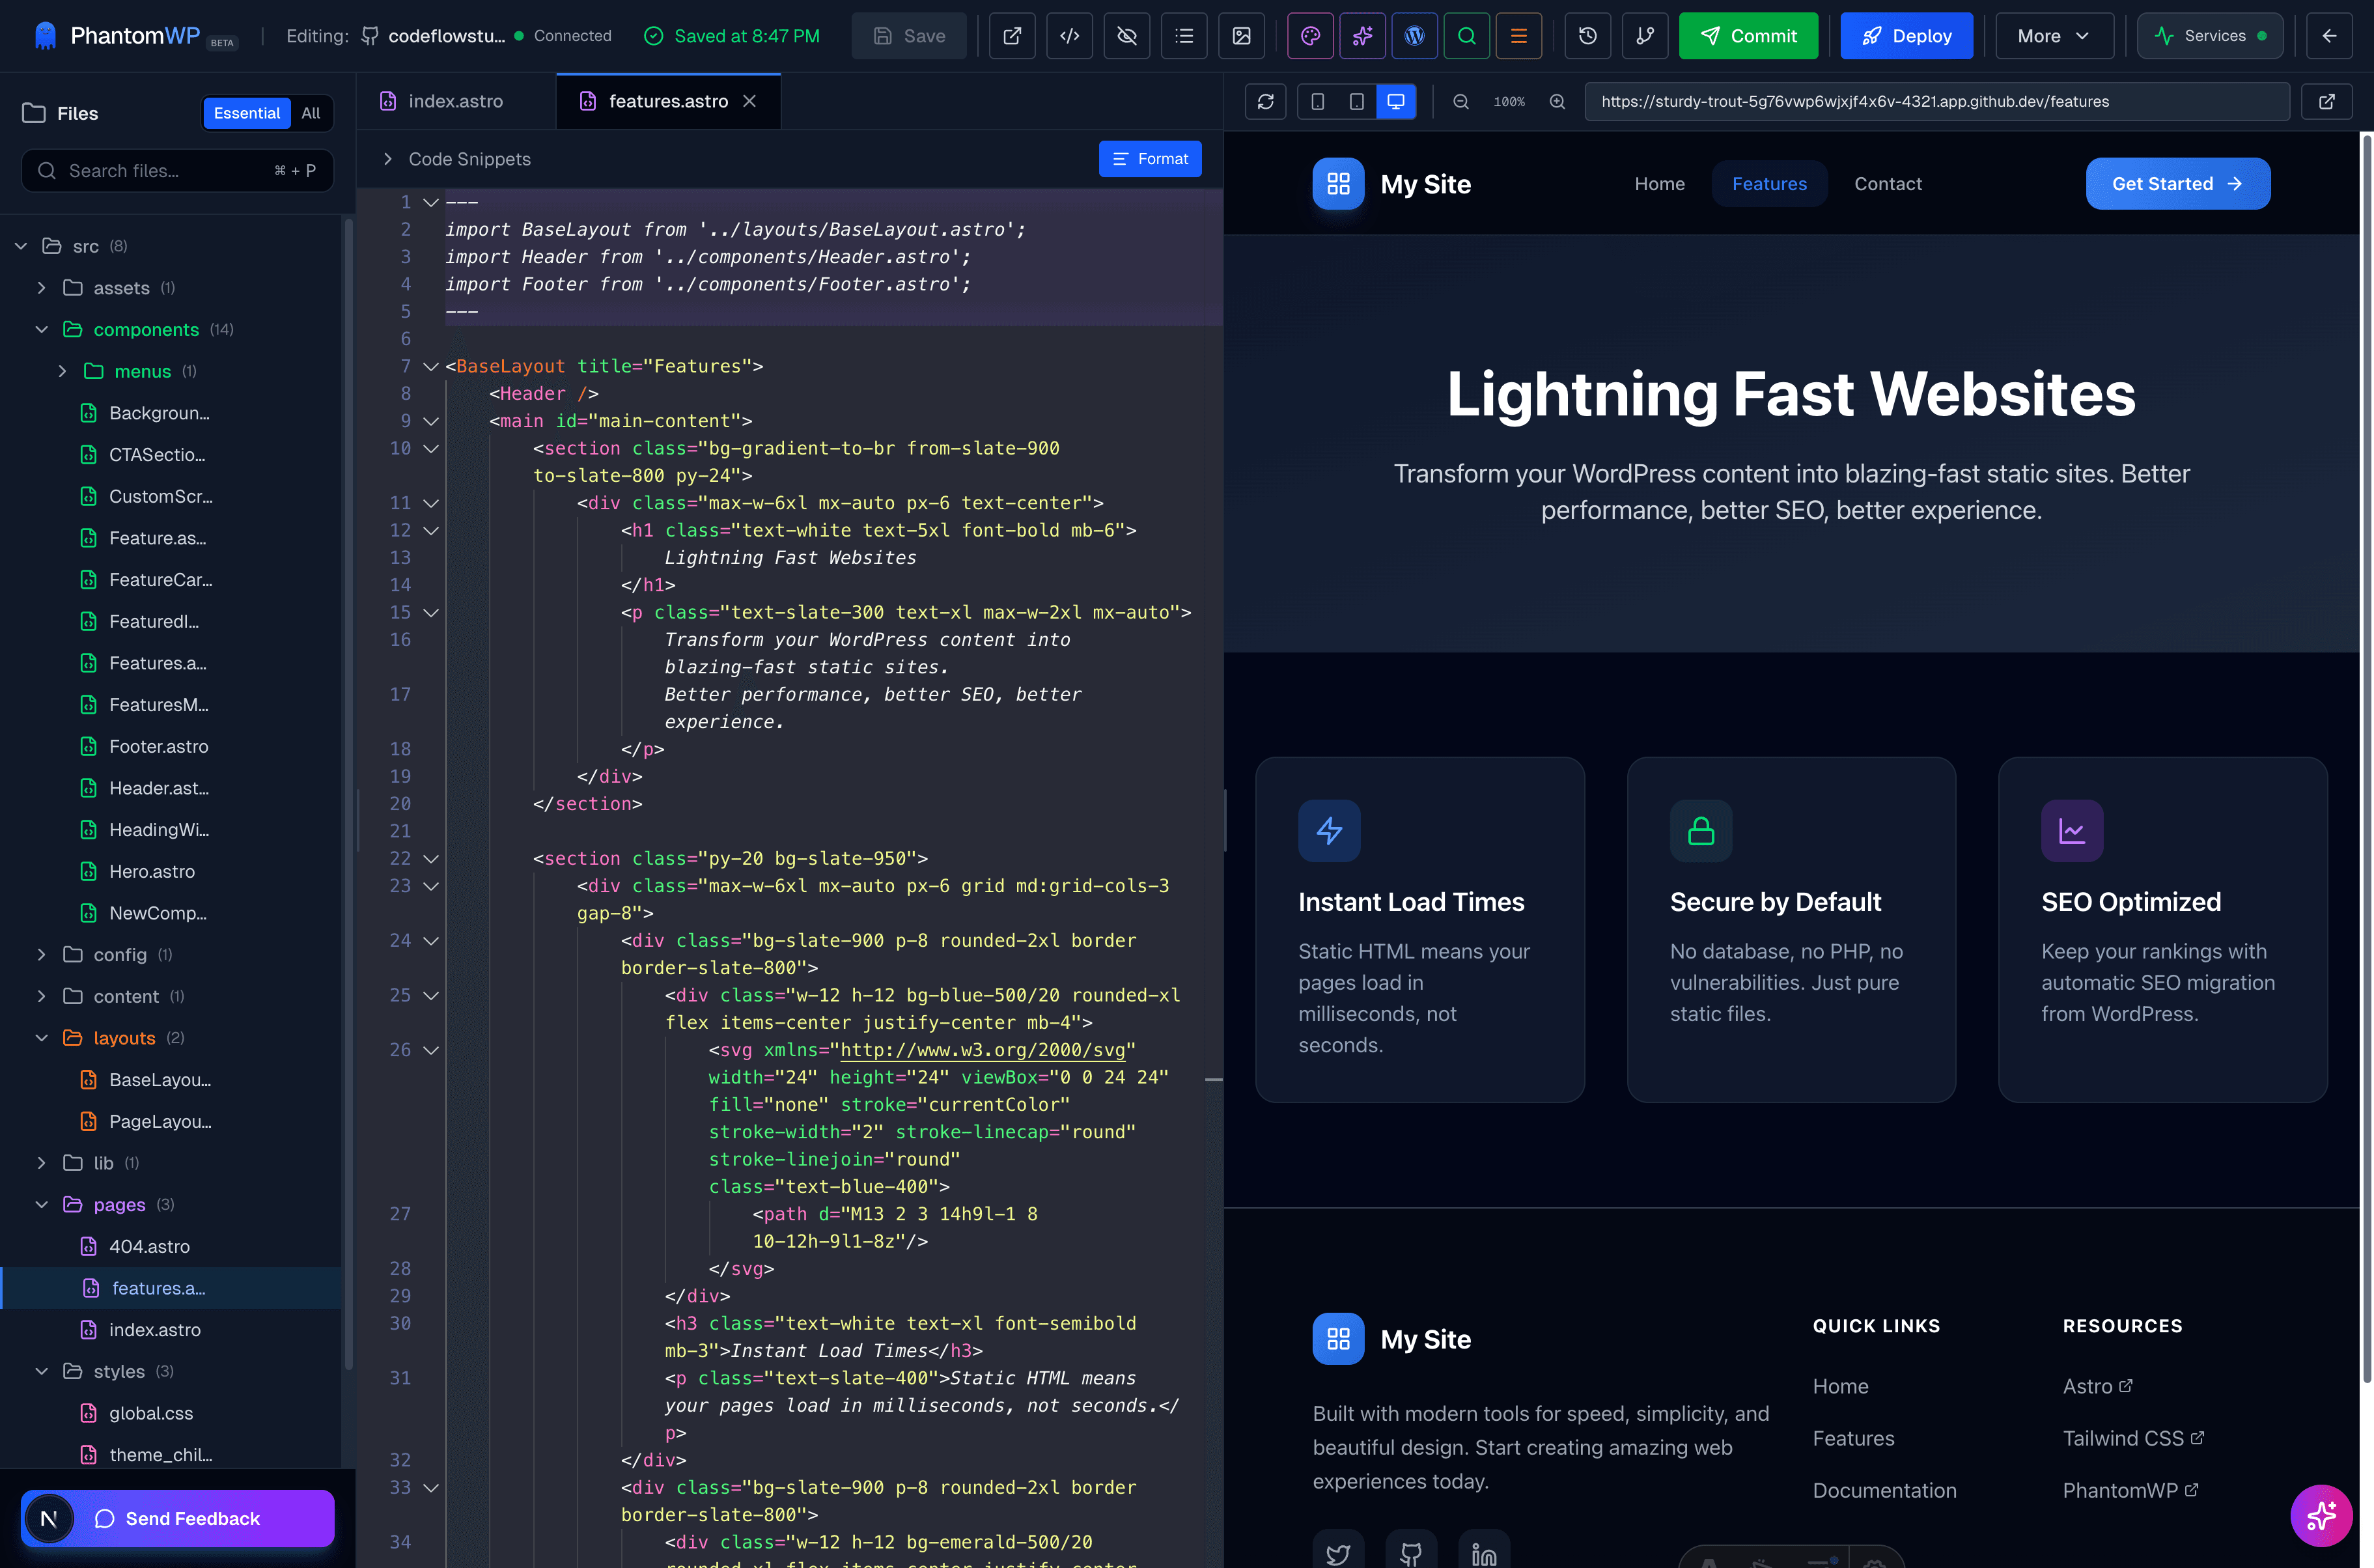
- File Tree (Left) — Navigate your project structure
- Editor (Center) — Write and edit code with Monaco
- Preview (Right) — See live updates as you type
Let's explore each section in detail.
The File Tree
The left sidebar shows your project structure:
File Operations
- Click — Open file in editor
- Right-click — Context menu (rename, delete, duplicate)
- Drag & drop — Move files between folders
- + buttons — Create new files/folders
Astro Project Structure
Understanding the structure helps you work faster:
| Folder | Purpose |
|---|---|
| src/pages/ | Routes - each file becomes a URL |
| src/layouts/ | Shared page structures |
| src/components/ | Reusable UI pieces |
| src/styles/ | Global CSS files |
| public/ | Static assets (served as-is) |
The Monaco Editor
The center area features Monaco—the same editor that powers VS Code:

Editor Features
Syntax Highlighting
- Astro, TypeScript, JavaScript, CSS, HTML, Markdown
- Tailwind CSS class intellisense
Autocomplete
- Component imports
- Props suggestions
- Astro API completion
- Tailwind classes
Keyboard Shortcuts
| Shortcut | Action |
|---|---|
| Cmd/Ctrl + S | Save file |
| Cmd/Ctrl + P | Quick file open |
| Cmd/Ctrl + F | Find in file |
| Cmd/Ctrl + Shift + F | Find in project |
| Cmd/Ctrl + / | Toggle comment |
| Cmd/Ctrl + D | Select next occurrence |
| Alt + Up/Down | Move line up/down |
Multi-Cursor Editing
Alt + Click— Add cursorCmd/Ctrl + Alt + Up/Down— Add cursor above/belowCmd/Ctrl + Shift + L— Select all occurrences
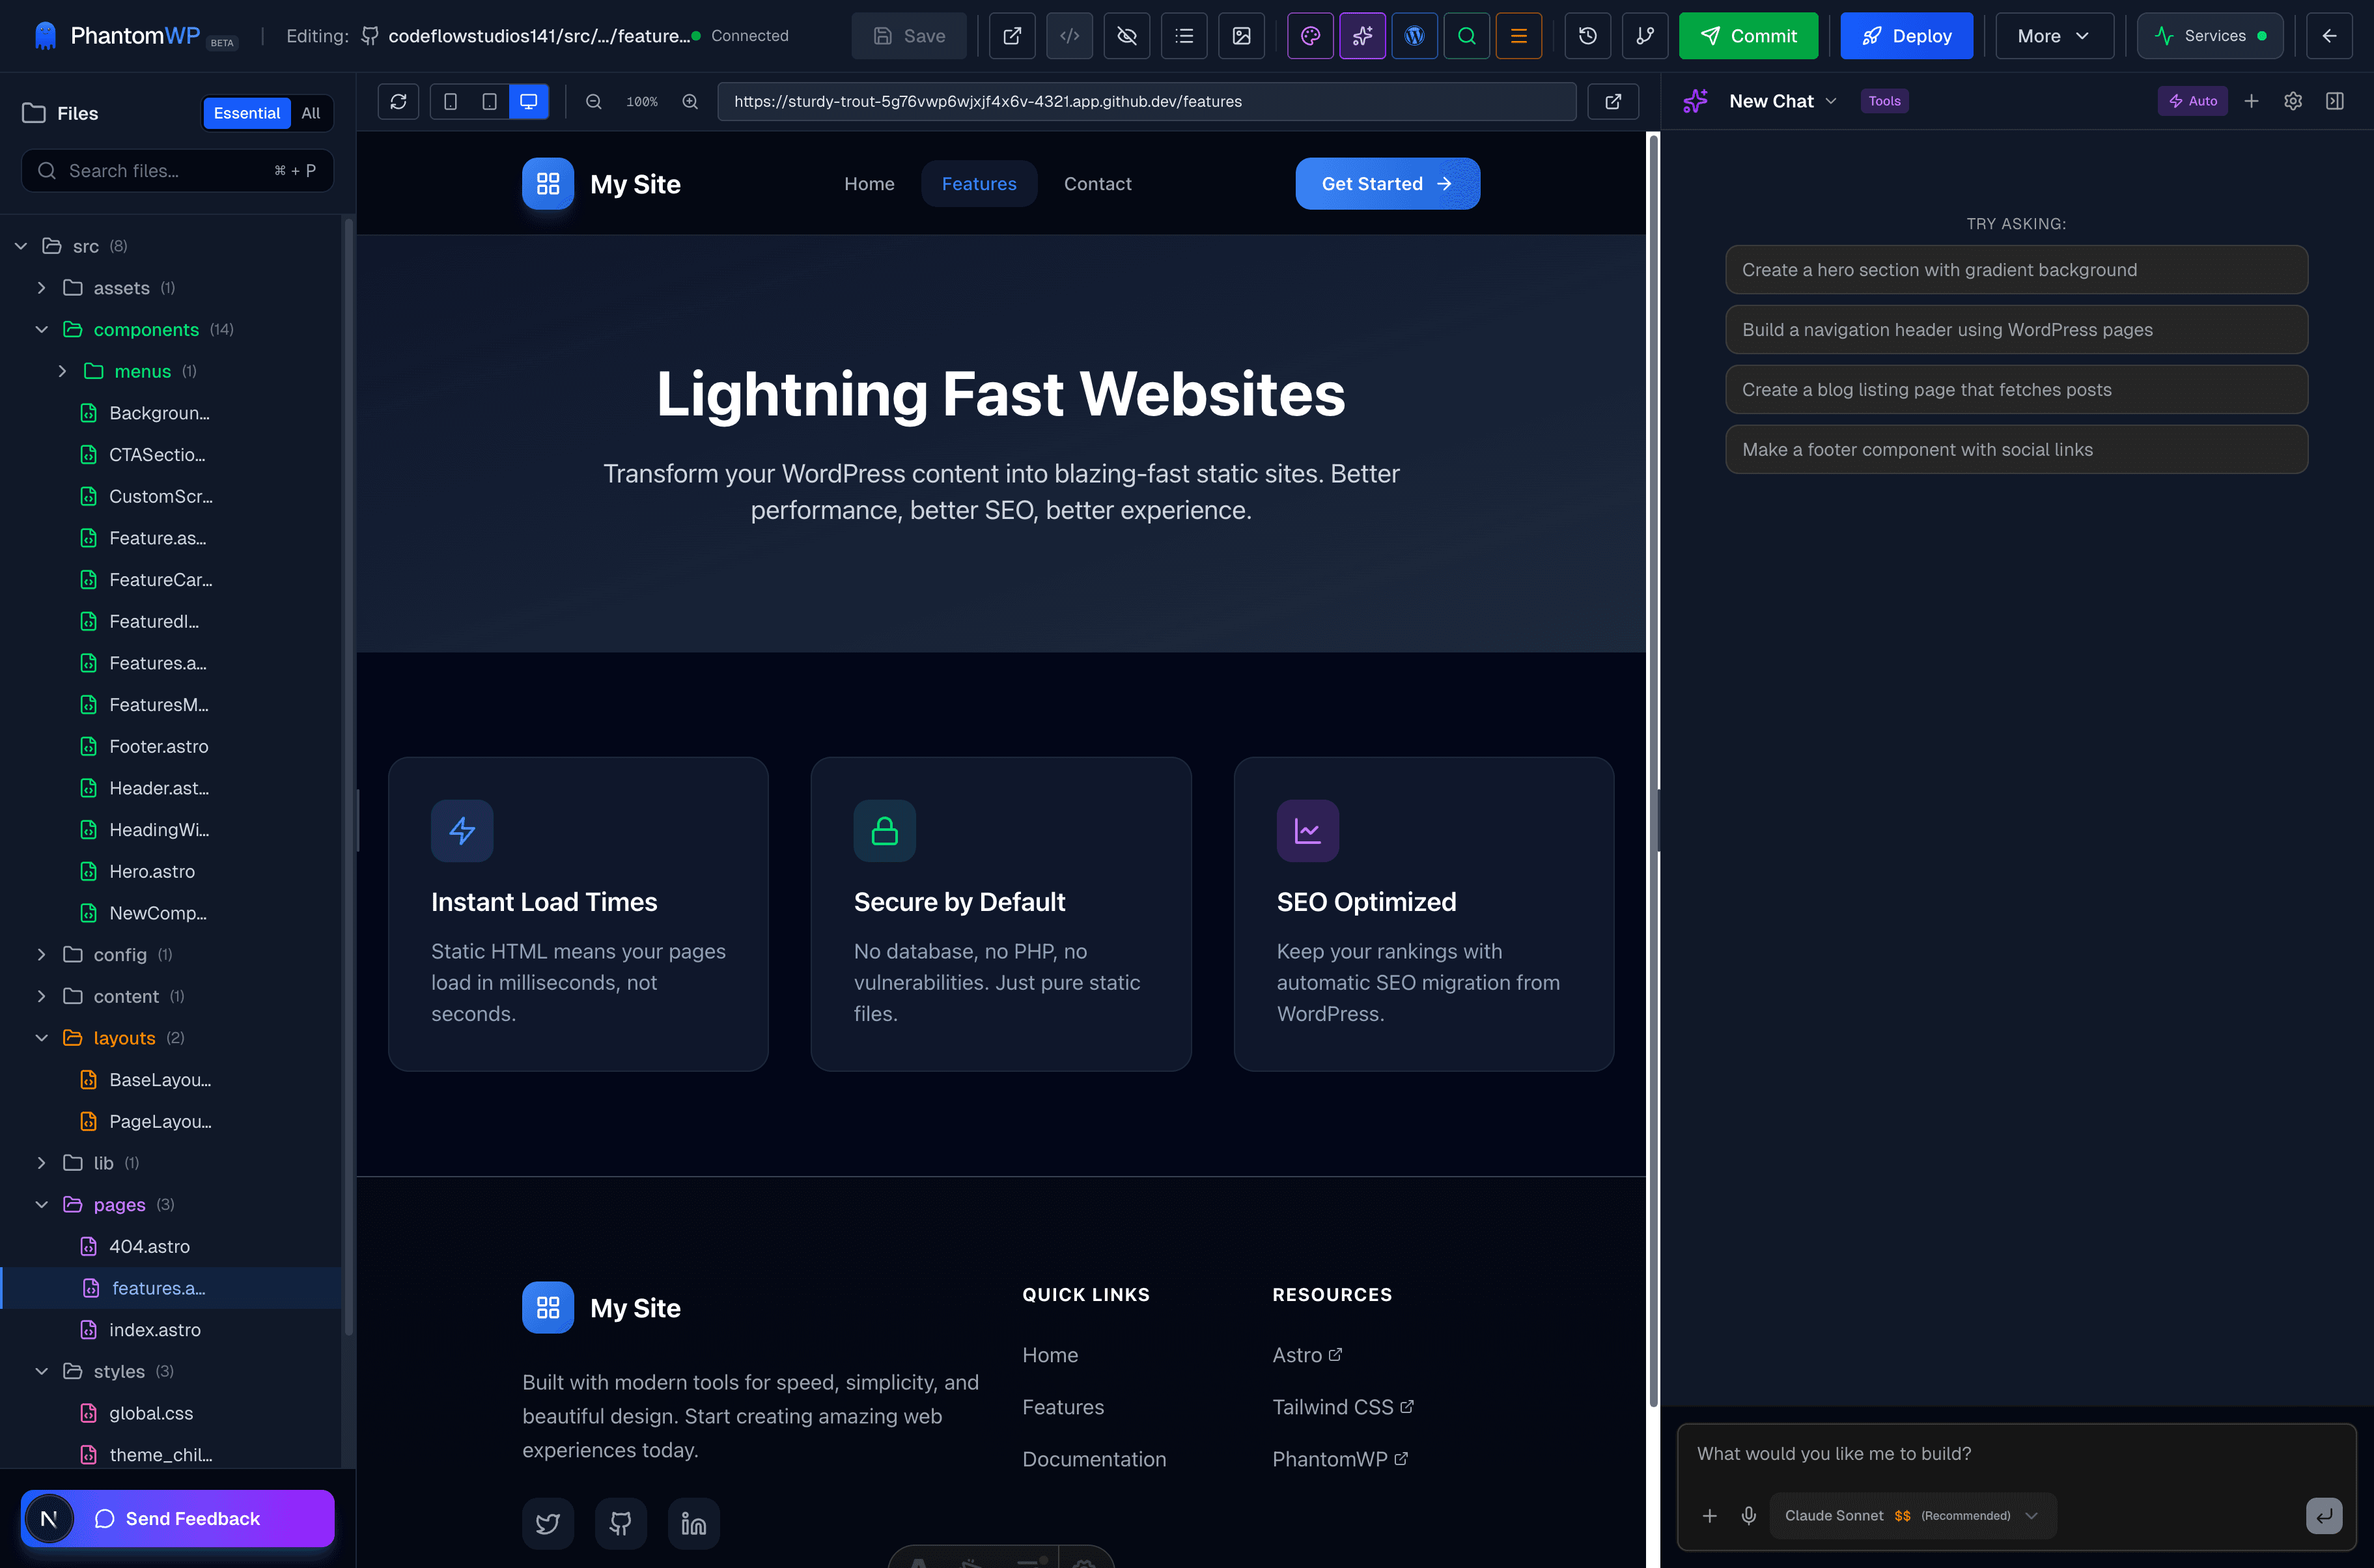
Live Preview
The right panel shows your site updating in real-time:
Preview Features
Hot Reload Changes appear instantly—no manual refresh needed. Edit CSS, see it update. Change content, see it render.
Responsive Testing Switch between device sizes:
- Phone — 375px width
- Tablet — 768px width
- Desktop — Full width
Navigation Click links in the preview to navigate your site. The URL bar shows the current path.
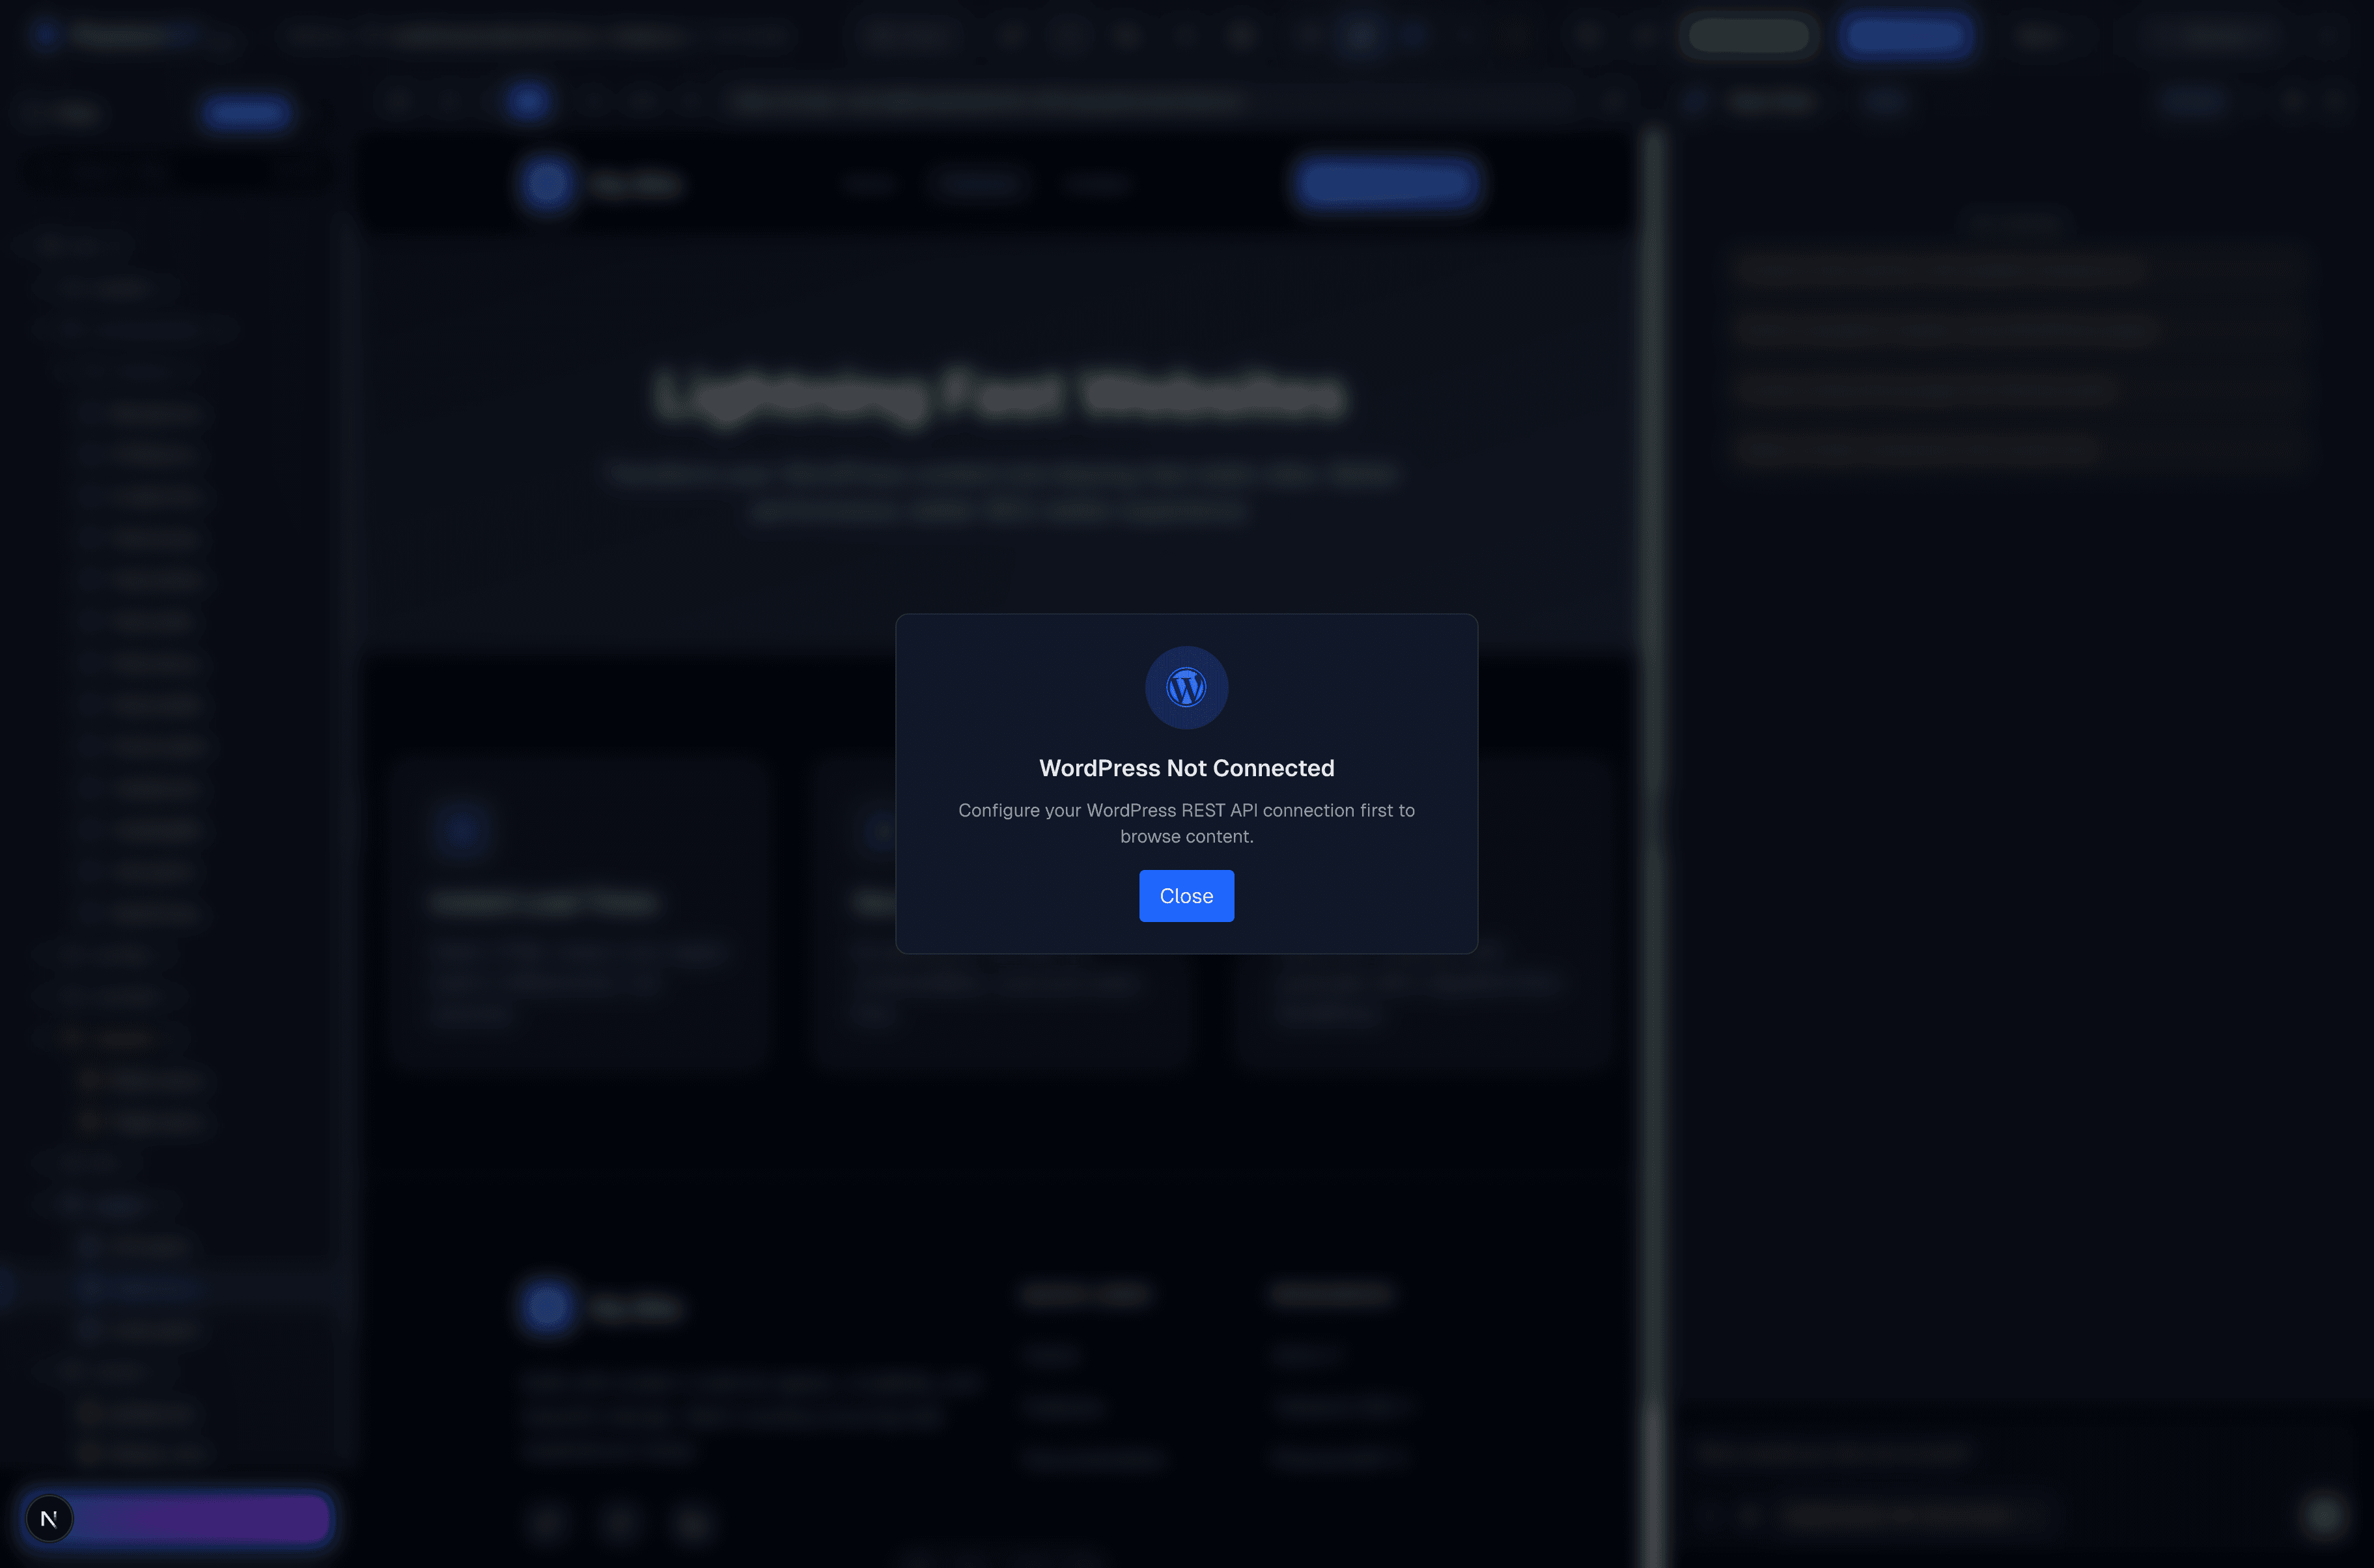
WordPress Integration Panel
Click the WordPress icon to access your connected WordPress site. New to headless WordPress? Our complete guide explains the architecture:
Importing Content
Single Item Import Click any post/page to see its details, then click "Import" to add it to your Astro project.
Bulk Import Select multiple items and click "Sync All" to import everything at once.
What Gets Imported
Import Mapping
frontmatter.titleMarkdown bodyfrontmatter.imagefrontmatter.categoriesfrontmatter.seoTitlefrontmatter.seoDescriptionAI Assistant
The AI Assistant helps you write code, fix problems, and learn Astro. This is central to our philosophy: PhantomWP teaches you frontend, not PhantomWP:
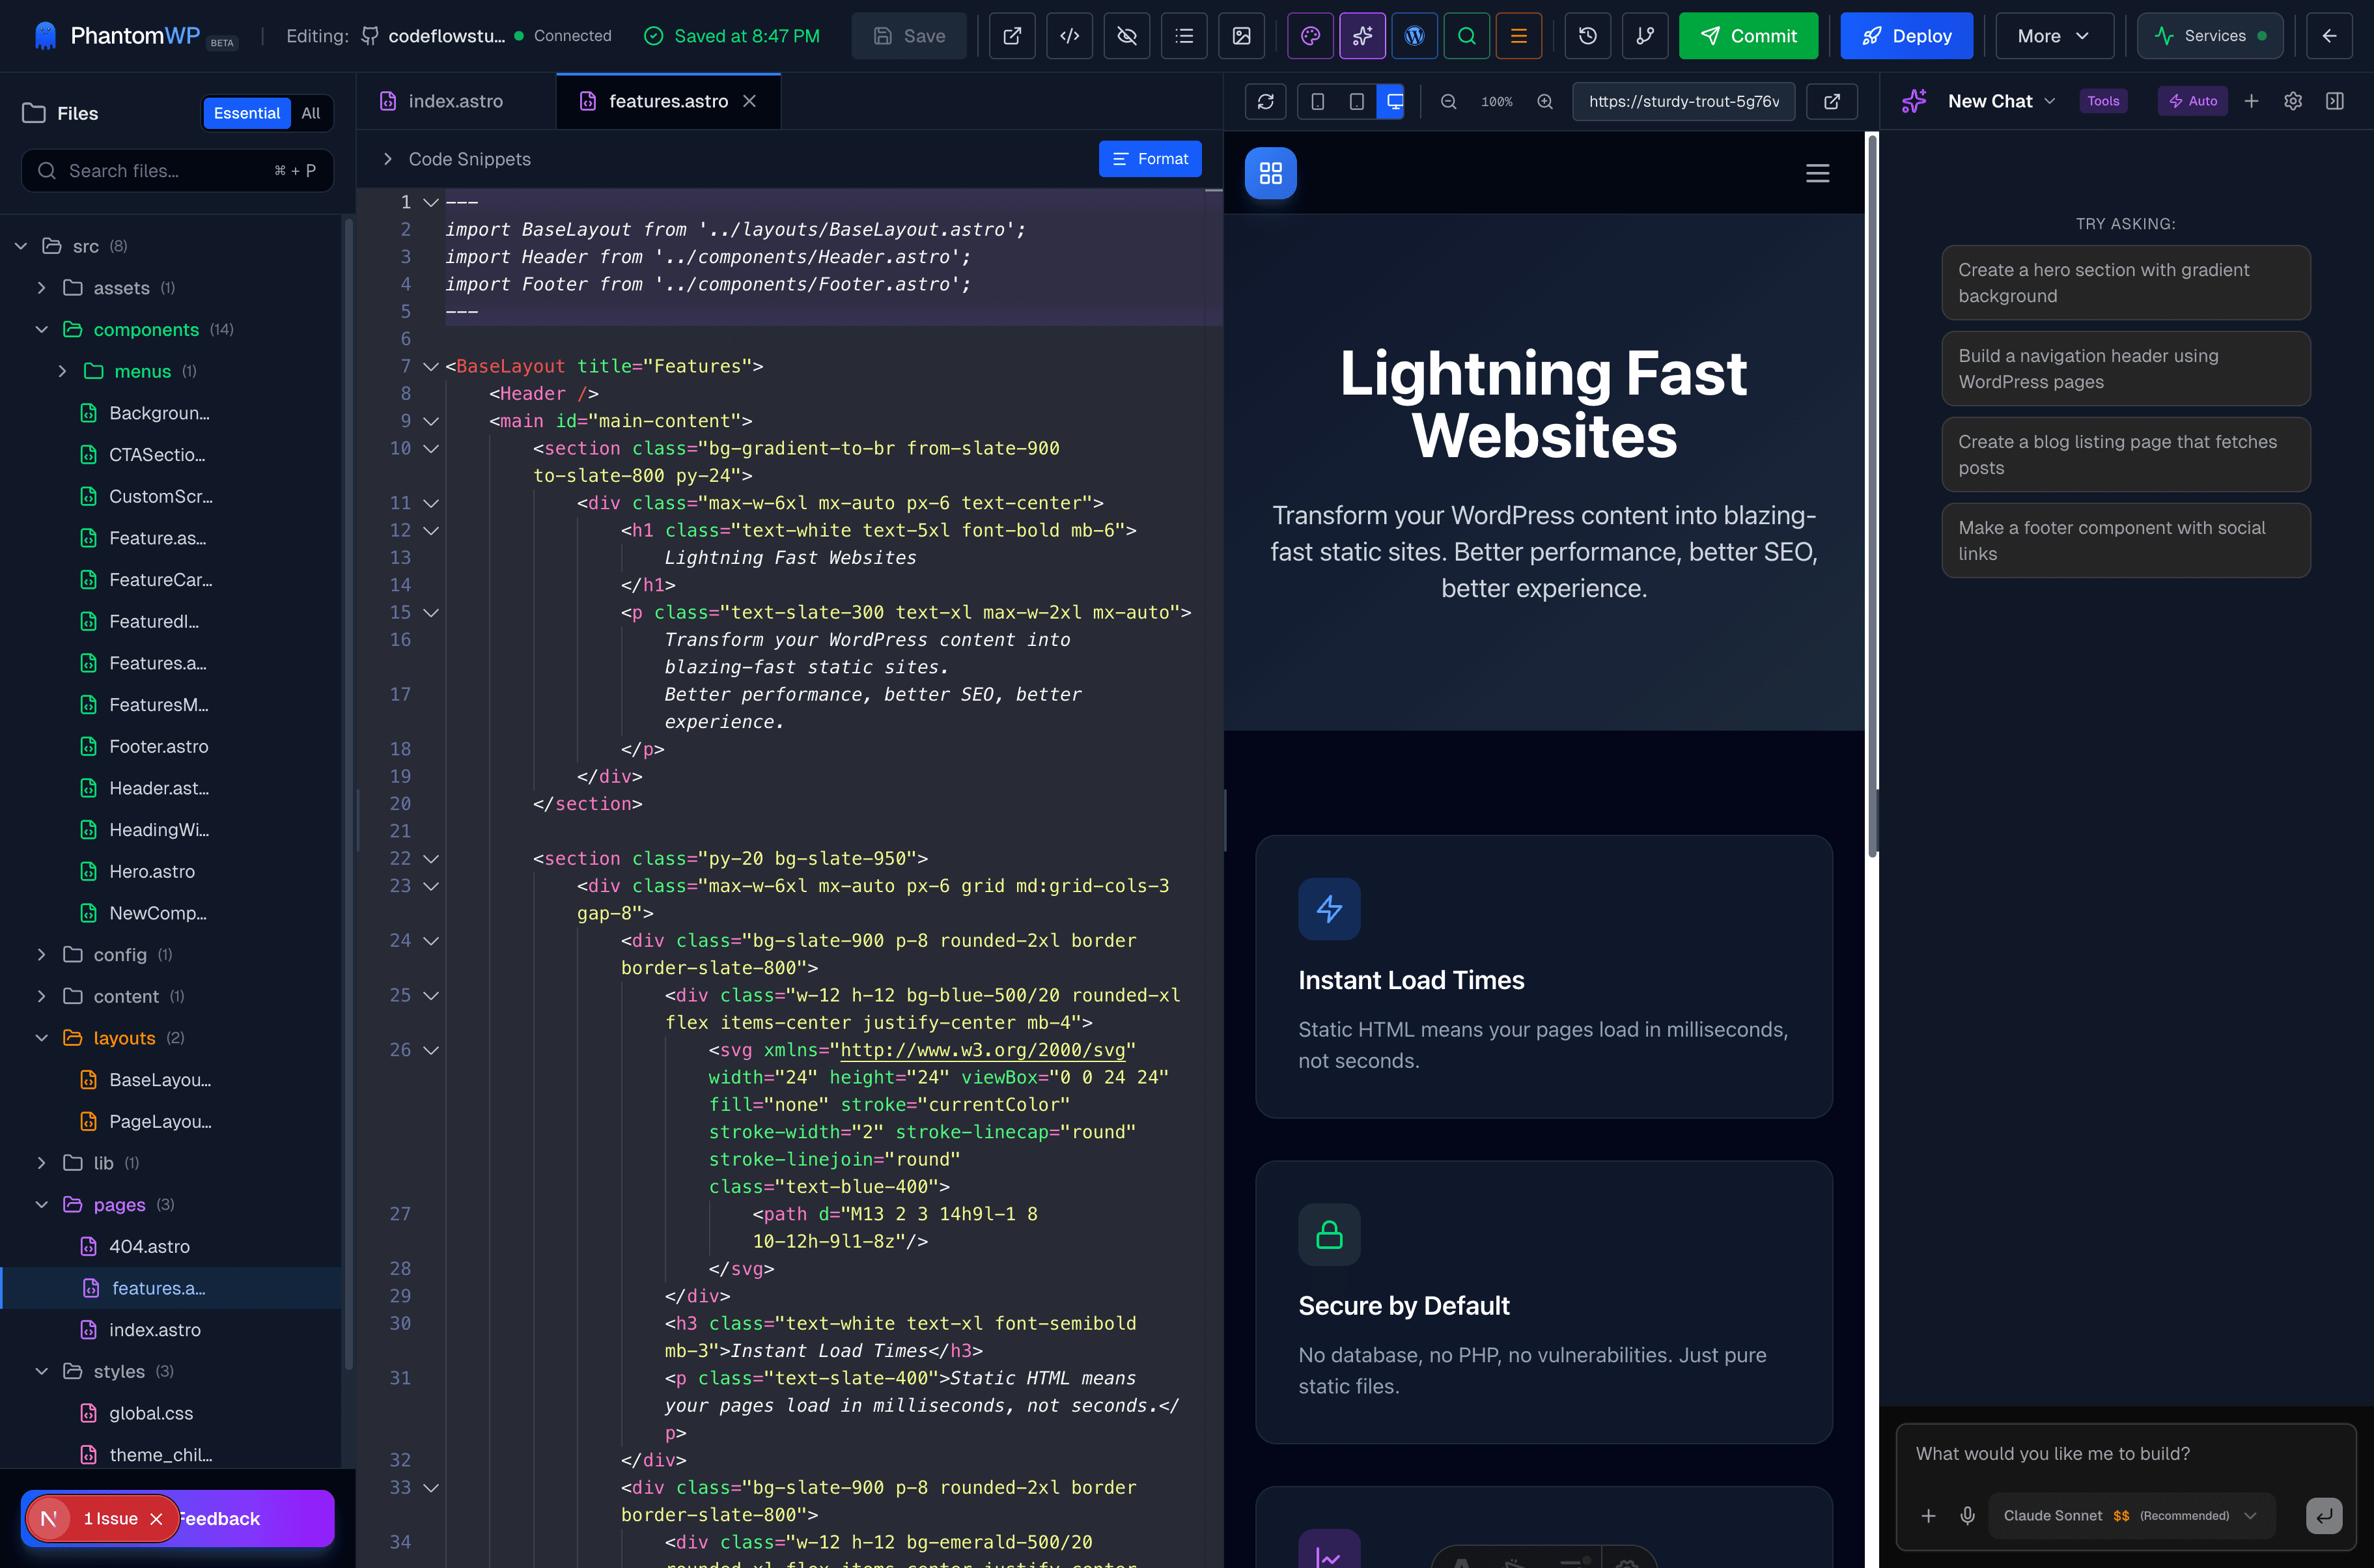
What You Can Ask
- "How do I create a blog post template?"
- "Add a contact form to my site"
- "Style this component with Tailwind"
- "Why isn't my page routing working?"
- "Convert this WordPress shortcode to Astro"
- "Add dark mode toggle"
- "Optimize images for performance"
Applying Code
Click "Apply to Editor" to insert AI-generated code directly into your current file. The AI understands your project context and generates compatible code.
Deployment
The Deploy button publishes your site to Vercel:
Deployment Features
One-Click Deploy Click "Deploy Now" to push changes to production. Your code goes to GitHub, triggering a Vercel build.
Auto-Deploy Enable auto-deploy to publish changes automatically when you save files.
Preview Deployments Each deployment gets a unique URL for testing before going live.
Rollbacks Made a mistake? Roll back to any previous deployment from Vercel's dashboard.
Settings
Configure your project and IDE preferences:
Tips & Tricks
Speed Up Your Workflow
- Use Cmd+P to quickly open any file
- Split editor with Cmd+\ to view files side-by-side
- Preview specific routes by typing the path in the preview URL bar
- Use snippets — type "astro" and press Tab for component templates
Common Patterns
Creating a New Page
- Right-click
src/pages/ - Click "New File"
- Name it
about.astro - It's now available at
/about
Creating a Dynamic Route
- Create
src/pages/blog/[slug].astro - The
[slug]becomes a URL parameter - Access it with
Astro.params.slug
Adding a Component
- Create
src/components/Button.astro - Import it:
import Button from '../components/Button.astro' - Use it:
<Button>Click me</Button>
Troubleshooting
Preview not updating?
- Check the terminal for build errors
- Try clicking the refresh button
- Ensure your file is saved (Cmd+S)
WordPress connection failed?
- Verify your site URL is correct
- Ensure REST API is enabled (it is by default)
- Check if your site requires authentication
Deploy failed?
- Review the build log for errors
- Common issues: missing dependencies, syntax errors
- Check the Terminal panel for details
Conclusion
The PhantomWP IDE gives you everything needed to build production-ready headless WordPress sites:
Professional Editor
Monaco's power in your browser
Instant Preview
See changes as you type
WordPress Integration
Import content seamlessly
AI Assistance
Get coding help instantly
One-Click Deploy
Publish in seconds
No Setup
Works in any browser
Ready to start? Follow our step-by-step tutorial to build your first headless site.